Picking up wood carving as a beginner can feel both exciting and a little confusing, especially with all the techniques and tools out there. If you’ve ever admired a handmade wooden spoon or a well-crafted figurine, you might be curious about how to get started on your own wood carving adventure. I’ve spent time digging into the basics and have found some really practical techniques that can help build your skills from the ground up. Whether you’re looking to make keepsakes, functional utensils, or just want a calming hobby, learning to carve wood is a novice friendly and rewarding way to work with your hands.
Why Learn Wood Carving? A Practical Craft With a Creative Twist
Wood carving is more than just a way to whittle away time (see what I did there?). For a lot of people, it’s a mix of hands-on learning, relaxation, and creativity. This ancient craft has roots in cultures all over the world, used for everything from making household items to creating detailed works of art. By tackling wood carving, you’re not only joining a tradition that stretches back generations, but you’re also picking up a hobby that’s both useful and calming.
With modern tools and guides, wood carving is even more accessible for beginners. Handmade crafts have been making a comeback too, with many folks picking up carving as a way to disconnect from screens, make practical items, or create personal gifts. Some even make money from their carvings by selling them on sites like Etsy. It’s a skill that grows with you, offering new challenges and rewards as you gain confidence. The time you spend with your tools and blocks of wood can be as simple or as creative as you want it to be; whether you carve tiny animals or intricate relief designs, there’s plenty of room to express yourself while making things you’ll be proud to show off.
Essential Tools and Materials For Starting Out
Before grabbing a piece of scrap wood and jumping in, It would be wise to pick up a few basic tools and getting familiar with your options:
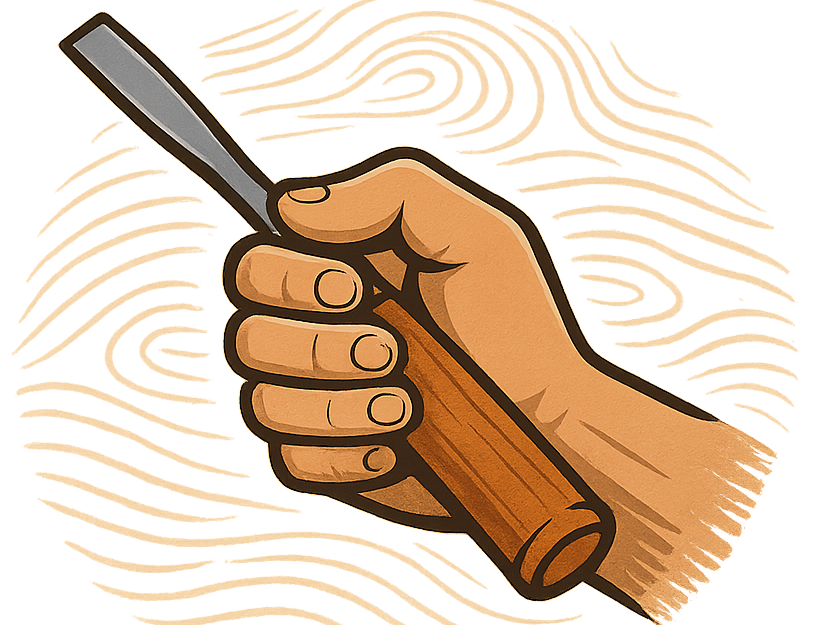
- Carving Knives: These are your go-to tools for most basic carving work. A dedicated carving knife comes with a comfortable handle and a sharp, short blade for good control.
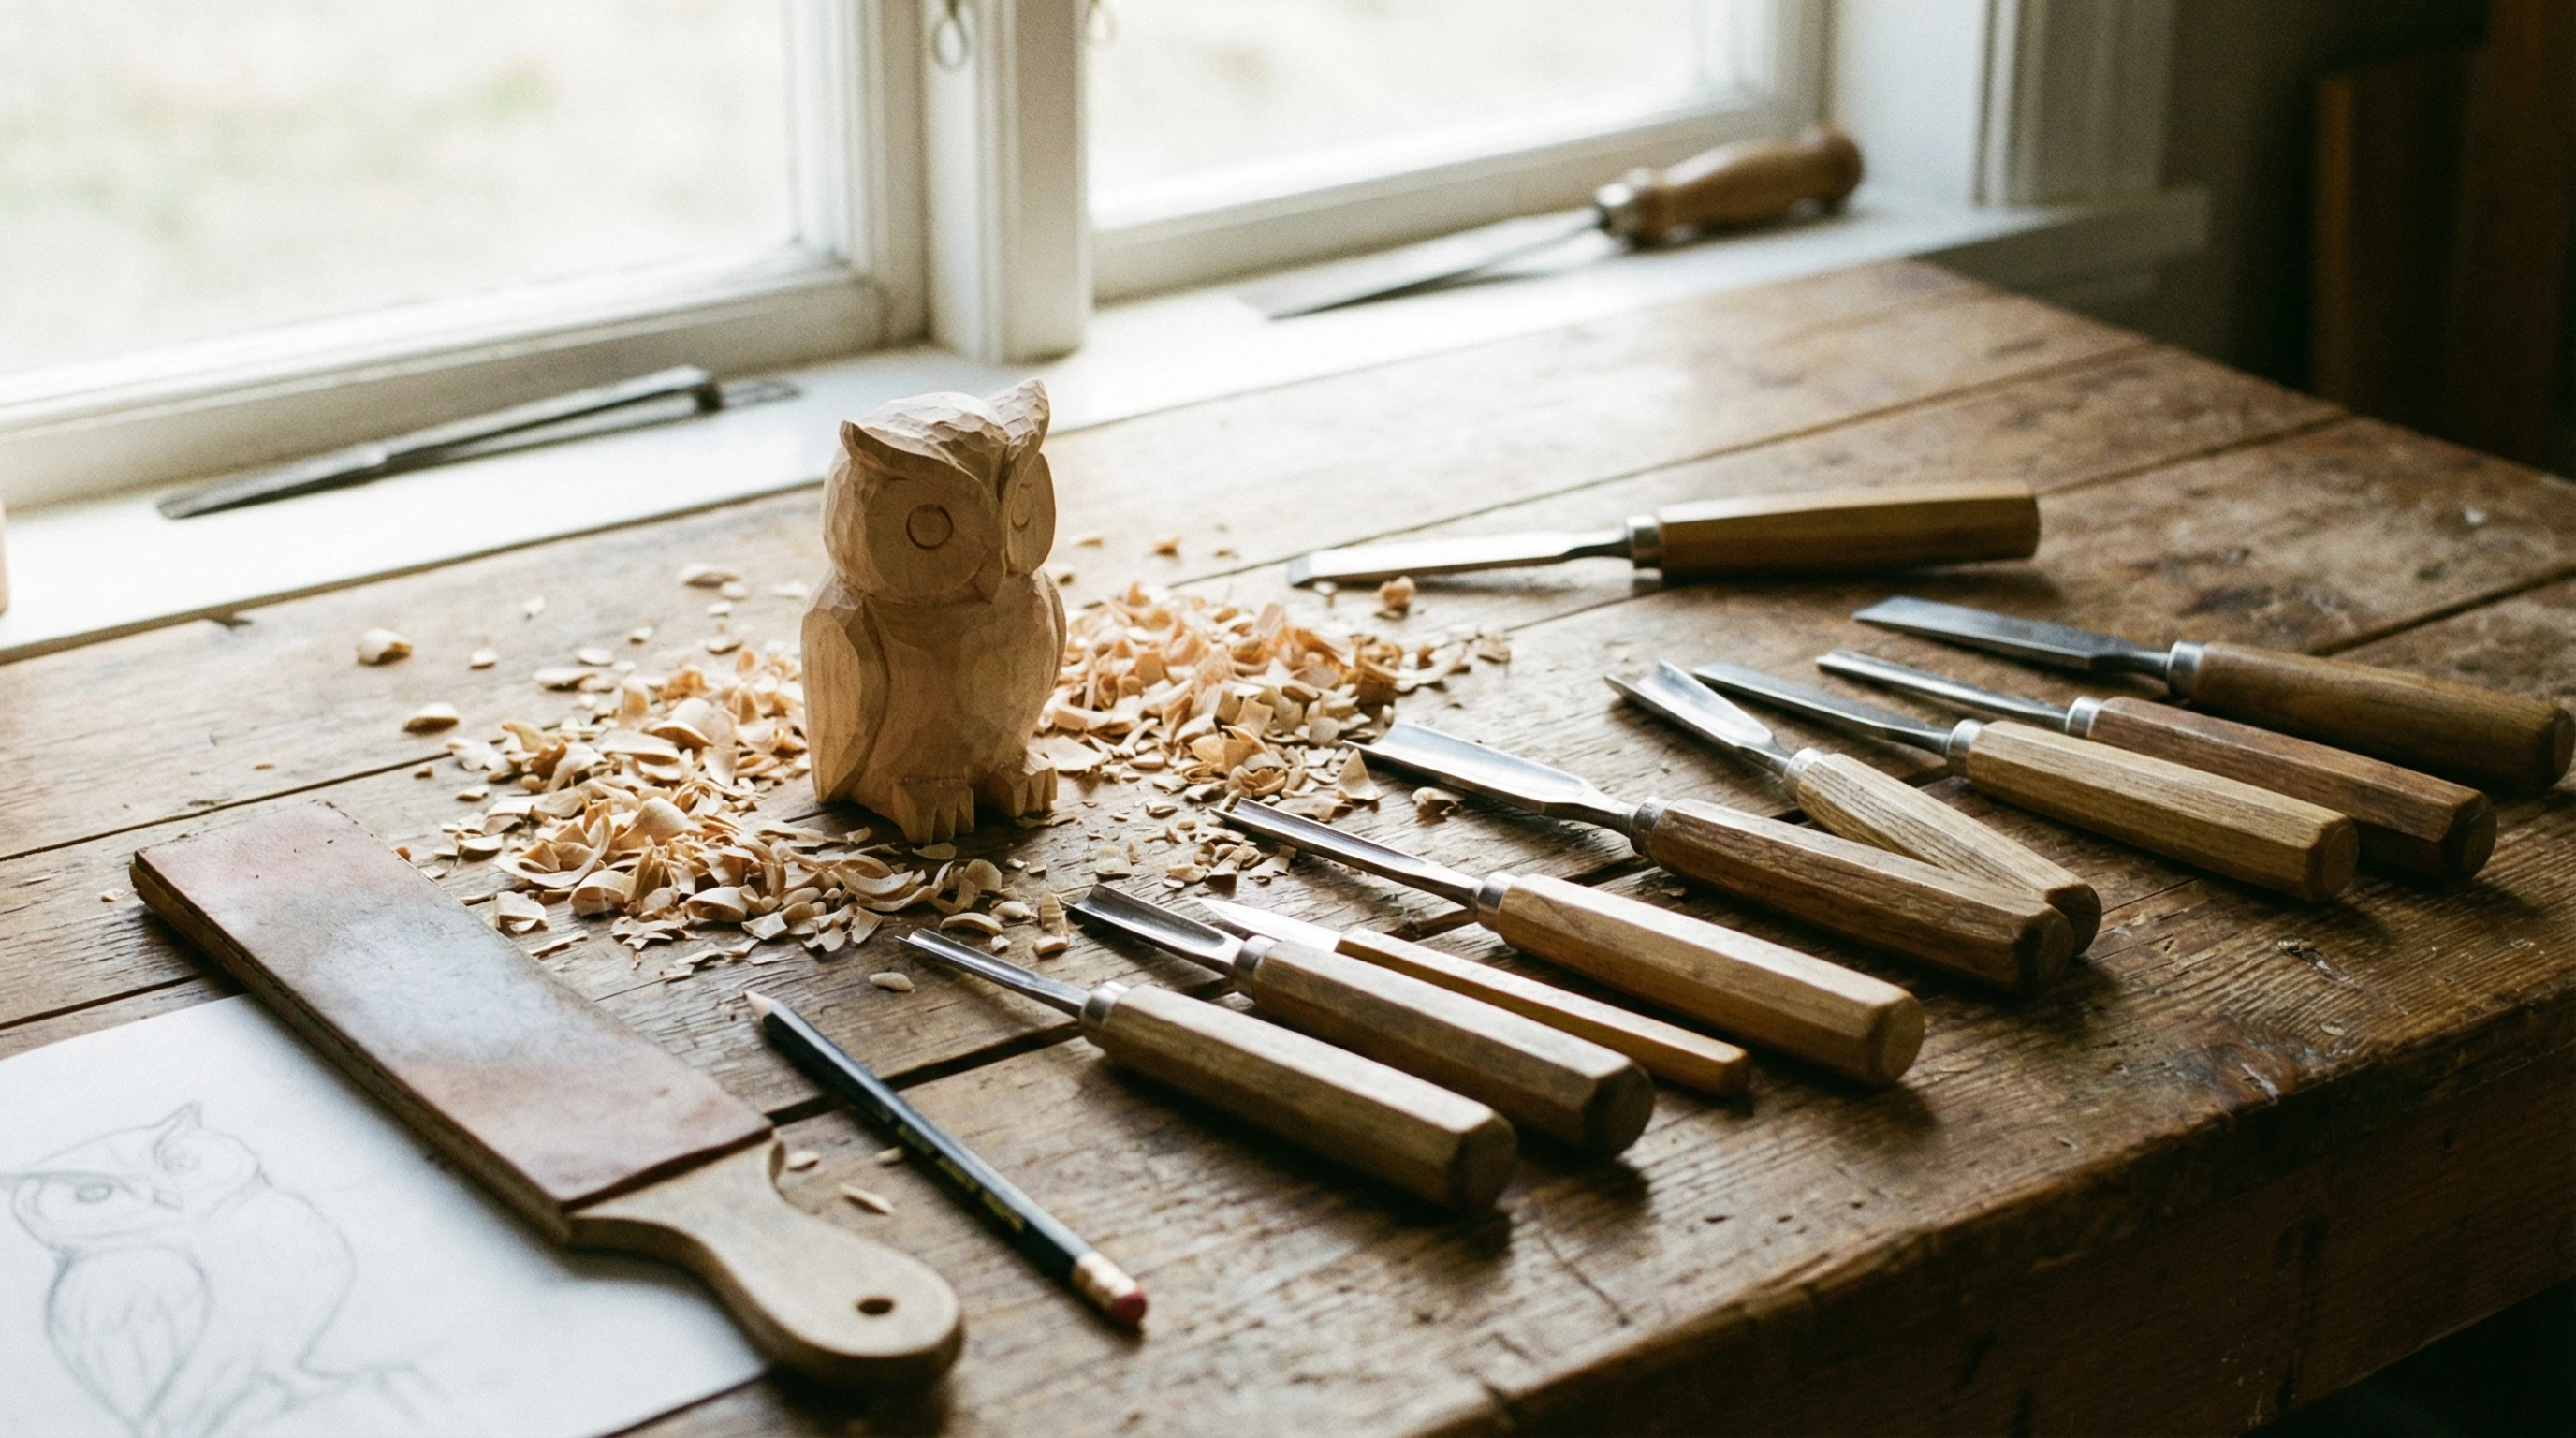
- Gouges and Chisels: These come in different shapes and sizes and are used for scooping, curving, and hollowing out wood. A few starter gouges in U and V shapes are pretty handy.
- Wood Types: Basswood and pine are popular for beginners. They’re soft, easy to shape, and won’t dull your tools as quickly as harder woods.
- Sharpening Stone and/or Strop: Keeping your blades sharp is really important for safety and good results. A small whetstone or strop does the trick.
Starting with a small, quality set helps you avoid frustration and gives you better control as you pick up new techniques. There are plenty of affordable carving starter kits worth checking out when you’re ready to buy. You may want to look for kits that offer a carving glove or thumb guard, as these can add a layer of safety while you’re still getting used to your blades. These safety items can also be purchased separately.
Main Wood Carving Techniques Every Novice Should Know
Once you’ve got your tools, you’ll want to try out some basic carving techniques. Practicing each approach teaches you how wood behaves and helps avoid injuries or accidental chips. Taking the time to learn each technique builds good habits for all your future projects.
1. Whittling
Whittling is the simplest form of wood carving, usually done with just a knife. You’ll work on small projects like animal figurines, walking sticks, or simple utensils. It’s a great way to get a feel for the grain and how the knife moves through the wood. The motions used are straightforward, and with regular practice, your ability to shape objects will quickly improve.
- Tips for Whittling: Always cut away from your body, and make short, controlled strokes. Keep your knife sharp. Dull blades are more likely to slip and can cause accidents. Many beginners prefer to start with basic sticks or small blocks — these help you focus on technique over design complexity.
2. Relief Carving
Relief carving involves creating raised designs on a flat board. Think of a leaf or flower pattern that stands out slightly from the background. You’ll use gouges, chisels, and sometimes even a small mallet to shape and smooth the details. This method is ideal for plaques, decorative panels, or personalized signs.
- Beginner Relief Projects: Try a simple plaque or coaster. Outline the shape, then remove layers around your design to make it stand out. Practicing on softwood scraps gives you a chance to see how to manipulate depth and shadow with your tools. I often think of this as removing the extra wood from around the art contained within. Mistakes/chips are common. While you can’t replace a chipped section in most cases, you can often pivot in your design and adjust the final concept in many cases.
3. Chip Carving
Chip carving is about taking out small chips of wood to leave behind a pattern, often on flat surfaces like boxes or panels. It’s really popular for geometric designs and borders, and doesn’t require a lot of different tools to get started.
- Key Moves: This technique uses very specific cuts, usually three for each chip. Your chip carving knife needs to be precise and sharp. Drawing guidelines with a pencil before carving can help keep shapes even. Patience is also important — intricate patterns come together one chip at a time. This technique is not as popular and usually reserved for those that have gained some experience in carving.
4. Carving in the Round
With carving in the round, you’re making three-dimensional figures: animals, human forms, or decorative objects. This method can get more challenging, but even simple rounded shapes like eggs or birds are fun for beginners. Over time, you’ll find this approach opens the door to countless creative and practical projects.
- Practice Ideas: Start by sketching or outlining your subject directly onto the wood block. Then, carve away excess wood from the sides, rotating the piece as you go. It can help to study finished carvings or real objects for inspiration.
Step-by-Step Guidance For Your First Carving Project
- Pick Your Wood: Choose a piece of basswood or pine. Both are soft enough for beginners and less likely to split.
- Draw Your Pattern: Use a pencil to outline your project directly onto the wood. Simple shapes are easier when starting out — think animals, leaves, or basic spoons.
- Make Safe, Controlled Cuts: Take your time and pay attention to which way the wood grain runs. Cutting with the grain helps avoid tearing the wood. Each pass should remove just a bit of material; rushing rarely leads to good results.
- Utilize Stop Cuts: A stop cut is a cut you make initially on a line you intend to carve up to, to create a boundary—like a tiny wall in the wood. This is typically made with a carving knife. Your next cut removes wood and stops at that boundary you created so it’s far less likely to run past your line. This way you can avoid cutting too far on a project and removing wood you didn’t mean to.
- Shape with Basic Tools: Use your carving knife for most of the work. Switch to gouges for deeper or rounded cuts or if your project calls for more dimensional shapes.
- Finish the Edges: Once you’ve carved your main shape, use fine sandpaper to smooth any rough spots, always sanding along the grain. You might also want to apply food-safe mineral oil if you’re planning to use your finished piece in the kitchen.
Common Challenges Beginners Face, and How to Handle Them
- Dull Blades: Carving with a dull knife is not only frustrating but can actually be dangerous. Sharpen your tools regularly, ideally before each new session, to keep cuts clean and reduce effort. Frequent honing keeps the edge keen and ready for even soft woods.
- Splitting or Chipping Wood: Picking soft woods and going slow helps. Try to work with, not against, the grain. Don’t force your blade; let the tool do the work. Over time, you’ll start to spot changes in texture or color that warn you of tough spots or knots ahead.
- Hand Fatigue: Carving can be tough on your hands at first. Take breaks, stretch your hands often, and avoid working too long without a pause. Some carvers wear fingerless gloves for added padding and grip.
- Project Overwhelm: It’s easy to feel stuck if things aren’t turning out how you imagined. Stick to small, manageable projects until you build confidence. Celebrate progress, even if it’s not perfect — every finished piece teaches something new.
More About Wood Grain
The direction in which wood fibers run, commonly called the grain, really affects how your carving turns out. Carving with the grain makes for smoother cuts and reduces the risk of splitting. If you’re unsure which way the grain runs, drag your fingernail gently across the wood; if it catches, you’re likely going against the grain. Always pay close attention to the way the grain looks and feels as you work, and don’t hesitate to adjust your angle for cleaner results. Noticing how the grain shifts within a block can help as you tackle more complex shapes. This comes with experience and you will notice a difference in ease of carving if you are going with the grain as opposed to against it.
How to Keep Your Workspace Safe and Tidy
Wood shavings add up fast, and tools can become hazards if left out. After you finish carving, brush away shavings and store blades with covers or in a safe drawer. Keeping a small vacuum, dustpan, or bench brush nearby helps. I know some who save the shavings to make fire starters with wax and small paper cups. Always close up your workspace if pets or kids are around, and never leave sharp knives unattended. A tidy bench also makes it easier to spot your tools and focus on the creative part rather than searching for lost items.
Moving Forward: Resources and Next Steps
If you’re ready to take things further, there are plenty of books, online videos, and local workshops available for new carvers. Websites like Woodcarving Illustrated and the American Woodcarving Association offer tutorials, patterns, and advice from experienced carvers. Social media groups and forums, such as Reddit’s r/woodcarving, are also great places to share progress and ask questions.
Most importantly, keep your projects simple, sharpen your blades often, and enjoy learning at your own pace. Experiment with new shapes, explore different woods, and make gifts for family or friends along the way. Whether you’re making small gifts or just honing a new hobby, each piece you finish is a step forward in building your skills. Over time, you’ll see just how much you can create with a few simple tools and your imagination.