Replicating famous art pieces in wood holds special charm for both woodworking fans and art aficionados. There’s something really satisfying about turning iconic paintings or sculptures into unique wooden versions, blending a famous artist’s creativity with your own craftsmanship. A good number of people pick up this hobby to pay tribute to legends in the art world. If you’re interested in the basics, the gear you’ll need, or how to start, here’s a guide to help you get into it and make your first piece a success.
Why People Replicate Famous Art in Wood
Taking a well-known painting or sculpture and creating a wooden version provides perks that keep carvers coming back for more. Some folks do it to get a better feel for the techniques used by legendary artists; others just love having a one-of-a-kind (maybe two-of-a-kind?) conversation starter in their living room. Some people do it to feel a connection to their favorite artists while others might do it to show off a little bit, if we’re being honest (and we always are here 🙂 Working in wood brings a hands-on element to art—something you can touch, with grain and texture lending familiar images a fresh look and cool depth.
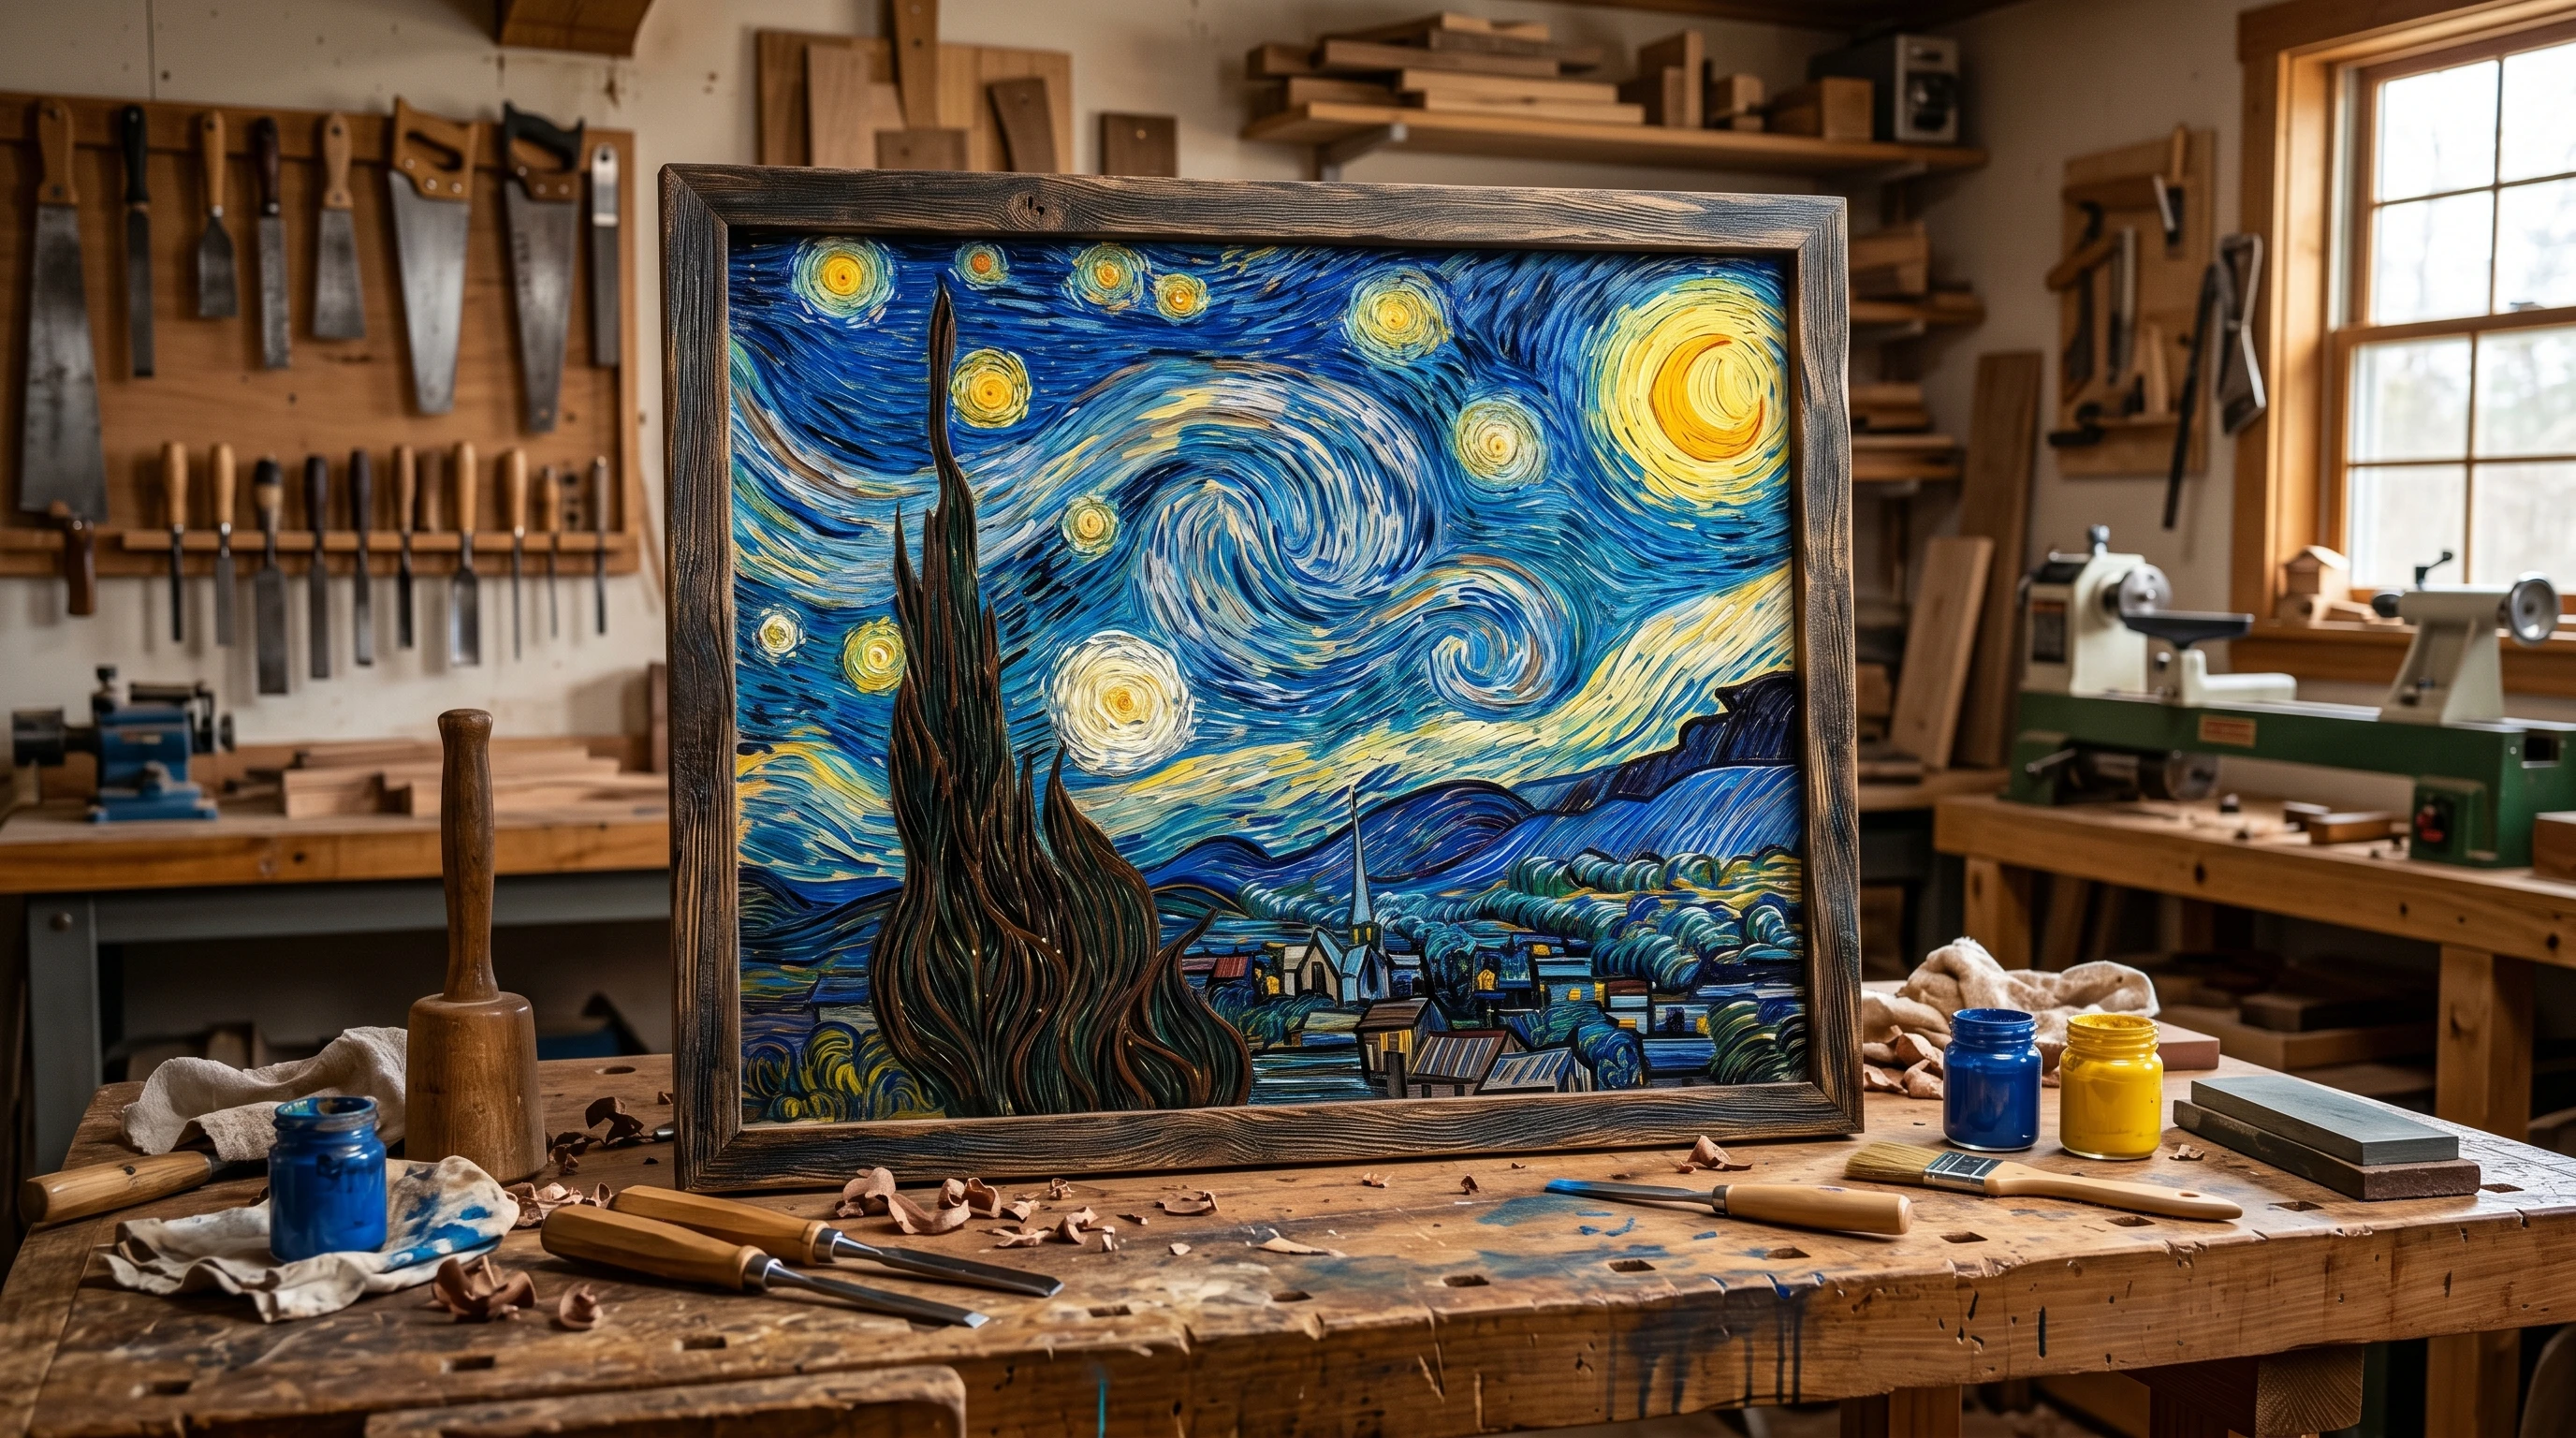
Choosing a popular art piece means you already have a design blueprint. Whether it’s Van Gogh’s swirling “Starry Night” or Mondrian’s straight lines and vibrant color blocks, wood adds real dimension— quite literally. These wooden takes become creative reinterpretations, as some crafters stick close to the original design while others throw in their own twist. It’s a fun way to explore woodworking and art history at the same time, while making something genuinely eye-catching to display.
Basic Gear for Replicating Art in Wood
Having the right gear from the start makes the whole process smoother, especially when you’re working on a detailed take inspired by an established piece of art. There’s no need to spend on every tool right away, but a few essentials will definitely make things easier:
- Wood Selection: Softwoods like basswood or butternut are friendly for beginners. Hardwoods such as maple or cherry result in a brilliant, polished look if you’re up for a challenge but they are definitely tougher to carve.
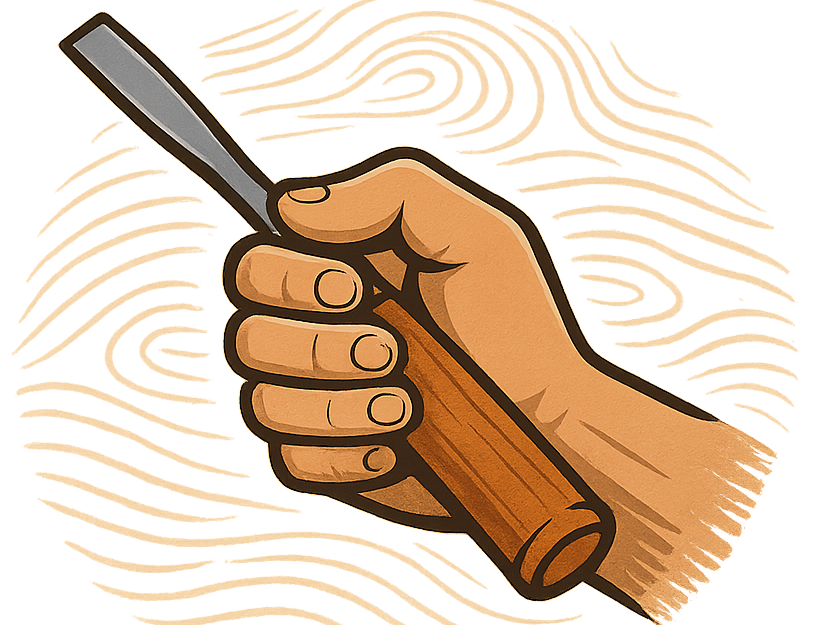
- Carving Tools: A basic set with chisels and gouges gives flexibility, especially for creating different textures or shapes.
- Wood Burner: Great for fine details—outlines, shading, or subtle accents. Not completely necessary but can really add character to a carving while staying true to the wood.
- Sandpaper and Files: Necessary for smoothing curved lines and ensuring your piece feels as good as it looks.
- Finishes: Stain, paint, polyurethane or wax steps up your final piece’s vibe and helps it last.
Lots of makers also use tracing and carbon paper or stencils to trace and transfer the key outlines of masterpiece art onto their wood, which really helps when you’re dealing with pieces that have complex shapes or lots of proportion to keep track of.
Getting Started with Your First Piece
Jumping into your first wood art project might feel intimidating, but planning helps you avoid headaches later. Sketching out your layout and coming up with your methods will give you a smoother ride and keep frustration at bay.
If you’re new to this, start simple. Look for pieces that focus on bold shapes like Picasso’s portraits or Mondrian’s grid designs. Pull up reference photos and break down the art into basic lines and shapes. Sketch these out lightly on your wood with a pencil before picking up your carving tools.
- Preparation: Pick a piece that inspires you. Print out images or save clear digital references.
- Transferring the Design: Use tracing paper or carbon transfer to get accurate lines on the wood surface.
- Planning Techniques: For paintings, wood burning can capture the look of brushstrokes. Carving is a great choice if the art has defined forms or 3D features.
Don’t be afraid to take your time in this phase. Rushing can lead to mistakes, and wood is less forgiving than a canvas! Sometimes, carvers practice on scrap wood before moving to their final block. This way, you can get a better sense of tool control and check if your technique fits the style you’re after.
Troubles You Might Run Into (and How to Handle Them)
Turning famous art into wood isn’t always a breeze. Some classics come packed with wild amounts of detail or tricky shading. Here are problems you might face, plus tips to stay on track:
- Overly Detailed Sections: Trying to mimic every tiny feature can slow you down. Focus on capturing the main forms and use your own style for complex details. Putting your own spin on a work makes it unique and your own. Think of a recording artist putting a spin on a song they cover using their own unique vocal talents.
- Proportion Problems: If things start looking off, compare regularly to your reference. Don’t be shy about making small fixes with carving, sanding, or even filling in spots to even things out.
- Wood Grain Interference: The natural grain sometimes clashes with your design. When possible, position your pattern to avoid knots—or use the character of the grain to add to the art.
Overdoing Detail
It’s easy to get bogged down by trying to capture every brushstroke and highlight from the original. Instead, pick a few areas to zero in on, and let the rest breathe. Most classic pieces are recognized from only a few key highlights.
Getting Depth and Shadows
Shadows and depth are a big part of artwork like the Mona Lisa. Use burn lines or carve with different depths to create a multidimensional effect. Light washes of paint or stain also help shadows stand out and add richness to your woodwork.
Color Choices
You aren’t locked into the original’s color scheme. Bold stains, single tones, or mixing bright colors can set your version apart. Have fun with it! That’s what the hobby is all about. Some makers keep the wood natural while others go all out with painted or stained finishes—it’s up to you!
Tips for Taking It to the Next Level
Ready to add your own twists and step up your builds? Here are ways to really make your wood artworks pop:
Try Mixed Media: Combine wood with resin for a glossy finishing touch, or put in some metal bits for extra flair. Mixing materials can create a next-level cool effect and make your projects unique.
Layered Wood Techniques: Create depth and movement by stacking or layering your pieces. Especially effective for cubist or pop art projects, this 3D approach gives your work a gallery-quality look.
Highlight the Grain: Embrace the natural patterns of the wood. Following the wood’s flow gives your art a truly handcrafted, organic vibe that stands out compared to flat print reproductions.
Frame It Creatively: A handmade frame—or even a live wood edge, something I happen to love the look of—can complement your piece and finish it off with style. The display you pick adds to the story your art tells.
Experiment with Scale: Go for mini pieces for desktop flair, or supersize your work for serious wall impact. Switching up the size changes how the art feels and gives you even more room to experiment.
Wood Choice: As mentioned above a softer wood like basswood is nice and easy to work with for a relief project or for carvers new to the hobby. Make sure it’s properly dried (kiln-dried is one method) to prevent future warping.
Frequently Asked Questions
Lots of beginners have similar questions about mixing art and woodworking. Here are common ones answered to help you along:
Question: Do I need advanced carving skills to start replicating famous art in wood?
Answer: Nope! Many folks start with simple outlines, learning as they go. Pick straightforward designs to get comfortable—then try more complex styles later.
Question: Can I add my own style to my wood replication?
Answer: Absolutely! Some of the best projects layer in unique colors, highlights, or surface textures. It’s your project—put your stamp on it.
Question: What’s a good size to start with for my first project?
Answer: Something about 8×10 inches is perfect: enough space for details but still easy to handle and finish up.
Moving Forward with Art Replication
Replicating classic art in wood opens the door to all sorts of creative upskilling, hands-on learning, and lasting expression. Each project sharpens your skills and helps you look at old favorites in completely new ways. Whether for decorating your space, finding a new creative outlet, or making memorable gifts, this hobby offers tons of ways to get inspired—and see real progress.
Getting started isn’t tough. Grab just a handful of tools and materials, pick an art piece that excites you, and get to work. Keep it simple, experiment a bit, and don’t worry about making every line picture-perfect. Your collection will grow over time, each project a reflection of your creativity and skill.
Making art from wood is as much about enjoying the adventure as it is about showing off the end results. Get into it, pick up new tricks along the way, and you’ll be amazed at where your creativity leads!