Carving animal figures from wood is one of those crafts where simple hand tools actually open up a ton of creative possibilities. If you’re just getting into this hobby or you’ve been dabbling for a while, picking the right tools early on can really make a difference. Here are some hand tools you’ll want in your kit to get started with animal wood carving, plus a bunch of tips so you can avoid common hang-ups and enjoy the process.
Hand Tools Every Animal Wood Carver Should Have
There’s no need to grab every tool in the woodworker’s aisle. A modest, reliable setup goes a long way, especially when the goal is smooth, precise cuts and details. Learning what each tool can do will set you up for success as you bring animal forms to life out of ordinary wood blocks.
Wood carving has deep roots around the globe, from Scandinavian folk art to Native American figurines. The classic tools below have stuck around for a reason. They’re tried and true for shaping, detailing, and finishing small animal figures.
Basic Tools to Start Carving Animal Figures
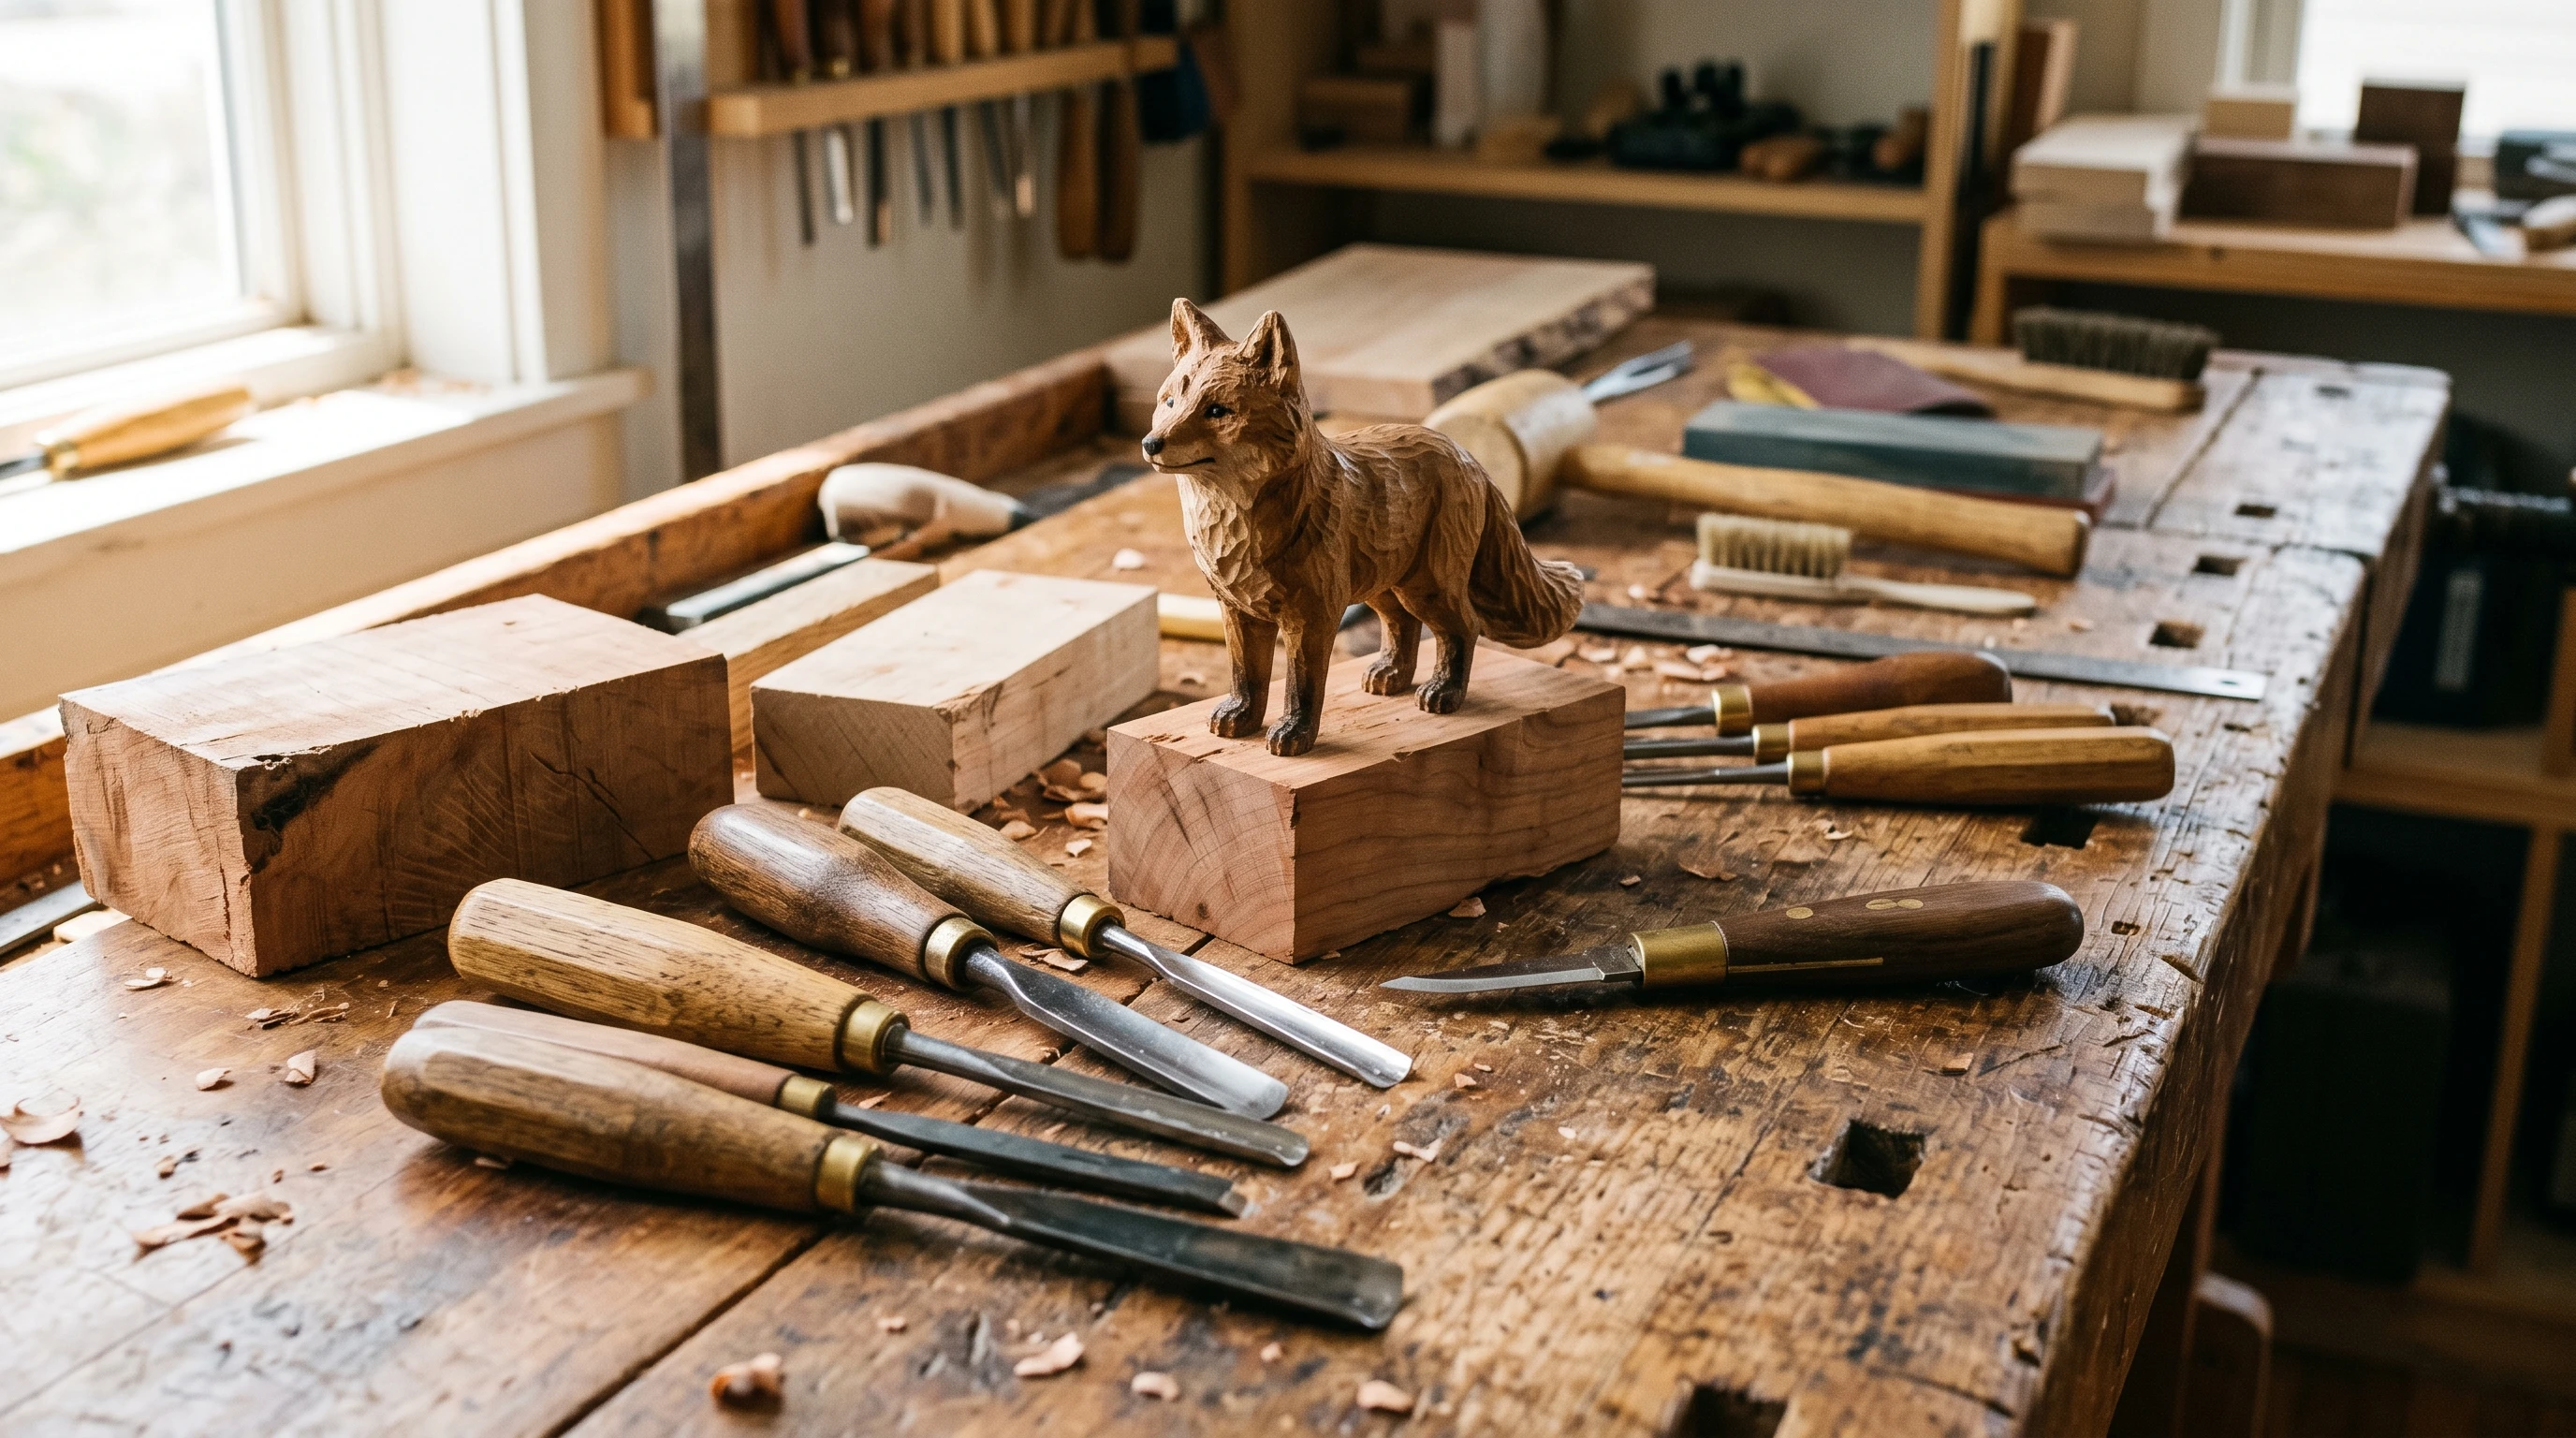
Here are the main tools you’ll want:
- Carving Knife: This is your go-to for rough shaping and detailing. Look for one with a sharp, curved blade and a comfy handle. I like the feel of a wooden handle while it also connects to the craft.
- Gouges: These curved chisels help hollow out areas and round over forms, like the body of a duck or the haunches of a bear. A medium-sized #7 straight gouge is quite versatile for beginner projects.
- VTools: Great for adding fur texture and separating features like ears or claws. A 60-degree Vtool will work for most animal detailing. I also like these for starting stop cuts and then going back over with a carving knife.
- Chisels: Flat chisels clean up lines and establish hard edges. They’re especially handy for cutting in sharp beaks.
- Sharpening Stone: Switching between tools is only smooth if they’re sharp. A basic oil stone or ceramic sharpener keeps blades razorready, which is really important for safe, accurate carving
Choosing the Right Wood for Animal Carving
Wood selection affects how easy your animal comes to life. Softer woods like basswood are pretty forgiving and can handle beginner mistakes. Many carvers start with these for their workability and low splitting risk. If you find yourself in a pinch and can’t access basswood, butternut or pine also work well.
Quick Guide: Getting Started Carving an Animal Figure
Once you’re set up, it’s tempting to jump right in. Slow down a bit and build confidence with a few basics:
- Pick a Simple Animal: Start with an easy form, like a sitting bird, cat, or bear. Complex antlers or thin limbs can wait. Dolphins work well too as the basic body shape is smooth and round. The fins can get tricky but plan ahead and take it slow.
- Trace or Sketch Your Pattern: Draw your design on paper first, then transfer the outline to your wood blank with graphite paper or by sketching directly on the wood. For a 3-D object like an animal figure sketching on the wood is best. As you carve it’s ok to go back over your design with a pencil as the original marks will fall away with the wood you remove.
- Rough Out the Form: Use your carving knife to block in the main shapes. Focus on removing large pieces of waste wood first; don’t worry about details yet.
- Shape with Gouges: Round over the body and form curves, like the belly, back, and head. Gouges make short work of contours.
- Add Details with VTools and Chisels: With the rough form done, move to finer tools to carve in ears, fur, or faces. Keep your blades sharp for tight spots.
- Sand and Finish: If you want a polished look, sand lightly and finish with beeswax or oil. This step is optional for a more classic, carved look.
Practicing these steps helps develop blade control and an eye for proportion, which are both super important for realistic animal figures.
Common Challenges in Animal Wood Carving and How to Tackle Them
Every beginner faces a few bumps, especially with trickier woods or fiddly animal forms. Here’s how to work through some of the usual problems:
- Wood Splitting: Carve with the grain when you can instead of against it, especially when shaping delicate parts like legs, tails, or ears.
- Dull Tools: Nothing stalls progress like a blade that drags or skips. Stop and sharpen regularly, especially before detail cuts. It keeps you safer and helps avoid accidental gouges.
- Losing Details: It’s easy to carve away a little too much, especially around facial features. Slow down and use reference photos, or keep spare blanks for practice.
- Hand Fatigue: Make sure your tools and bench height are set up comfortably. Take breaks and stretch out your hands if you start to cramp. This is more important than you think when you start. The goal is to keep it fun and enjoyable so slow down if needed to not cause any pain.
Sharpening Tips
Sharpen early and often. For knives, an oil stone or a ceramic sharpener works. For gouges and Vtools, you can try a slipstone (a small tapered sharpening stone) so you can get into the curved edges. Stropping on a leather strip loaded with polishing compound gives you that razor finish. There are shaped strops for Vtools and curved gouges as well.
Carving Small, Thin Parts
Animal figures often have delicate sections, like bird beaks, deer legs, or tails. To keep these from breaking, make thin cuts and work slowly. If something does snap, wood glue or epoxy can fix small breaks, especially after finishing and painting.
Useful Extra Tools for Advanced Animal Carvers
While you can do plenty with a basic set, sometimes a few upgrades or extras help tackle more complex projects:
- Bench Hook or Carving Clamp: Holds your work steady so both hands are free, which is a huge help for stubborn pieces.
- Detail Carving Knives: Smaller, finer tipped carving knives let you get into tiny features, like animal eyes or snouts.
- Micro Gouges and Veiners: These tiny gouges dig out deep lines for fur or feathers.
- Wood Burner/Pyrography Pen: Adds extra texture or shading, really useful for emphasizing fur direction or feather patterns.
If you ever want to paint your animal figures, simple acrylics work, and a set of small brushes lets you add personality to the final piece. Finish after painting with a clear coat of polyurethane (spray on is convenient) or oil.
Finishing Up
Getting started with woodcarving animal figures doesn’t require a huge investment or an intimidating tool chest. With a sturdy knife, a couple gouges, and a bit of patience, you can shape beautiful wooden creatures right in your own home. Embrace the learning curve, keep your tools sharp, and don’t sweat mistakes. Every slip and chip is part of the adventure. If you’re curious for more inspiration or tool reviews, sites like Woodcarving Illustrated and Woodworker’s Journal are worth checking out. Happy carving!