Wood carving as a way to create functional art feels rewarding and brings a personal touch to everyday life. There is nothing quite like using a spoon you created to serve up some salad. An even better feeling is witnessing someone else use an item that you carved and gifted to them. It’s a sense of warmth and pride in accomplishment that is a bit hard to describe. From unique kitchen utensils to decorative furniture, blending utility with creativity lets each carved piece become both a work of art and a practical object. Even simple projects can turn into items for daily use.
Why Create Functional Art with Wood Carving?
Making practical items by hand feels a lot more personal than picking up something off a shelf. The process combines the warmth of natural materials with designs that match your own taste or needs. Wood carving as a practice goes way back, and it’s always been about blending beauty with everyday use. Historically, carved spoons, bowls, and tools weren’t just for show; they played a direct role in daily living.
The cool thing about functional art is that you can shape almost anything you need, such as a simple salad bowl, a tray designed for your table, or a toy that reflects your style. With the right techniques, you’ll see results after a bit of practice. In today’s world, these handmade items really stand out among the flood of mass-produced plastic throw-away goods.
Starting Out: Tools and Materials You’ll Need
A good wood carving project begins with having the best tools for your situation, but it doesn’t have to break the bank. There are a few basics that I think every beginner should get to know:
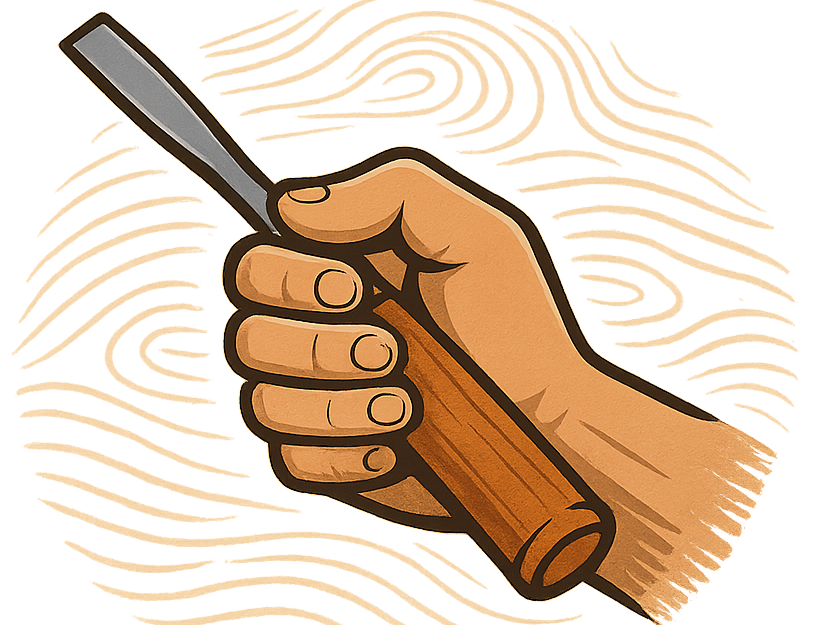
- Carving Knife: The workhorse for most beginner projects. Look for something sharp with a sturdy handle, easy to control for small details and simple cuts.
- Gouges and Chisels: These come in different shapes and sizes and help scoop or slice away larger sections, adding curves or hollowing out spots in your piece.
- Mallet: Especially useful when you’re using larger chisels or working with a tougher hardwood. A wooden or rubber mallet works well.
- Sharpening Stone: Keeping your tools sharp is super important for safety and results. A simple sharpening stone gets the job done.
- Sandpaper: Helps smooth out your piece at the end, taking it from rough to comfortable and ready to use in everyday life.
As for materials, soft woods like basswood, pine, or butternut are usually easier to carve and ideal for beginners. Once you get some confidence, trying out harder woods like walnut or cherry can be a fun challenge. Always check that your wood is dry; green (fresh) wood can be unpredictable and might crack as it dries out. You can find wood to carve at local woodworking shops, sometimes at home improvement store like Menards, or on Amazon to name few.
Choosing Projects with Real-World Use
Functional art includes anything meant to be used, not just admired. Below are some ideas I recommend to anyone starting their wood carving adventure:
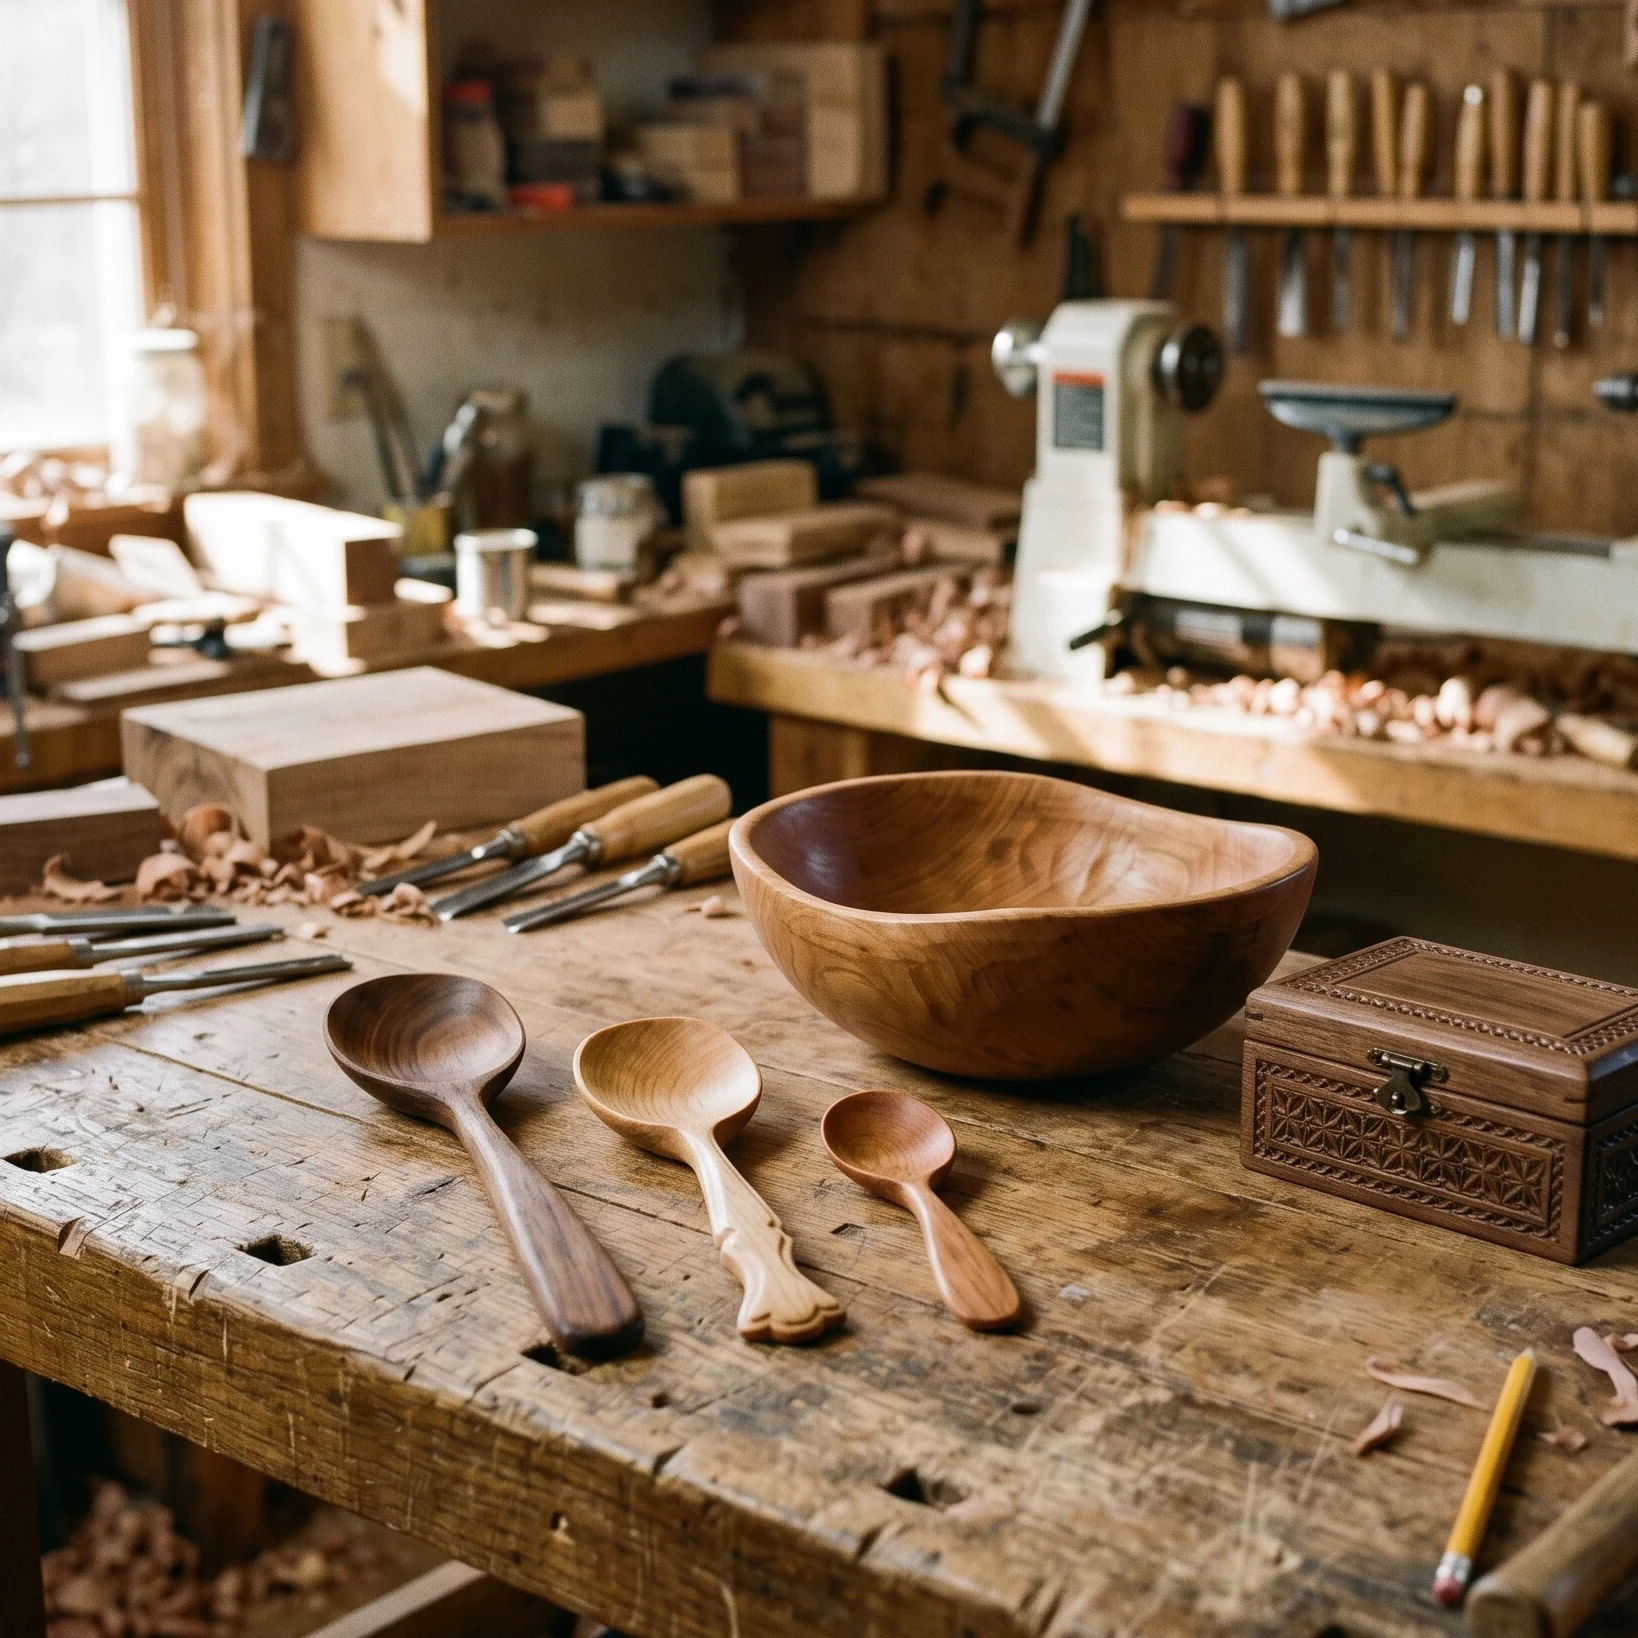
- Spoons and Utensils: Simple shapes like spoons or spatulas are perfect for learning technique and smoothing skills. Plus, you’ll actually use them.
- Bowls and Cups: Carved bowls can work as serving dishes or catchalls for keys and coins. Just make sure you choose food-safe finishes if you’ll be using them in the kitchen.
- Trays and Cutting Boards: These are a bit larger but let you try out flatwork (cutting boards) or shallow relief carving (trays) for decoration.
- Hooks and Hangers: Great for organizing your home; you can personalize them with motifs that fit your style.
- Toys and Puzzles: Safe, chunky shapes like animals or simple interlocking blocks make go-to gifts for kids.
Whatever you pick, aim for something you’ll want to keep around. That way, every moment practicing brings real rewards.
Step-by-Step Guide to Your First Functional Carving Project
Kick-starting your first project doesn’t have to be intimidating:
- Pick Your Project: Choose something simple, like a butter knife or coffee scoop. Look for examples and pattern templates online if you need inspiration.
- Sketch Your Design: Use pencil to trace your shape right onto the wood’s surface. Don’t worry about getting fancy; the outline is mostly for guides.
- Rough Out the Shape: Following proper safety precautions like gloves and eye protection, using a saw or big gouge, remove the large unwanted sections first. This preps the blank for more detailed carving.
- Shaping and Adding Details: Switch to a carving knife or smaller gouges, refining the form and adding curves, edges, or decorations as needed.
- Smoothing It Out: Once you’re happy with the shape, sand the surfaces for comfort and a nice feel. Pay extra attention to spots that will touch food or skin.
- Finishing Steps: Apply a food-safe oil (like mineral oil for utensils) or a food-safe natural wood wax. This helps protect the item and brings out the wood’s natural grain.
Take your time with each step, especially as you’re learning. Rushing through carving often leads to mistakes or injuries. Spending a little extra time with details and finishing will leave you with an item you can be proud of for years to come.
Common Challenges and How to Tackle Them
- Tool Control: Uneven cuts or accidental slips are pretty common when starting out. Practicing basic strokes on scrap wood before working on your main piece helps.
- Splintering: Sometimes, wood can chip or splinter, especially at edges. Always carve with the grain and keep your tools sharp, which makes this way less likely. Don’t get too frustrated with a small chip or splinter. Do your best to smooth it out. Things like this give character and authenticity to your work.
- Finishing Mistakes: Over-sanding or using the wrong finish can dull designs or make things feel sticky. Try to stay true to the wood, let it stand out. Also, testing oils or finishes on a scrap piece lets you see how the wood will react.
Tool Control in Tight Spaces
When detail work is needed, like handles or the bowls of spoons, switching to a smaller, sharp blade makes all the difference. Short, controlled strokes help prevent injuries and give a cleaner look.
Dealing with Wood Grain
Wood grain can be unpredictable. Sometimes, even the best plan can go sideways if a knot or twist gets in the way. If you hit a tricky patch, approach from a different angle, or consider turning that “mistake” into a design element, such as a rustic handle or carved decoration.
Tips and Tricks For Creating Unique, Practical Pieces
Here are some ideas to liven up your next wood carving project:
- Try Relief Carving: Instead of leaving surfaces plain, add shallow designs, such as leaves or geometric patterns, to trays or the handles of utensils.
- Add Color: Just a touch of watercolor or food-safe paint can highlight features without compromising safety or finish.
- Mix Materials: Small metal pins, leather straps, or even a bit of rope can complement wood, especially on things such as hooks or jewelry stands.
- Custom Fit: Carve handles to match your hand, bowls that fit the shelf, or utensils for a specific pot or pan you use a lot. That’s the benefit of going handmade!
Exploring different finishing techniques is also worth the effort. A soft wax gives wood a matte look, while a few coats of oil provide a low-gloss finish that holds up to regular use. Adding multiple coats and buffing between them will increase durability and appearance, especially for kitchen items or things exposed to water. Don’t be afraid to experiment with natural stains, like coffee or tea, for subtle color shifts.
Which Woods Work Best for Functional Carving?
Wood choice really matters, especially for things you’ll actually put to work around your house. Here’s a quick breakdown of a few favorites:
- Basswood: Soft, uniform, and super easy to carve by hand. Great for utensils, small bowls, and detail work.
- Cherry: A little harder, but polishes up beautifully. Gorgeous for bowls and cutting boards, with a warm red tone.
- Maple: Durable, nontoxic, and resists wear, good for items that will see daily use, like spoons or serving trays.
- Pine: Easy to shape and lightweight, but can be resinous. It’s great for projects where weight matters, such as wall hooks.
Always check if your chosen wood is safe for food, if that’s your goal. Some woods, such as walnut and oak, release tannins that could affect food flavor, so they’re better for display pieces or nonfood use. When in doubt, ask a local woodworker or do a little research to ensure your projects are safe for everyone who uses them.
Bringing Functional Art into Your Everyday Life
Creating things you can use every day takes wood carving from a hobby to something that actually shapes your lifestyle. Whether you’re making gifts or building custom kitchen gear for yourself, these projects become stories in your home. Every carved spoon, tray, or hook adds a touch of personality that storebought goods just can’t deliver. Practicing patience, paying attention to details, and working safely make the adventure really enjoyable, and the results are always worth it. The satisfaction comes not just from creating, but from using your handmade objects over and over, making daily life a little brighter and a lot more personal.