Keeping carving tools clean and well maintained makes carving smoother, easier, and safer. Whether you’re making little figures, spoons, or bigger sculptures, a cared for tool lineup can really make the difference between a relaxing project and a frustrating one. The time spent in keeping tools sharp and clean reduces frustration while working on a project, which makes the hobby that much more enjoyable. It will help to keep you engaged and excited about carving, rather than putting your tools down because they aren’t working smoothly and possibly giving up such a great creative outlet. Here’s a guide on cleaning and maintaining your carving tools, perfect if you’re just getting started or looking to freshen up your routine.
Why Cleaning and Maintenance Matter for Carving Tools
Carving tools work best when kept sharp and clean. Resin, sawdust, or oils from your hands can build up quickly on blades and handles. Regular cleaning doesn’t just help your tools last longer—it keeps carvings accurate and helps avoid snags, slips and chips. Tools in good shape also tend to need sharpening less often, which saves time in the long run.
Neglect can lead to rust, dull edges, or even cracked handles, especially if you live somewhere humid or keep your tools in a damp garage or basement. Also, when tools are clean, it’s easier to spot chips or issues before they turn into bigger problems.
Getting to Know Your Carving Tools
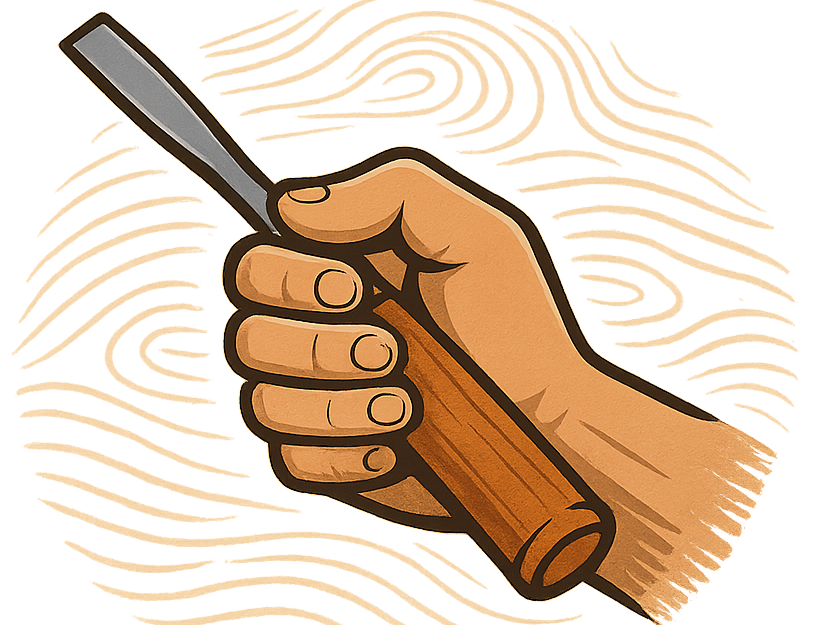
There are a bunch of different carving tools: gouges, chisels, knives, Vtools, and specialized blades come in all shapes and sizes. Most have carbon or stainless steel blades, and handles are usually wood or plastic. Every material needs a slightly different cleaning touch, but the basic ideas are the same: avoid moisture where you can, clean regularly, and store properly.
- Gouges: These have curved blades and scoop out wood.
- Knives: Straight or hooked, these give you control for details and shaping.
- Chisels: Good for straight cuts and cleanup.
- Vtools: Used for lines, texturing, and detail work.
Knowing the parts—blade, ferrule (the metal collar by the handle), and handle—helps when figuring out where grime collects and how to clean it. Sometimes, gunk likes to hide around the ferrule, so be sure to check that area closely when cleaning.
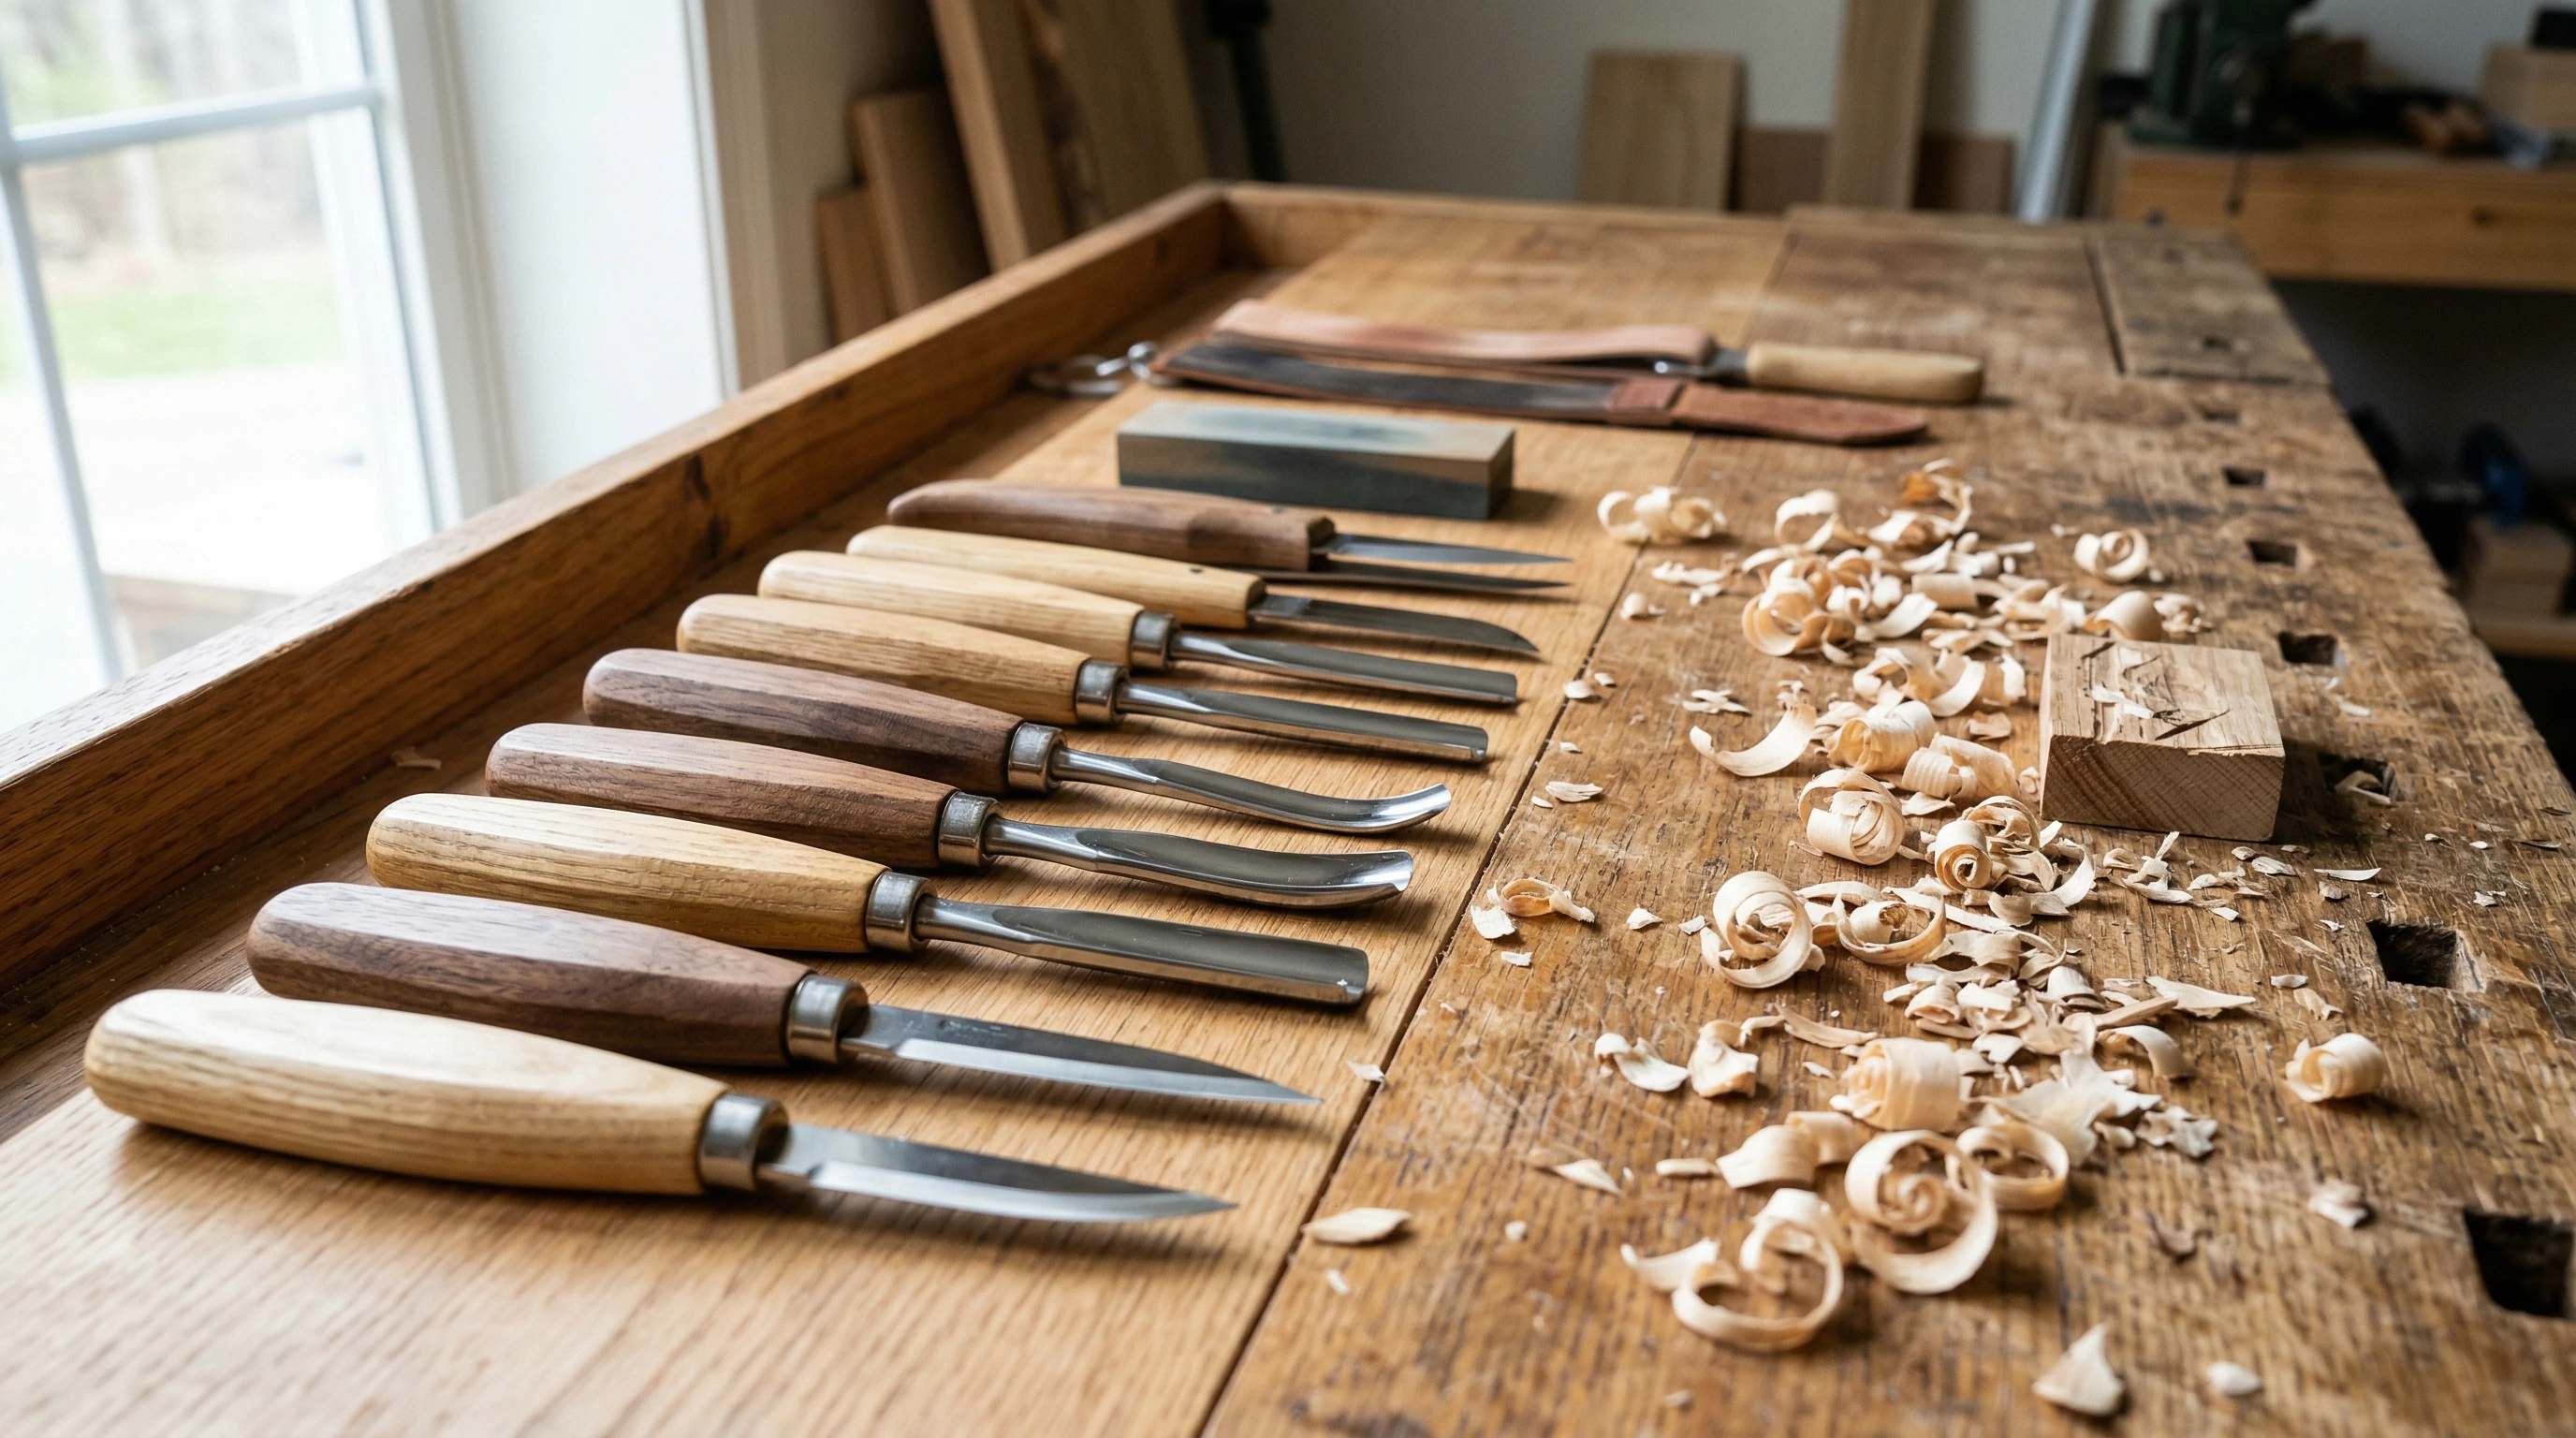
The Basics: Cleaning Carving Tools Step by Step
Cleaning isn’t complicated once you make it part of your routine after each session. Here’s how to keep things simple:
- Remove Loose Debris: Use a soft bristle brush or compressed air to get rid of wood dust and chips.
- Wipe Down Blades: A soft, lint free cloth works well. For stubborn sap or resin, a little mineral spirits (applied to a rag, not poured on the tool) does the trick. Always wipe blades dry immediately after. Exercise great care not to cut yourself while wiping blades.
- Clean Handles: Wood handles can be wiped with a slightly damp cloth (not soaking wet). If there’s gunk stuck on, a drop of mild soap helps. Dry fully after cleaning to avoid swelling or cracking.
- Inspect for Rust: If you see orange spots or flakes, rub gently with fine steel wool or a rust eraser. Applying a bit of tool oil helps stop rust from coming back.
For tools used with green wood or softwoods, cleanup is especially important since fresh sap left on steel will attract rust fast. If you recently used a tool on sticky pine, for example, be extra thorough when wiping down afterward.
Sharpening and Honing: Keeping Blades in Top Condition
Sharp tools are safer and easier to control since they slice cleanly without forcing. Here’s a quick breakdown of what works:
- Honing: After each project, touch up blades with a leather strop and some honing compound. It only takes a minute or two and keeps edges keen between major sharpenings.
- Sharpening: When I notice a tool getting dull or nicked, Use sharpening stones (coarse, then fine grit). These come in oil, waterstone, or diamond versions. Always follow the angle of the original bevel on the blade and finish up with a strop for that final polish.
If you’re new to sharpening, there are plenty of helpful guides online, and even some affordable honing guides that help keep your angle steady. Try practicing on an old or inexpensive tool first, before jumping in on your main set.
How to Store Carving Tools Properly
Once tools are clean, storage is the next step. Here’s what works well to keep blades rust free and handles safe from splits or mildew:
- Dry Environment: A toolbox or dedicated tool roll (preferably canvas or leather) works great. Avoid leaving tools in damp sheds or basements for long stretches.
- Blade Protection: You can use blade guards or wrap them in a bit of cloth to keep edges from bumping together. Some folks rub a little camellia or mineral oil on steel before storing for a bit of extra rust prevention.
- Don’t Forget Handles: Wood handles appreciate a rub of linseed oil every few months to stay conditioned and help resist cracks.
If you have limited workspace and need to stash your carving tools in a drawer, a simple DIY rack made from scrap wood keeps tools separated and away from moisture or accidental dings.
Quick Tips for Maintaining Tools Long Term
It’s way easier to keep tools in good shape with a simple habit or two. Here are pointers that can prevent headaches:
- Wipe down tools after every session, even if you don’t see obvious gunk.
- Don’t soak wood handles; this can swell or crack them over time.
- Store tools sharp, not dull; keeping them ready makes you more likely to carve again soon
- Treat rust spots early. It’s easier to deal with small patches than rust that’s spread across the whole blade.
Try setting a recurring reminder on your phone at the change of each season, so you remember to check your tools and give handles an oil treatment. Little steps like these help prevent bigger issues later.
Choosing Maintenance Products
There are lots of specialty oils, creams, and cleaning solutions out there, but to be honest, basic mineral oil and a clean rag will solve most issues. If you want to go a step further, look for:
- Camellia oil (for blade protection)
- Renaissance wax (light coat on blades resists corrosion)
- Mild wood conditioner or boiled linseed oil (for handles)
You can find many of these items at hardware stores or even in the kitchen section (mineral oil is often sold as a food safe wood conditioner). They last a long time and don’t require much per use.
Common Challenges and How to Handle Them
- Sticky Resin Build Up: Sap from certain woods can gum up tools in no time. Apply a little mineral spirits to a cloth (not directly to the tool) to break it down. Avoid scraping blades with metal; use wood or plastic tools to keep edges unharmed.
- Rust in Humid Areas: If you live somewhere humid, check tools often and keep silica gel packets in boxes or rolls with your tools. They can make a noticeable difference in keeping things dry.
- Loose Handles: Wooden handles sometimes swell or shrink. If one feels wobbly, a drop or two of wood glue in the ferrule can snug things up. For persistent issues, replacement may be needed. This is also a safety issue, you do not want to carve with a blade that is loosened from its handle.
- Dull or Chipped Edges: This usually means it’s time for a sharpening session. Shallow chips come out with a few passes on a coarse stone; deeper ones may need some pro help or more aggressive sharpening.
Rescuing Neglected Tools
If you come across old or rusty carving tools (maybe at a yard sale, or inherited from a family member), you can often revive them with some patience:
- Remove rust using fine steel wool and oil or a rust remover.
- Clean and condition handles; sand lightly if splinters or rough patches persist.
- Sharpen blades and strop for a final polish.
Taking time on restoration can really pay off. You’d be surprised by how well old tools perform once cleaned up. Sometimes vintage tools, once cleaned and sharpened, can become your favorites because of their unique feel or quality.
Practical Use Cases and Safety Reminders
- Carving Indoors: Always lay down a protective mat or towel to catch any oils, dust, or bits of wood. Good lighting and a stable surface make cleanup easier and help spot issues before they become problems.
- Outdoor Carving: Tools used outdoors often pick up moisture or sap. Give them a quick clean before heading back inside to keep your main storage area clean and dry.
For parents or teachers guiding young carvers, always stress the importance of cleaning and storing tools after use, not only for safety but also so that the habit sticks early. Showing how much easier freshly kept tools work can spark more interest and pride in their projects.
Frequently Asked Questions
Here are some questions and answers from new carvers about tool care:
Question: Can I put my carving tools in the dishwasher if they’re really dirty?
Answer: Never! The heat and moisture are hard on both wood handles and steel blades. Stick with hand cleaning and gentle products.
Question: How often should I oil my tools?
Answer: Wipe a little oil on blades after every few uses and on wood handles maybe once a season, more often if the climate is dry or you use them a lot.
Question: Is there a quick fix for a sticky or squeaky hinge on folding knives?
Answer: A tiny drop of mineral oil or silicone lubricant on the hinge usually fixes it. Work the oil in by opening and closing a few times, then wipe away any extra.
Question: What’s the simplest thing I can do to make my carving tools last longer?
Answer: Give your tools a quick wipe down at the end of each session and store them dry and sharp. This routine alone prevents most major issues.
Sticking With It: Building Good Tool Habits
Getting in the groove with cleaning and maintaining carving tools makes carving more fun and less of a chore. It’s all about getting into a simple cleaning routine—as simple as a quick wipedown at the end of a session, checking for trouble spots now and then, and keeping blades sharp. Over time, you should find that your tools stay in great shape, projects run smoothly, and you get more enjoyment out of every carve.
Whether you’re just starting out or looking to give older tools a fresh start, a little bit of care goes a long way. Happy carving!