Wood carving for beginners is a hands-on way to build confidence and hone your skills. Picking the right starting projects makes your early experiences smoother and far more enjoyable. Simple shapes and useful objects give you a solid place to practice the basics.
Why Start With Beginner Wood Carving Projects?
Starting off simple with wood carving builds a strong foundation. Small, manageable projects let you work on basic carving techniques, tool control, and safety. These early projects focus on shapes that don’t require a lot of complicated skills or rare materials, so you’ll have less frustration and more fun. This is especially true with soft woods like basswood and pine, since they’re easy to carve and forgiving for those learning their way around carving knives and gouges.
Carving as a beginner is all about the adventure. You get to feel the wood in your hands, notice which direction the grain runs, and sort out how to fix small mistakes as they come up. Think of these projects as stepping stones to more detailed work later. You’ll pick up patience, attention to detail, and even some problem solving along the way.
Getting Your Workspace and Materials Ready
Even the simplest wood carving projects need a prepared workspace and the right materials. These basics make your first projects more enjoyable and keep things safe and tidy.
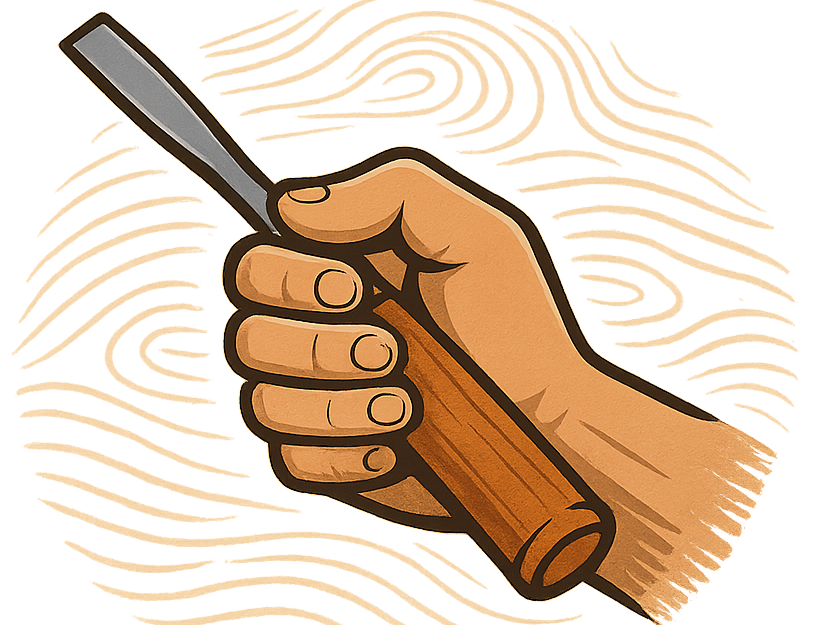
- Sharp Carving Knife: A basic carving knife or whittling knife works for most starter projects.
- Gloves or Thumb Guard: Some carvers prefer a cut-resistant glove or leather thumb guard for safety.
- Soft Wood Blocks: Basswood, pine, or butternut make great beginner choices because they’re easy to carve and widely available.
- Pencil: For drawing your outline directly onto the wood block.
- Sandpaper: For smoothing surfaces and cleaning up any rough spots when you’re done.
- Finishing Oil or a good spray on Polyurethane: To protect the wood and bring out the natural grain once your project is complete.
Setting up in a well-lit area and keeping your work surface clean helps a lot. If your carving knife is dull, sharpen it before starting. Sharp knives make learning much easier and are usually safer, too.
Top Beginner Wood Carving Project Ideas
Picking the right projects for your first try really shapes your experience. These ideas are fun, useful, and teach you skills you’ll come back to again and again. Check out each of these projects:
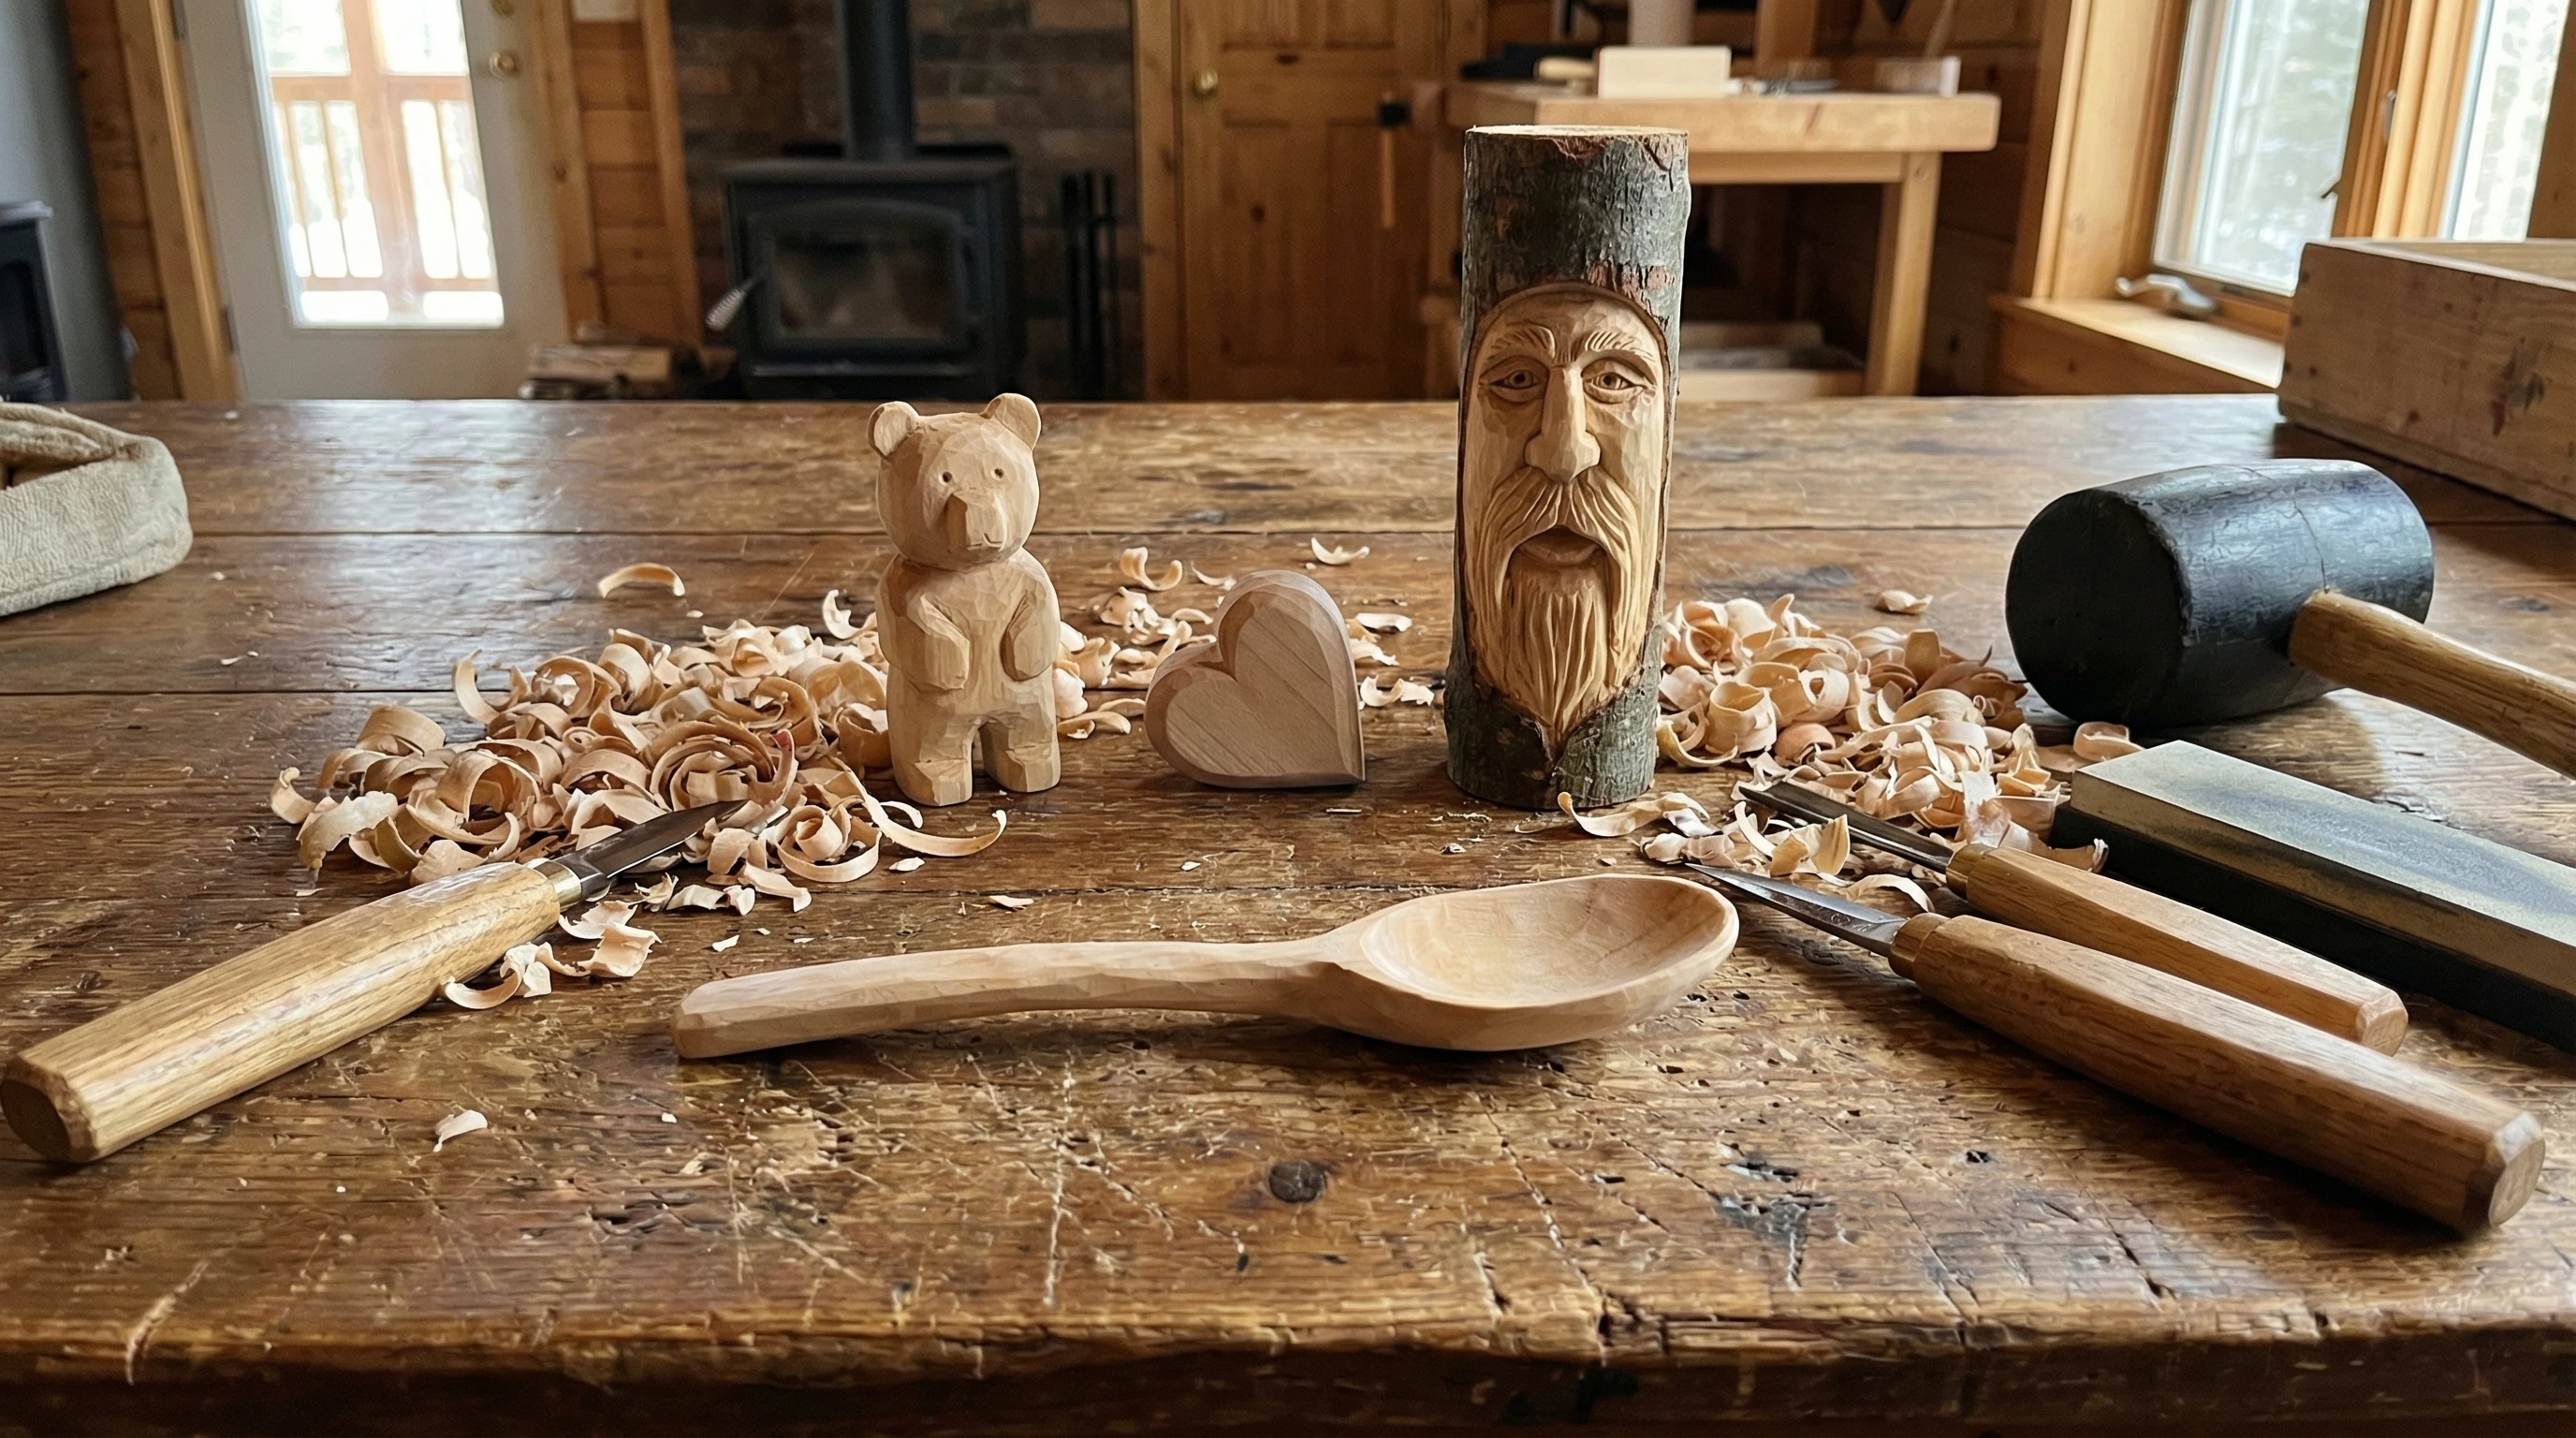
- Wooden Spoon: This classic project teaches you to carve curves and depth. You’ll learn to read grain direction, and you get a usable object at the end.
- Simple Animal Figure: Blocky bears, owls, or fish are great for practicing shaping and adding little details. Start with blocky outlines and build up as you go.
- Whittled Walking Stick: Removing bark, adding spirals, or just smoothing a handle gives you low-pressure practice with longer pieces.
- Basic Gnome or Wood Spirit Face: Carving a face into a flat surface is a fun way to try out simple features without worrying about tricky anatomy.
- Carved Heart or Star: Small, flat shapes make ideal keychains or fridge magnets. These are fantastic for practicing knife control and using stop cuts in particular on the star.
- An Egg: A simple project great for learning how to carve with the intention of forming rounded shapes.
Every one of these projects can be completed with a single carving knife and a soft wood blank, so no need to empty your wallet on special tools at first.
Step-by-Step Guide: Carving a Simple Wooden Spoon
The wooden spoon is the king of beginner projects, and for good reason. Here’s my step-by-step process for beginners:
- Draw the Outline: Use a pencil to sketch your spoon shape on a small wood block. Keep the bowl oval and handle simple.
- Rough Out the Shape: Carefully remove the large chunks outside your outline until you see your spoon take shape.
- Refine Details: Make small, controlled cuts to thin out the bowl and handle, smoothing out edges as you go. Take your time—and look at your progress as you work.
- Hollow the Bowl: Carefully scoop out the inside with your knife or use a gouge or even a chisel if you have one. A U-shaped gouge works well for this type of work. Take shallow cuts and smooth as you go.
- Finishing Touches: Sand the spoon until it’s nicely smooth, wipe off dust, and apply a food-safe oil or wax to finish it off.
This project could take anywhere from an hour to a couple afternoons, depending on your pace. Don’t rush—work on clean cuts and enjoy making your own masterpiece.
Troubleshooting Beginner Carving Challenges
Bumps in the road are just part of learning wood carving. Here are some beginner struggles and my tips:
- Wood Splitting: Always carve with the grain when you can. If the wood splits, stop and shift your knife angle.
- Rough or Jagged Cuts: A sharp knife makes all the difference. If things get ragged, stop and sharpen up before going on.
- Hand Fatigue: Take frequent breaks, stretch your hands, and don’t crush the knife in a tight grip. Carving is more about control than brute force.
- Sanding Too Early: Only start sanding once your shape is finished. Sanding too soon makes it harder to keep sharp details and the grit left on the wood can dull your blades more quickly.
Adding Detail & Upgrading Your Projects
Once you’re feeling comfortable with the basics, there are tons of ways to take your projects up a notch:
- Experiment with Paint & Stain: Adding color will make simple carvings come alive. Use acrylics or wood stain for cool effects.
- Incorporate Woodburning: Woodburning adds fine lines and details tough to do with knives alone. A simple burning kit gives cool results and is easy to use for beginners.
- Carve Different Woods: Once you’re ready, move from super soft woods like basswood to maple, cherry, or even oak for a challenge.
Some folks like to keep things simple and make lots of fun shapes, while others go in deep on details and design. Both styles are rewarding, so mix it up as you like.
Frequently Asked Questions About Beginner Wood Carving
Here are some common questions people ask when just starting out—plus my answers to help you along the way:
Question: What is the best wood for beginner carving?
Answer: Basswood is my top pick. It’s soft, affordable, and super easy to carve. Pine works well too, especially for practicing.
Question: Do I need expensive tools to start carving?
Answer: Not at all—a single sharp carving knife does the job for most beginner projects. I recommend two gouges as well, one V-shaped and one U-shaped but for a simple start you can get away with just a carving knife.
Question: How do I keep my tools sharp?
Answer: Use a leather strop regularly and sharpen on a stone every so often. Sharp tools are safer and give you better, cleaner cuts.
Question: What’s a good way to practice safely?
Answer: Always cut away from yourself, use a safety glove/thumb guard, and go slow. Trying to speed through will only lead to slips!
What’s Next? Growing Your Wood Carving Skills
Wood carving for beginners is all about exploring and not being scared of making mistakes. The real magic happens when you keep practicing and stay curious. Friends, family, and other carvers are typically happy to swap ideas, share their tips, and show off their work too. Before you know it, you’ll see your own skills jump ahead with every piece—even if not every project is perfect. Try out harder shapes, add more details, or switch up your wood types as you get bolder.
The best part isn’t just in finishing a new carving; it’s in seeing your ideas bring something to life and feeling that sense of satisfaction from creating with your own hands. Each spoon, gnome, or goofy-looking critter is your ticket to a creative ride that’s all your own. Personally, I love making carvings to give as gifts and as a rule I have yet to give one to somebody who didn’t love it!
Ready to grab that carving knife and watch the wood shavings fall? Happy carving!