Hand carved miniature wooden insects bring a whole new level of charm to diorama displays. These tiny carvings are a creative way to add life, movement, and a dash of storytelling to your miniature worlds. While the process can look a bit intimidating at first, it can be a pretty satisfying and relaxing hobby, especially for anyone who loves working with their hands or wants original decor for model scenes.
Why Make Hand carved Wooden Insects for Dioramas?
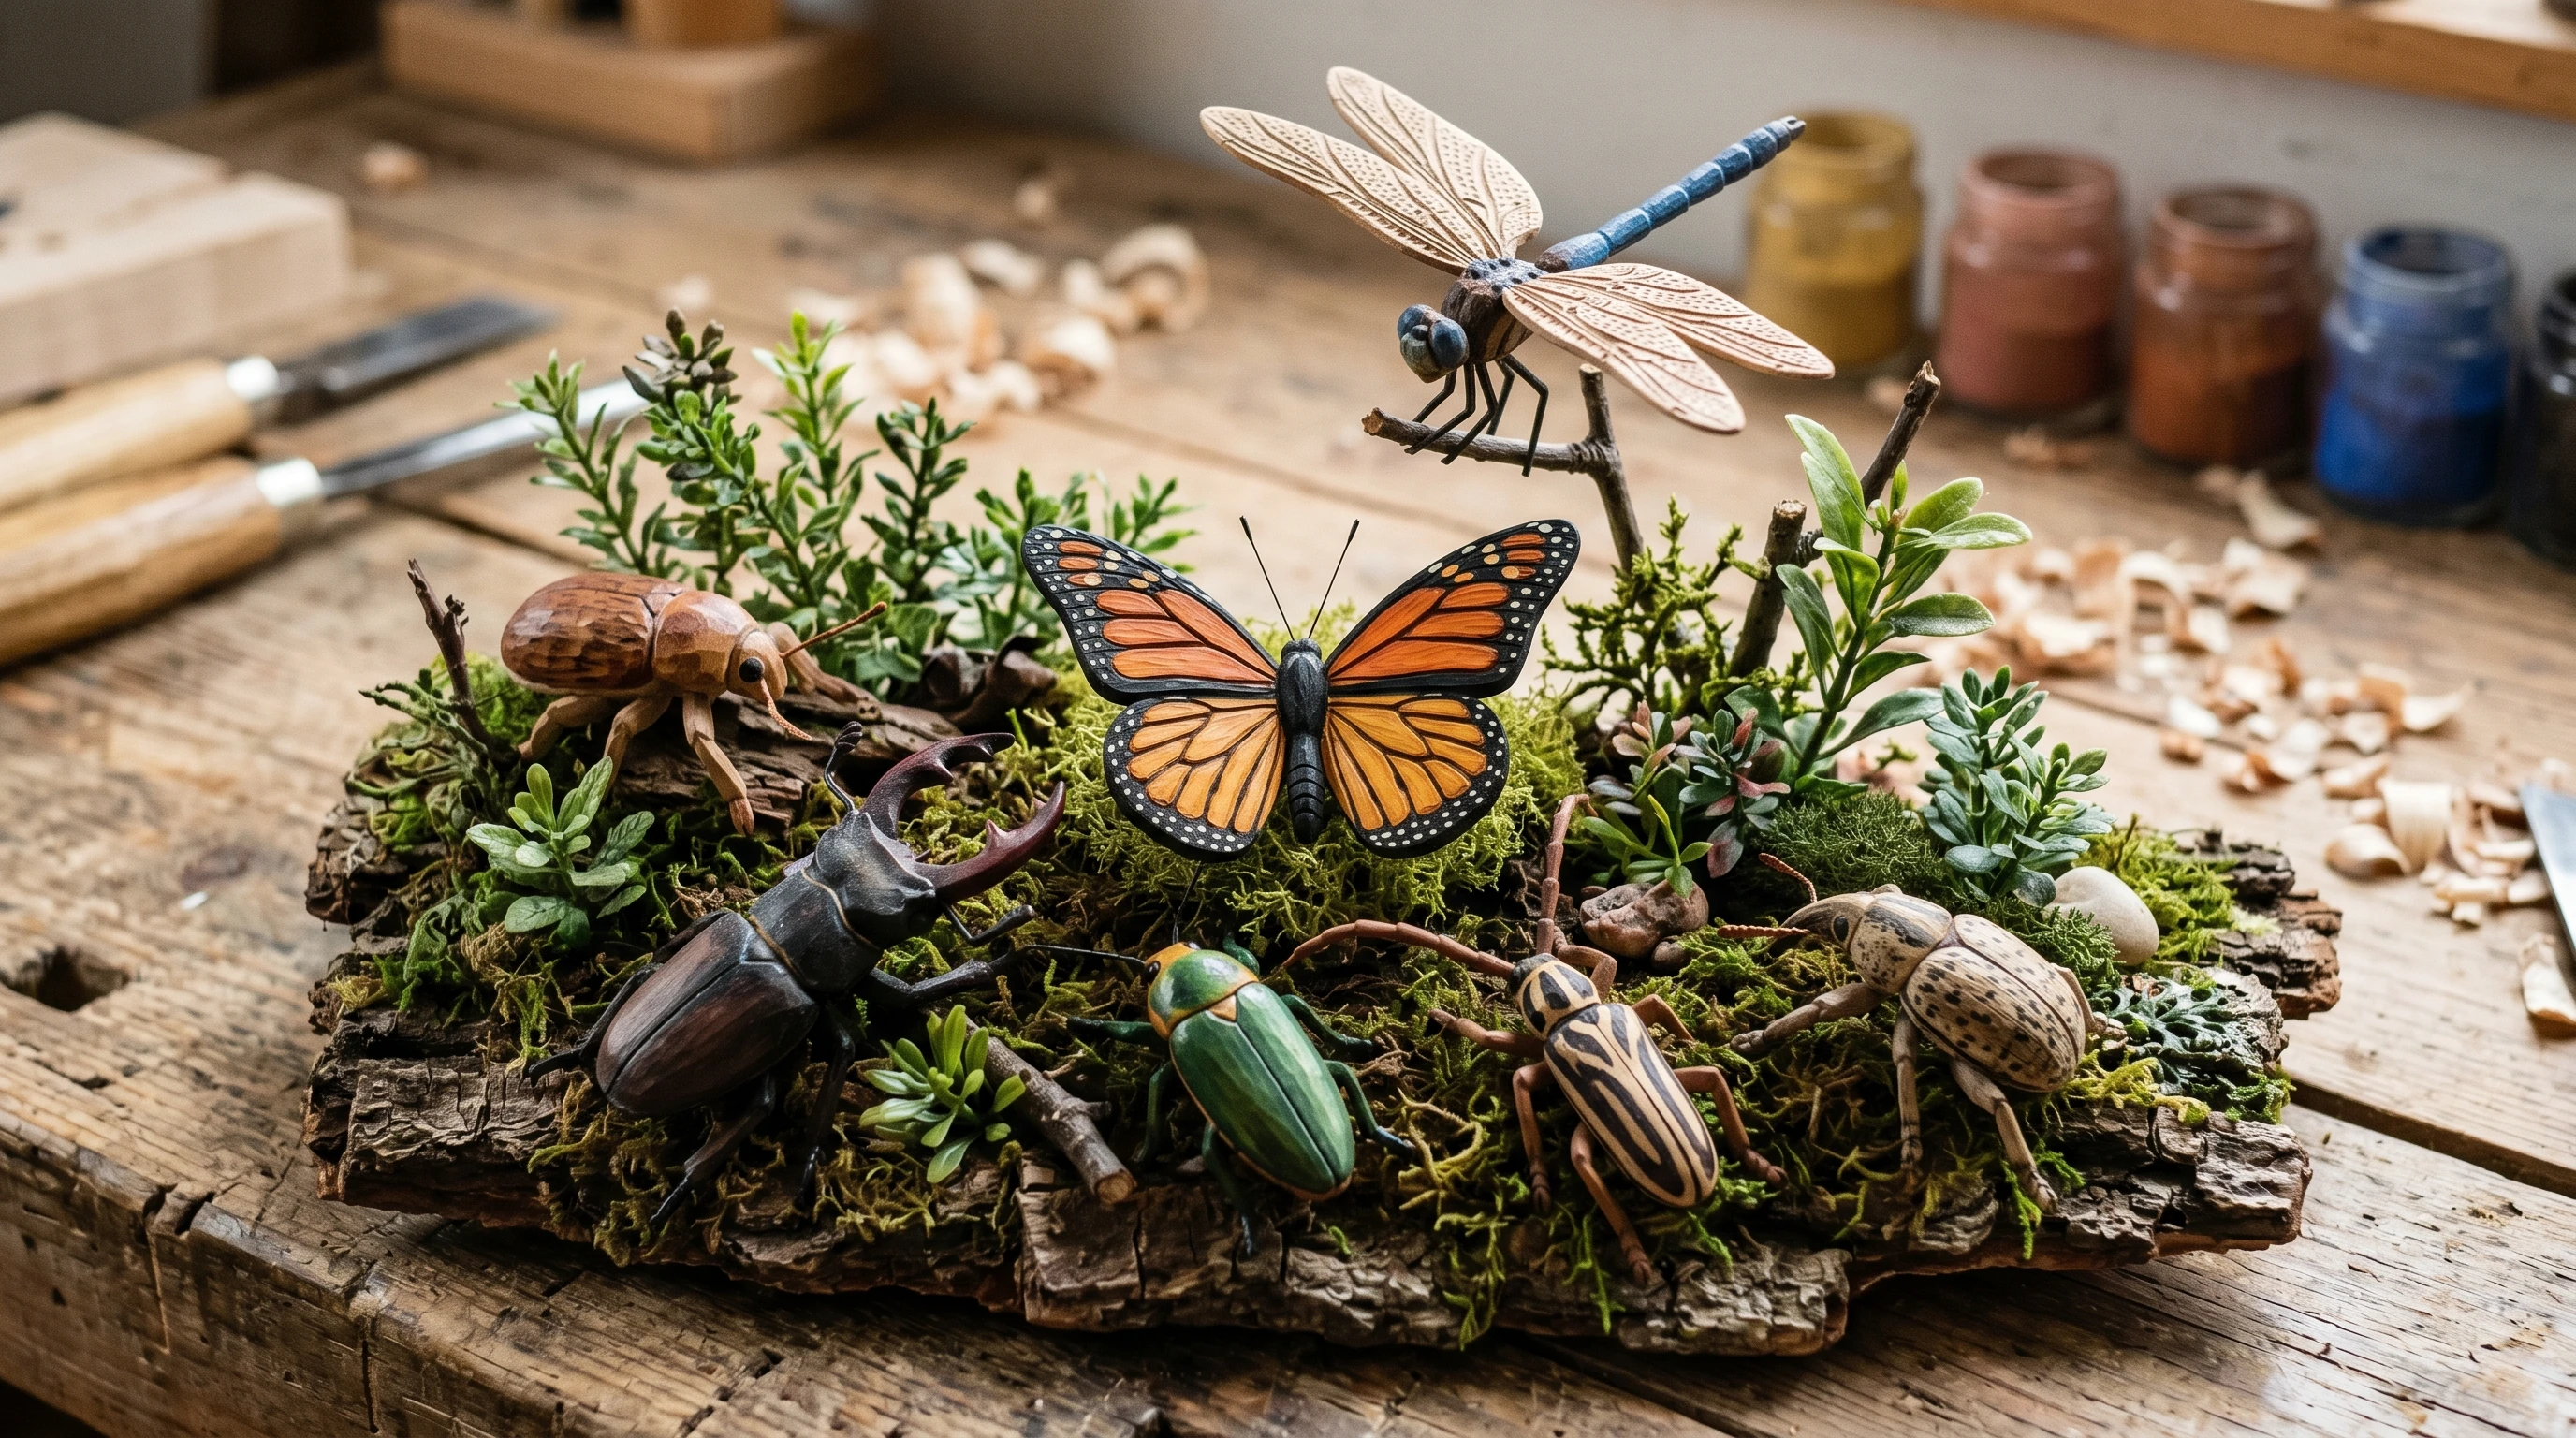
Miniature insects carved from wood add a special touch to any diorama or model setup. Each handmade piece gives the scene a sense of authenticity; perfect for nature scenes, fairy gardens, or even creative desk ornaments. These carved insects can be used as teaching tools or collectible art, too. There’s something really fun about planning out which bugs will fit your scene (beetles, butterflies, dragonflies, ants) and then seeing them come to life in a tiny, wooden form.
Using natural wood brings an organic, earthy vibe that plastic figures just can’t capture. Carving each insect gives you a unique piece every time, so your diorama will never have a cookie-cutter look. It’s also a great way to learn about the bugs you want to feature. Researching anatomy for those finer details can lead to some pretty interesting discoveries that you can share with the young ones in your life, or whoever wants to listen. You can jump into insect field guides or check out macro photography for inspiration.
People who enjoy natural science displays or want to add subtle, eye-catching accents to their creative projects often stumble upon wooden insects and get hooked. Once you have a couple of basic tools, you can create little creatures that step up any miniature forest or garden setting.
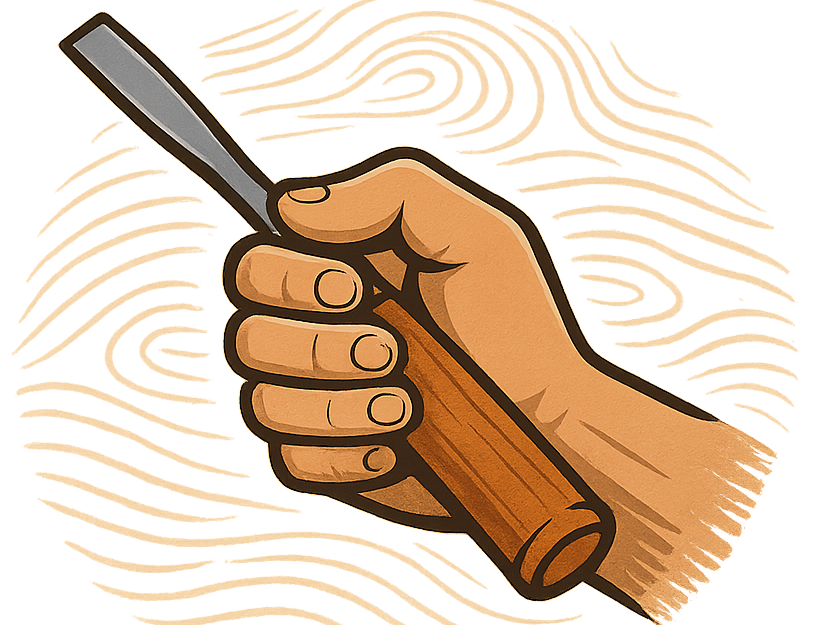
Getting Started: Tools, Materials, and Safety
You don’t need a huge toolbox to carve wooden insects, which is one reason this hobby is so approachable. Here are the basics that smooth the way to success:
- Softwood Blocks: Woods like basswood, limewood, or balsa are easy to carve and sold in small blanks at most craft stores. They’re perfect for beginners due to their low density and workability. Start with a handful of blocks sized around 2 x 2 inches.
- Carving Knives: A simple whittling knife or a set of detail carving knives works well. Always keep them sharp for safer, cleaner cuts. As you improve, you might add a micro gouge or V-tool for texture.
- Fine Sandpaper: Helps smooth out rough edges and shape small details. Different grits allow you to polish your insect to a realistic finish.
- Pencil: For drawing the basic outline of each insect directly onto the wood.
- Magnifying Glass: Makes working on mini details a lot easier, especially for really tiny insects. Good lighting and a magnifier can make a big difference in both the quality of your carving and the ease of completing it.
- Wood Glue and Tweezers: Useful for attaching tiny legs, antennae, or wings that you carve separately. Toothpicks or bits of thin floral wire can reinforce those delicate parts.
- Paints and Brushes: Optional, but acrylics or watercolor pencils can add color and pattern after carving. Polishing wax or beeswax can also give your insect a soft sheen.
When it comes to safety, always carve away from your hands and keep a small first aid kit nearby in case of slips. Using a carving glove for your non-dominant hand is also a smart habit, especially if you’re just starting out. Most carvers find it’s easy to get in the zone, so pausing now and then lets you spot wood grain changes and gives your hands some rest. This is a good habit to get into to keep your hands fresh and free of soreness so you can enjoy the hobby without a lot of long downtime.
Step-by-Step: How to Carve Miniature Wooden Insects
Breaking the process down into basic steps makes carving less overwhelming. These steps are great for beginners wanting super detailed results:
- Research and Sketch: Find a clear reference photo of the insect you want to carve and sketch it out (life-size for minis). If you’re working super small, tracing basic outlines onto the wood can help keep things proportional and stop key features from drifting as you shape your carving.
- Block Out the Shape: Start by roughly shaping the body. Begin with the biggest cuts; generally blocking out a chunky oval or elongated shape depending on your bug. Leave extra wood for thin parts like legs to avoid breaking them off as you are carving larger sections first. If it happens you can glue it back on, but patience and care helps to avoid mistakes.
- Refine the Form: Use smaller knives to shape and refine the head, thorax, and abdomen. Focus on getting the main profile dialed in before adding legs or wings. Make frequent comparisons with your reference sketch to keep everything in line.
- Add Details: Carve in features like eyes, mandibles, or wing lines. For tiny features, gentle pressure and short strokes help you avoid breaking fragile bits. If you want to mix in some variety, try adding small textures or subtle lines for a super detailed look. If you are sure this is a hobby you want to invest in, using a woodburning tool enables you to add some really cool detail and even light texture with practice.
- Carve and Attach Limbs: Many insects look best if you carve legs, antennae, or wings separately and glue them on. Tweezers come in handy here, as do steady hands. To make legs stronger, reinforce them with a sliver of wire or toothpick inserted into a pre-drilled hole. It is wise to start out with a bigger beetle or bug with thicker sections and shorter legs when beginning to carve these minis. Trying to jump into something intricate and complex should wait until you have had some practice and experience.
- Sanding: Use the finest sandpaper to smooth and blend any rough edges. A thin nail file works well to get into tight spots, which keeps the minute details looking sharp.
- Paint and Finish: If you want color, now’s the time. Go for realistic or artistic patterns. The beauty of this craft is that it is yours to express, however you see fit. Seal with a gentle matte varnish if you want extra durability, or leave a little bare wood exposed for a handmade feel. Many carvers prefer to leave some bare wood ro respect the medium and the craft of carving. The grain on the wood can actually tell you what spots to leave bare depending on where it stands out, and how it looks. Oftentimes that can be the best feature of a carving.
Common Challenges and How to Deal with Them
Carving tiny insects has a few tricky bits, here are a few fixes for common issues:
- Antennae can snap easily: Using a slightly thicker design or switching to a tougher wood (cherry or walnut) for delicate bits can help and leaving extra wood when carving gives some buffer when sanding down to the right size.
- Proportions Looking Off: Drawing clear, simple guidelines directly on your wood blank helps keep body parts in the right spot. Checking your work against a printed image or a digital reference can save headaches later.
- Difficulty Adding Tiny Details: A magnifying glass and strong desk lamp make a big difference. A sharp needle or pin can work for really fine lines; a micro screwdriver (think eyeglass repair kit) can also create small dots or indents.
- Wood Grain Tearing: Carving with the grain, not against it, gives much cleaner results. If the wood keeps splintering, switching to a finer carving knife usually does the trick.
Fragile Parts
Mini legs and antennae take practice. Pre-drilling a tiny hole into the main body lets you insert toothpicks or wire armatures for extra strength. If a piece does break off, wood glue is your best friend. It dries clear, and a dab holds small parts surprisingly well. A double layer of glue, sanded between coats, makes joints even less noticeable.
Tiny Features
Sometimes you might just fake small details with paint. If you’re struggling to carve compound insect eyes, a dot of glossy paint gets the idea across without fussing over perfectly round forms in wood. For even tinier insects, a puff of shimmery powder can replicate wing reflectiveness.
Wood Grain
Each piece of wood carves a little differently. When the grain starts to splinter, lighten up your grip, and carve with shorter, gentle movements. Wetting the wood just slightly with a damp cloth before sanding can reduce roughness and make the detail work easier. Occasionally changing the orientation of your piece relative to your knife helps keep lines clean and curves even.
Tips and Tricks for Lifelike Miniature Insects
Adding just a few thoughtful touches can bring your carved insects to life. Here are some ways to give a boost to your wooden creatures:
Use Reference Images: Studying real insects helps with accurate posture, color patterns, and how shadows fall on their bodies.
Highlight Texture: Light scoring with a pin or the tip of a knife can mimic wing veins or shell ridges. Don’t overdo it; simple textures often read better in mini. Paint a faint wash over carved lines to make them pop without being too bold.
Natural Finishes: For a rustic look, leave a bit of bare wood showing on the underside or legs. It adds a color contrast and keeps the piece feeling handmade, which is often more eye-catching than a fully painted bug.
Mix Materials: Paper thin wood sheets or transparent acetate can work for delicate wings. If you want really shiny wings, a bit of clear nail polish gives a realistic effect without looking overdone. A touch of gold or green shimmer over beetle backs creates a next-level look.
Ideas for Displaying Your Hand carved Bugs
Making the bugs is only half the fun; the rest comes from setting them up in a scene. Some examples:
- Forest or garden dioramas for an ecological look
- Fairy houses and fantasy scenes for a sweet, ‘magical forest’ vibe
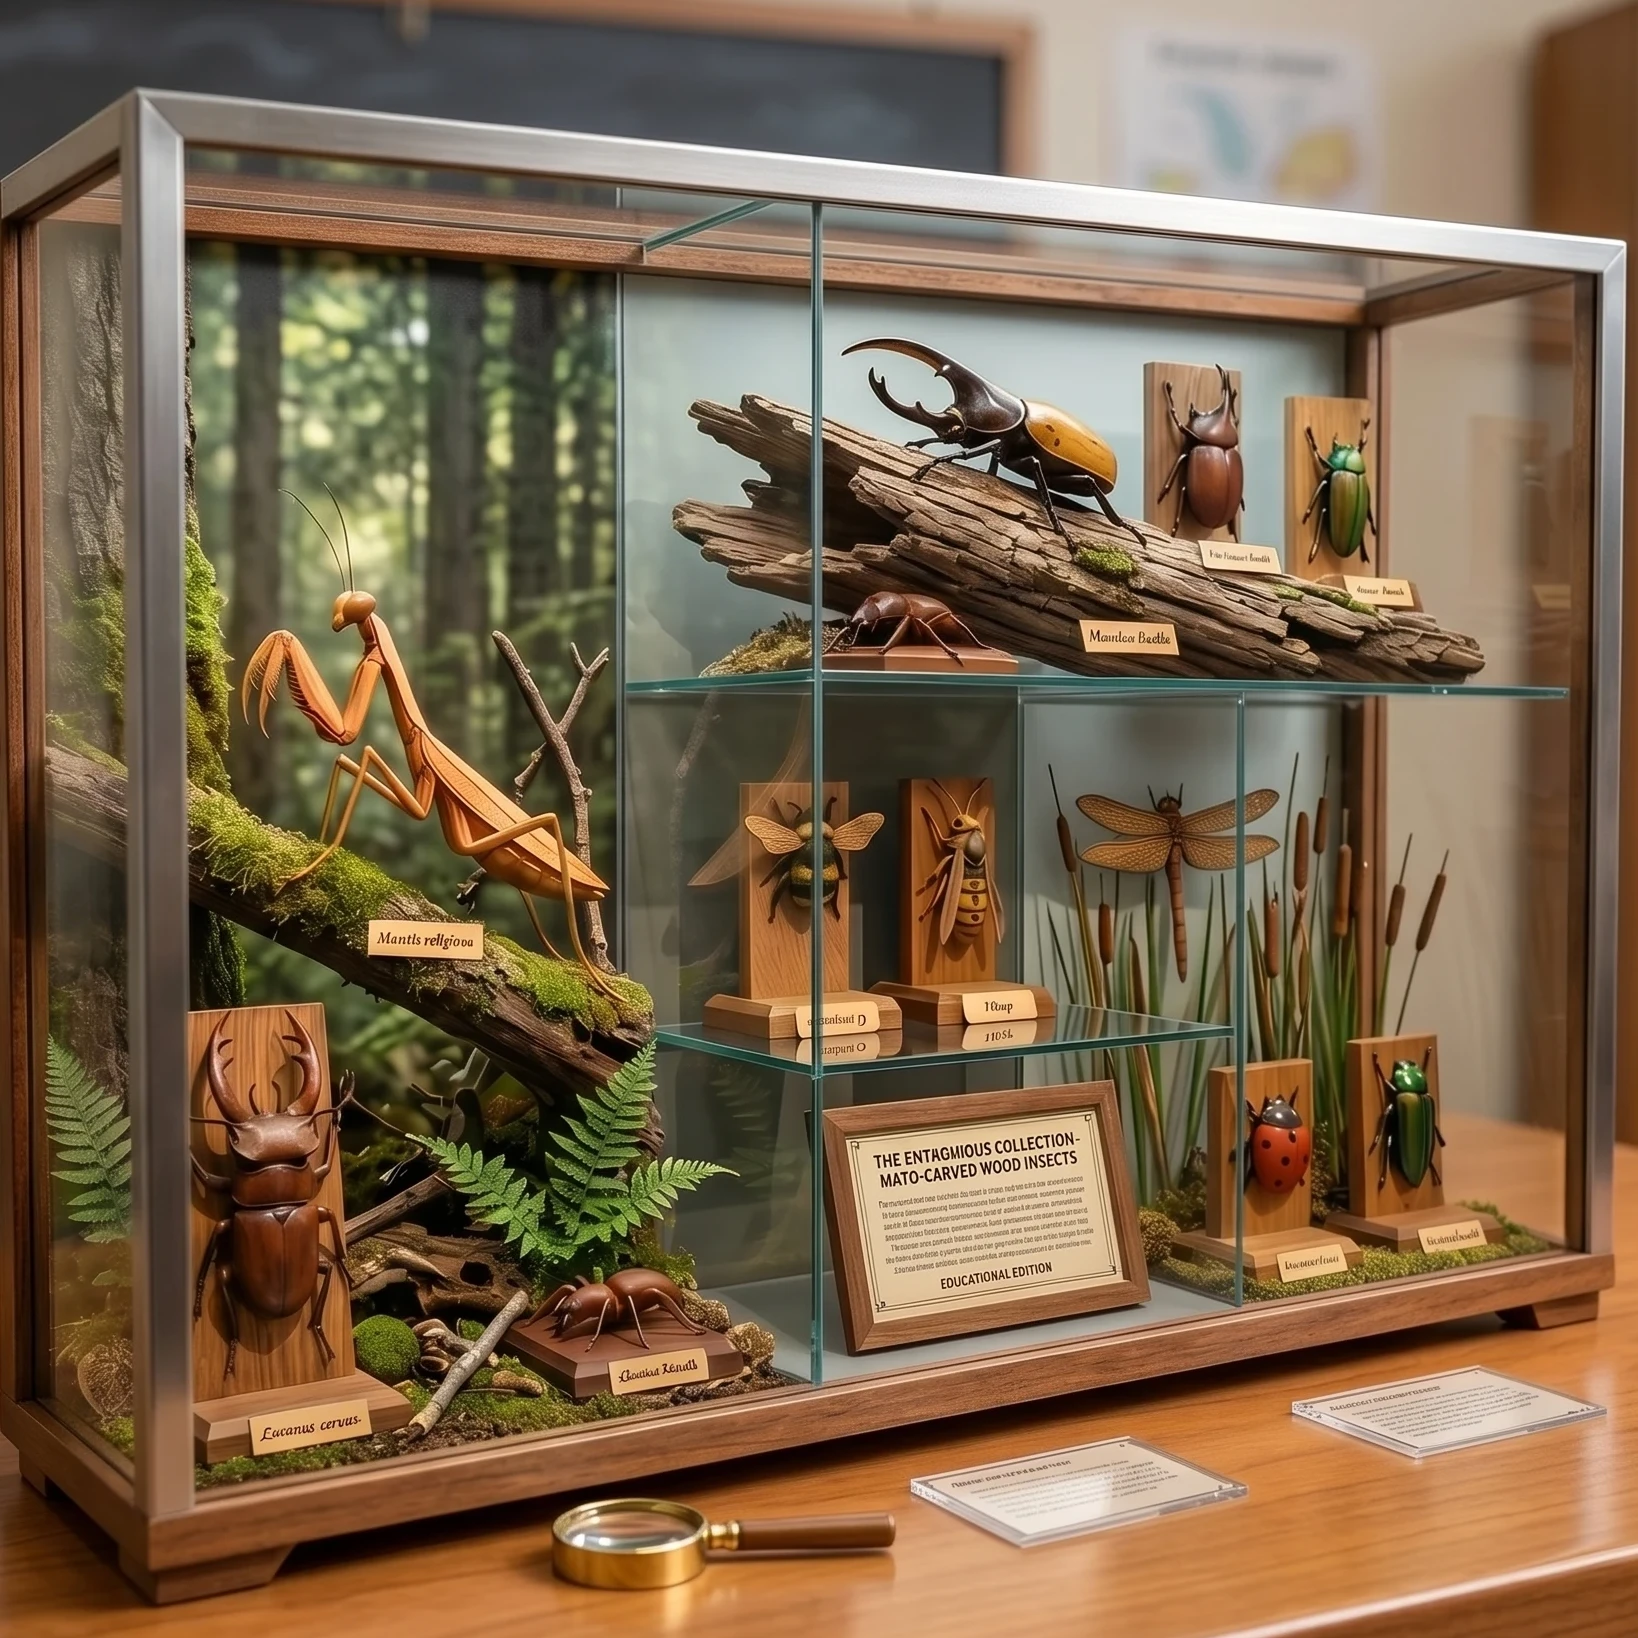
- Miniature science exhibits or nature table displays
- Shadow boxes as standalone art pieces with a natural history feel
A bit of moss, dried leaves, or tiny twigs make natural bases so the insects look right at home. Some people make tiny glass domes or matchbox showcases for their favorite ‘specimens’. Some hobbyists even build little bug terrariums or themed shelves to display a whole collection.
FAQ: Common Questions About Hand carved Wood Insects
How small can I go with carving?
Carving as small as half an inch is possible, but it takes practice and patience. Starting with insects about one to two inches long makes things easier until you build up confidence with tools and technique. As you improve, you can test yourself with tinier bugs or more detailed species.
What’s the best wood for beginners?
Basswood is a popular pick. It’s soft, forgiving, and holds small details really well; plus, you can find it in small craft blocks that don’t cost much. Some carvers like limewood or even balsa for ultralight projects, but basswood blends ease of carving with durability.
Do I need expensive tools?
Nope! Even a single whittling knife can get you started. As you get more into the hobby, adding a set of detail knives and a magnifier can help, but there’s no need to break the bank. Look for basics to start, then slowly pick up specialized tools as you find your favorite carving style.
Getting Creative and Enjoying the Process
The best part of carving miniature insects for dioramas is how much room there is for creativity. Whether you’re aiming for scientific realism or just want to add a hint of whimsy, each tiny bug is a chance to experiment and learn. With some practice and a few basic tools, you’ll have a whole menagerie of hand carved creatures ready to bring your next diorama scene to life. Enjoy the process and let your imagination fly!