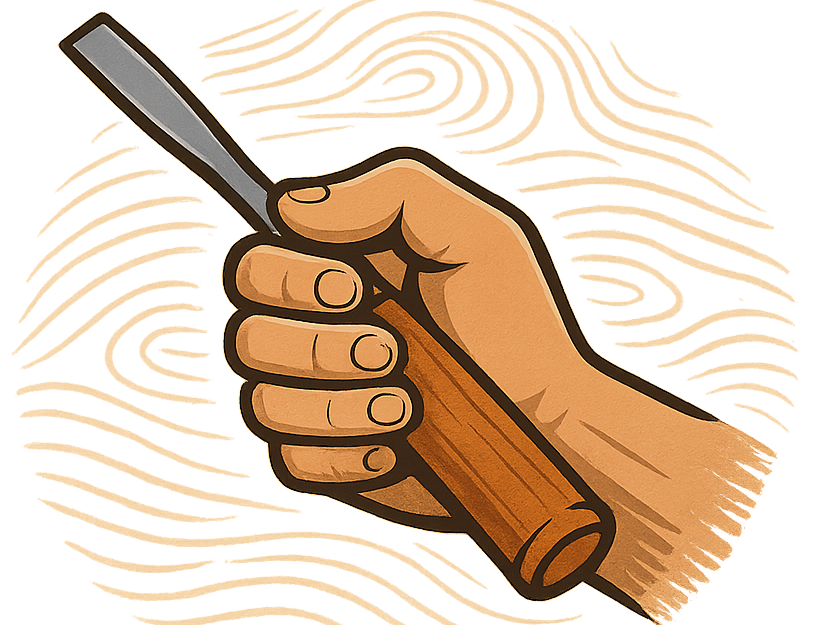
Wood carving brings together craftsmanship, patience, and a love for natural materials in a way that’s pretty hard to match. Getting started or stepping up your carving game comes down to working with the right kind of wood. Using wood that’s suited to your tools, your style, and your physical ability can make the difference between wrestling with grain and creating something that feels just right in your hands. The following can be used as a guide through the best woods for wood carving, how to choose them, and what to keep in mind whether you’re making detailed figurines, relief carvings, or larger, bold designs.
Understanding What Makes a Good Wood for Carving
One of the first lessons I learned as a carver is that not all woods are created equal for carving. The qualities that make wood enjoyable and manageable largely have to do with its grain, hardness, moisture content, and how it behaves under a knife or gouge. Softwoods generally carve much easier but may not hold tiny details as crisply. Hardwoods can handle detail but need a good set of tools and a bit more patience, effort, and good old-fashioned elbow grease.
Most carvers start with easily workable woods. This gives you the chance to focus more on your technique and less on fighting stubborn material. Still, as you develop your skills, you might crave the challenge and results that come from working with denser woods. Having a basic understanding of the main types of wood used in carving is a nice practical way to get started.
Top Woods for Carving and Their Benefits
Here’s a breakdown of the more common woods, along with a few pointers about why they’re so popular in the carving community.
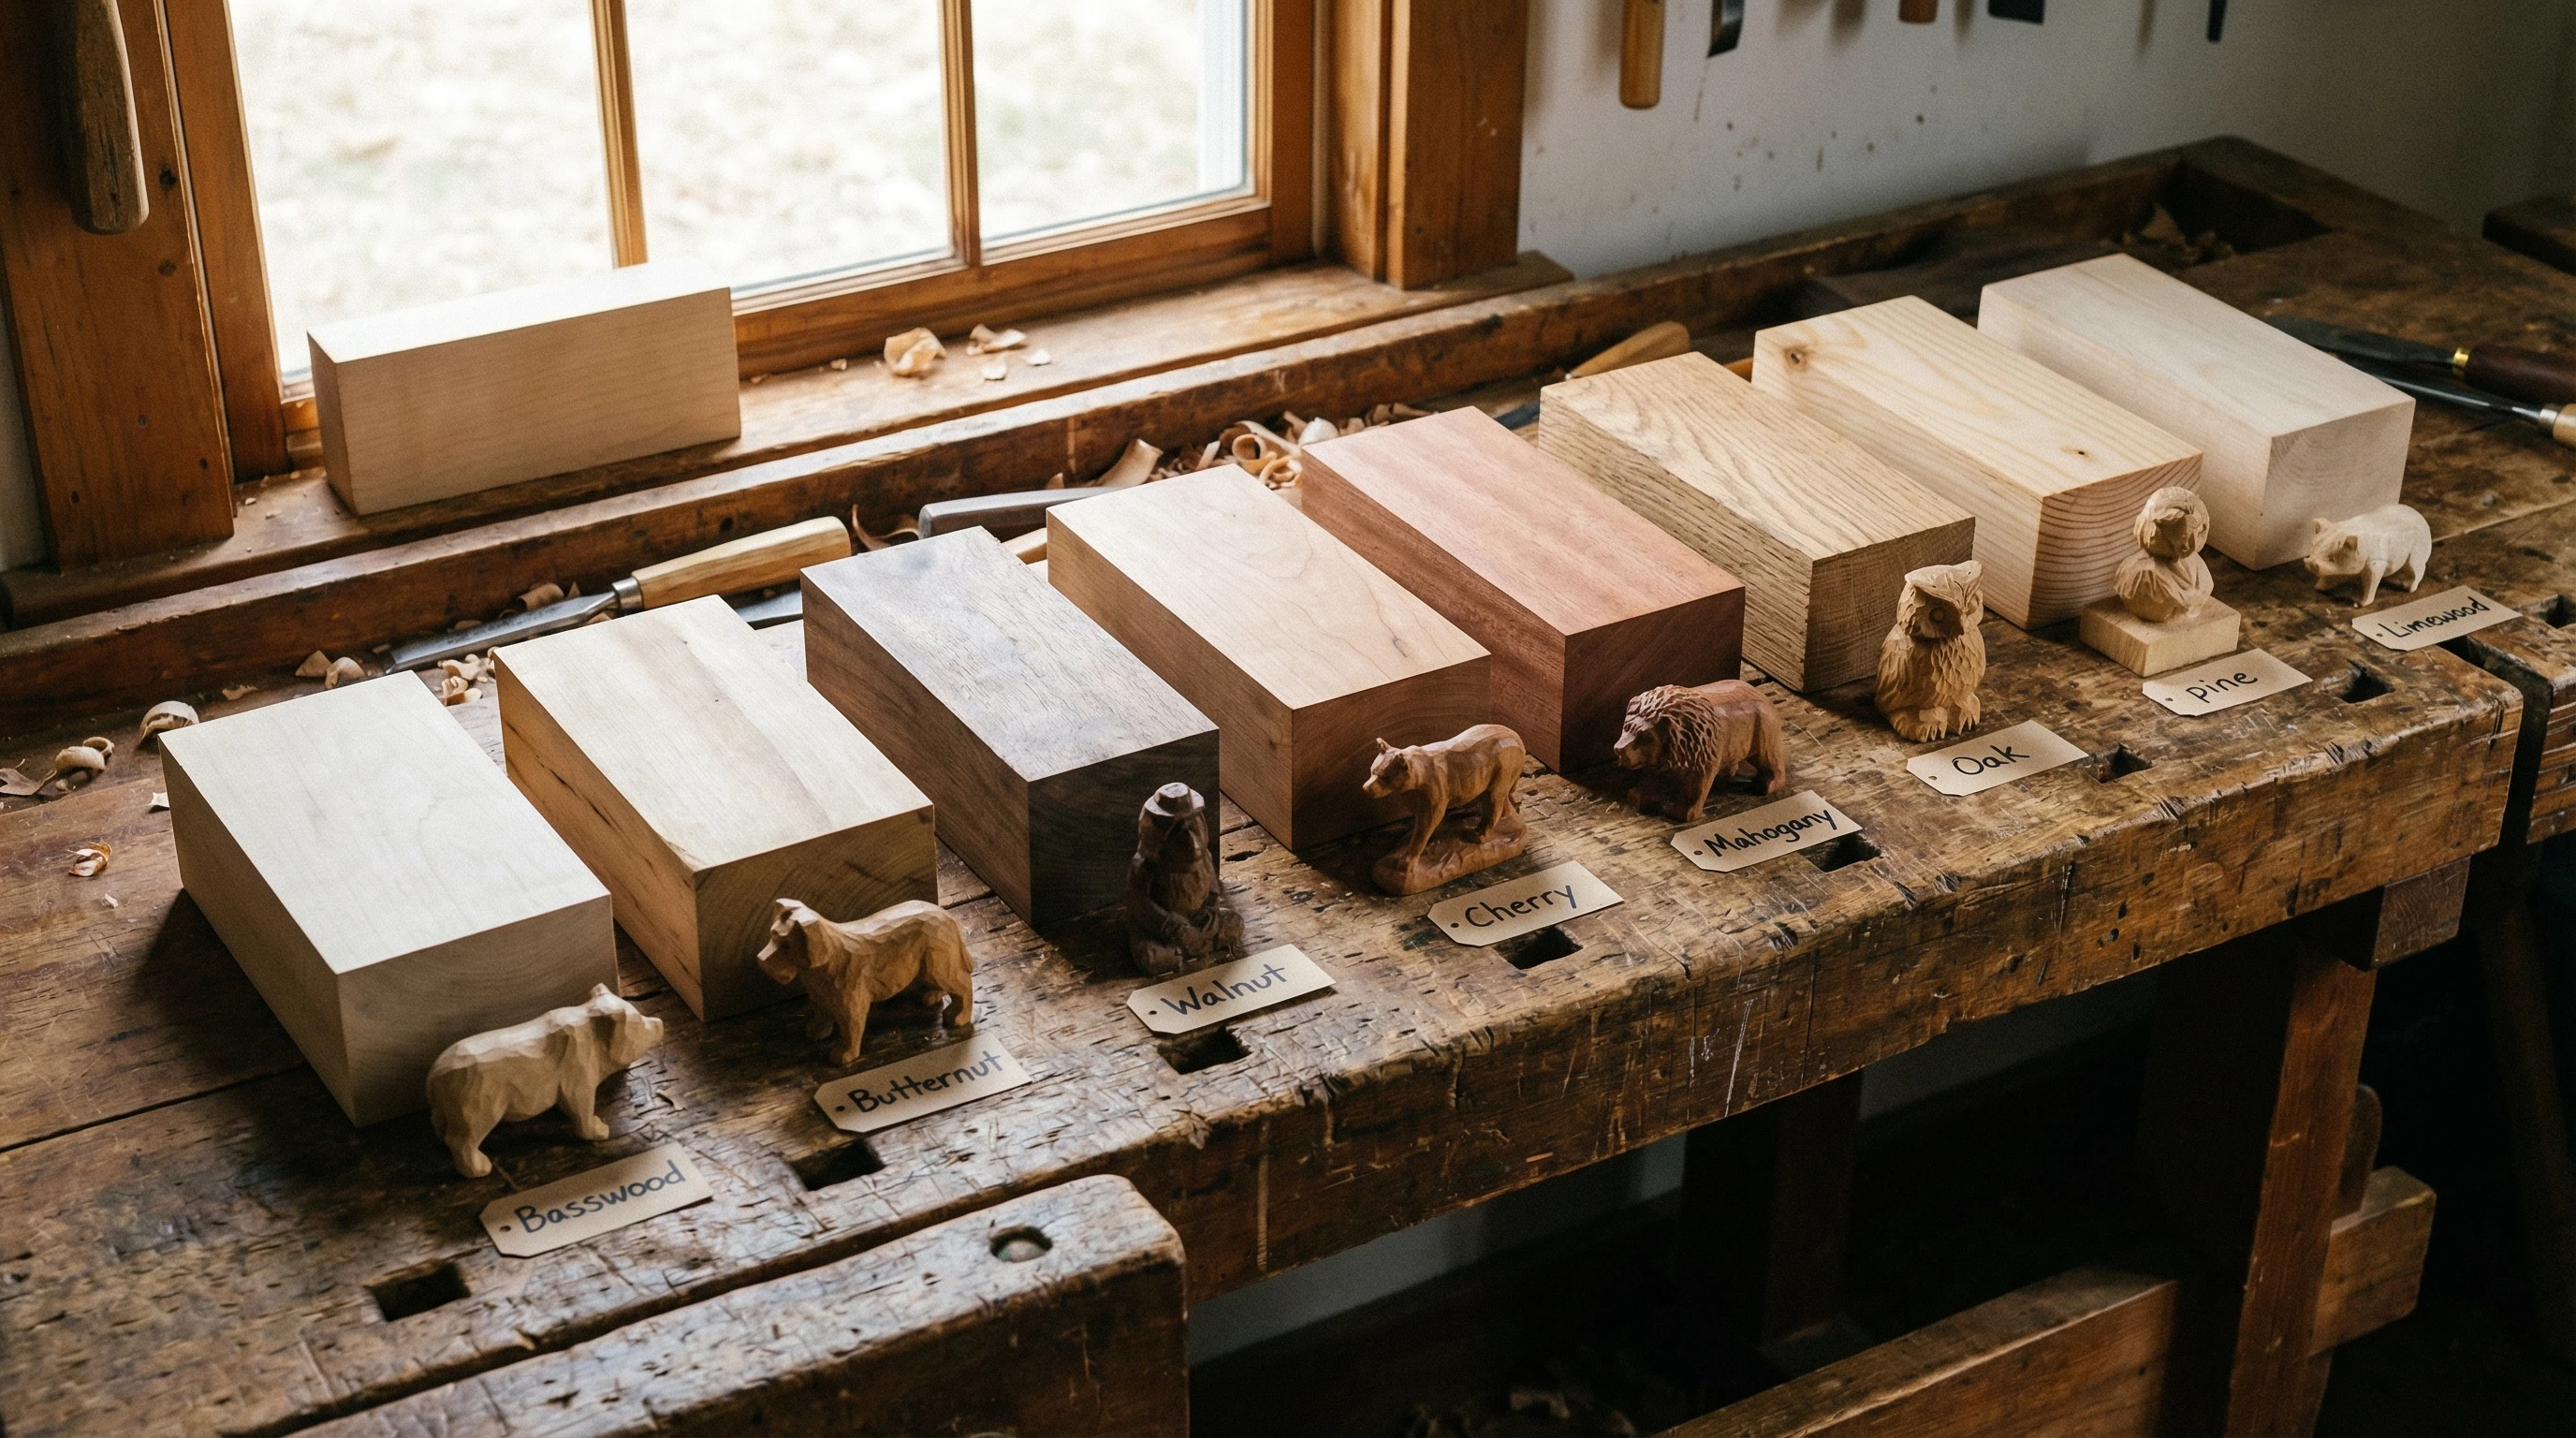
- Basswood: Super popular with beginners, from the American Linden tree family. Basswood is light, soft, and has a barely there grain that makes it tough to mess up on small details. It’s affordable, available at most craft stores, and easy to reshape if you need to correct mistakes.
- Butternut: Like basswood, butternut is soft and easy to carve. The warm, nutty color gives finished pieces a cozy look, and the open grain brings out some classic wood character. If carving something with a bit of size but you still want that smooth knife experience, butternut is a good call.
- White Pine: This is a softwood that’s friendly to carvers, especially for whittling and blockier projects. Pine isn’t great for fine, delicate features, but it holds up well for folk art or rustic designs and tends to be readily available.
- Walnut: If you want striking color and a dense surface that can really stand up to crisp lines, walnut is awesome. It’s harder than basswood, so carving it by hand takes a bit more work, but finished projects always have a rich, deep look that’s hard to beat.
- Cherry: With a smooth grain and a reddish glow that deepens with age, cherry is a favorite for more detailed work. It’s denser and carves best when your gouges are freshly sharpened. Cherry develops a beautiful patina over time, so it’s great for heirloom pieces you want to last.
- Mahogany: Mahogany’s even texture and moderate hardness make it a solid allrounder. It’s not as soft as basswood or as hard as oak. It carves pretty cleanly, especially for relief carving and furniture accents.
- Oak: Oak has a bold grain and impressive strength, mostly recommended for experienced carvers. Its open grain gives carvings a rugged look. You’ll want sharp tools and a steady hand because oak can be tough to work, but rewarding if you’re patient.
- Limewood (European Linden): Carvers in Europe love limewood. It’s comparable to basswood—finetextured, light, and nearly effortless to cut. If you come across a piece, it’s totally worth trying out, especially for oldschool figure carving.
Choosing the Right Wood for the Right Project
The wood you pick should match the project you’re planning to carve. Here are a few tips on matching wood with your artistic intentions:
- For detailed figures and small ornaments: Basswood, butternut, and limewood let you carve fine details without much resistance.
- For larger or outdoor carvings: Pine, cedar, or even oak stand up well and handle exposure better than softer woods, although sealing is still important if your piece will stay outside.
- For bold, decorative accents: Mahogany and walnut both have a nice color and strength for carving things like furniture decor, handles, or wall pieces.
- For relief carving: Woods with a subtle grain, like cherry or basswood, offer a nice balance of strength and workability for shallow three dimensional artwork.
Grab smaller test pieces if you’re unsure how a wood will respond, and see how your tools feel going through it. Preferences tend to solidify the more you carve. Also, joining local carving clubs or checking out online communities can help you stumble upon lesser known but interesting woods from different regions that other carvers are using.
Helpful Terms to Know When Picking Your Wood
- Hardness: A measure of how much a wood resists being cut or dented. Softer woods are easier to carve, but harder ones hold detail better.
- Grain: The pattern and direction of the wood fibers. Straight and tight grain usually carves more smoothly and resists tearing.
- Checking: Small cracks that can develop as wood dries out. Woods with minimal checking are less likely to split during or after carving.
- Moisture Content: Fresh wood (green wood) carves more easily but can warp as it dries, while properly seasoned wood is drier, less likely to crack, and more stable in its shape.
Prep and Care Tips for Carving Woods
How you prep your wood goes a long way in making your carving enjoyable and avoiding headaches down the line.
- Season your wood: If you’re using freshcut (green) wood, let it dry slowly and evenly to avoid cracks. Stack it with airflow gaps, and keep it out of direct sunlight.
- Keep tools sharp: Softer woods blunt tools less quickly, but denser woods need your blades nice and keen to keep cuts clean and safe.
- Seal finished projects: Some woods are prone to cracking or picking up moisture. Sealing your carving with oil, wax, or more commonly these days, polyurethane, protects it and highlights the grain and color.
- Store leftover wood properly: Keeping your wood in a cool, dry spot helps prevent warping and pests that might ruin your carving blanks.
Every wood has its quirks, and learning how to deal with them is part of the process. Even after carving for years, you may stumble upon a wood that surprises you, challenging your techniques and helping you grow as an artist.
Pros and Cons of Popular Carving Woods
Having a handy comparison can help you weigh your options when you’re eyeing different wood blanks at the shop or lumberyard.
- Basswood: Very easy to carve, affordable, holds decent detail, but not super durable for outdoor use.
- Butternut: Nice, light color, soft and beginner friendly, can be a bit more expensive and sometimes harder to find.
- Walnut: Deep, chocolate color, long lasting, can dull tools more quickly and is pricier.
- Cherry: Smooth and beautiful finish, improves with age, harder to carve by hand and sometimes needs power tools for more intricate work.
- White Pine: Easygoing for rougher work, affordable, but lacks the ability to hold crisp details.
- Oak: Super strong, great texture, tough to carve and can be unforgiving for beginners.
What to Think About Before Buying Your Carving Wood
Shopping for wood isn’t just about picking the species. Some other practical tips that help make the right call:
- Budget: Start with affordable options like pine and basswood until you’re comfortable and ready to experiment with pricier, exotic species.
- Availability: Locally sourced wood tends to be cheaper and sometimes even free (like storm felled trees). Specialty woods might need to be ordered or found at specialty outlets.
- Project scale: Bigger projects need bigger blanks, so make sure your wood is available in the size you need for your idea.
- Intended finish: Some woods polish up to a glossy shine (like walnut), while others are best left with a matte or rustic look.
Giving some thought to these points can help avoid wasted money and disappointment. Also, checking in with local lumber suppliers or small mills may help you score unique pieces or better deals.
Get Started Carving Today
Picking the right wood is a game changer for wood carving projects. Soft, straightgrained woods let you focus on skill, while harder woods hold intricate detail and last for generations. Working with wood that matches your style means more enjoyable, productive hours at the carving bench. Whether it’s your first whittled animal or a showcase piece for your wall, the right wood makes a real difference.
Try a few options, keep your tools sharp, and enjoy the satisfaction that comes from shaping one of nature’s oldest materials into something uniquely yours. If you check out books or videos from seasoned carvers, you’ll spot even more ideas for making wood selection part of your creative process—happy carving!