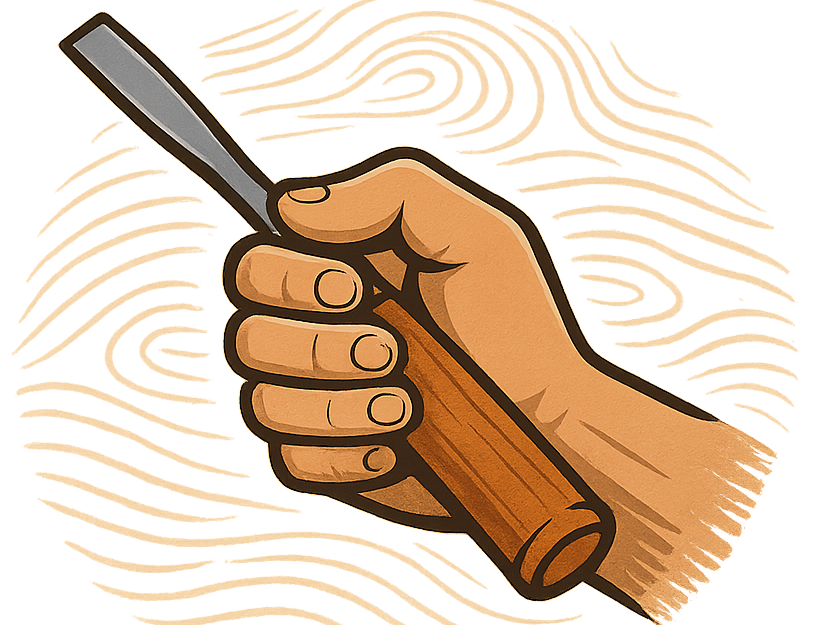
Wood carving is more than just a craft; it’s a conversation with the natural world. I often feel as if I am letting the material show me what it wants to become. If you’re looking to spark creativity in your own carving, nature holds endless ideas. Real inspiration can be drawn from the outdoors and brought back to your workbench.
Why Nature Inspires Great Wood Carving Ideas
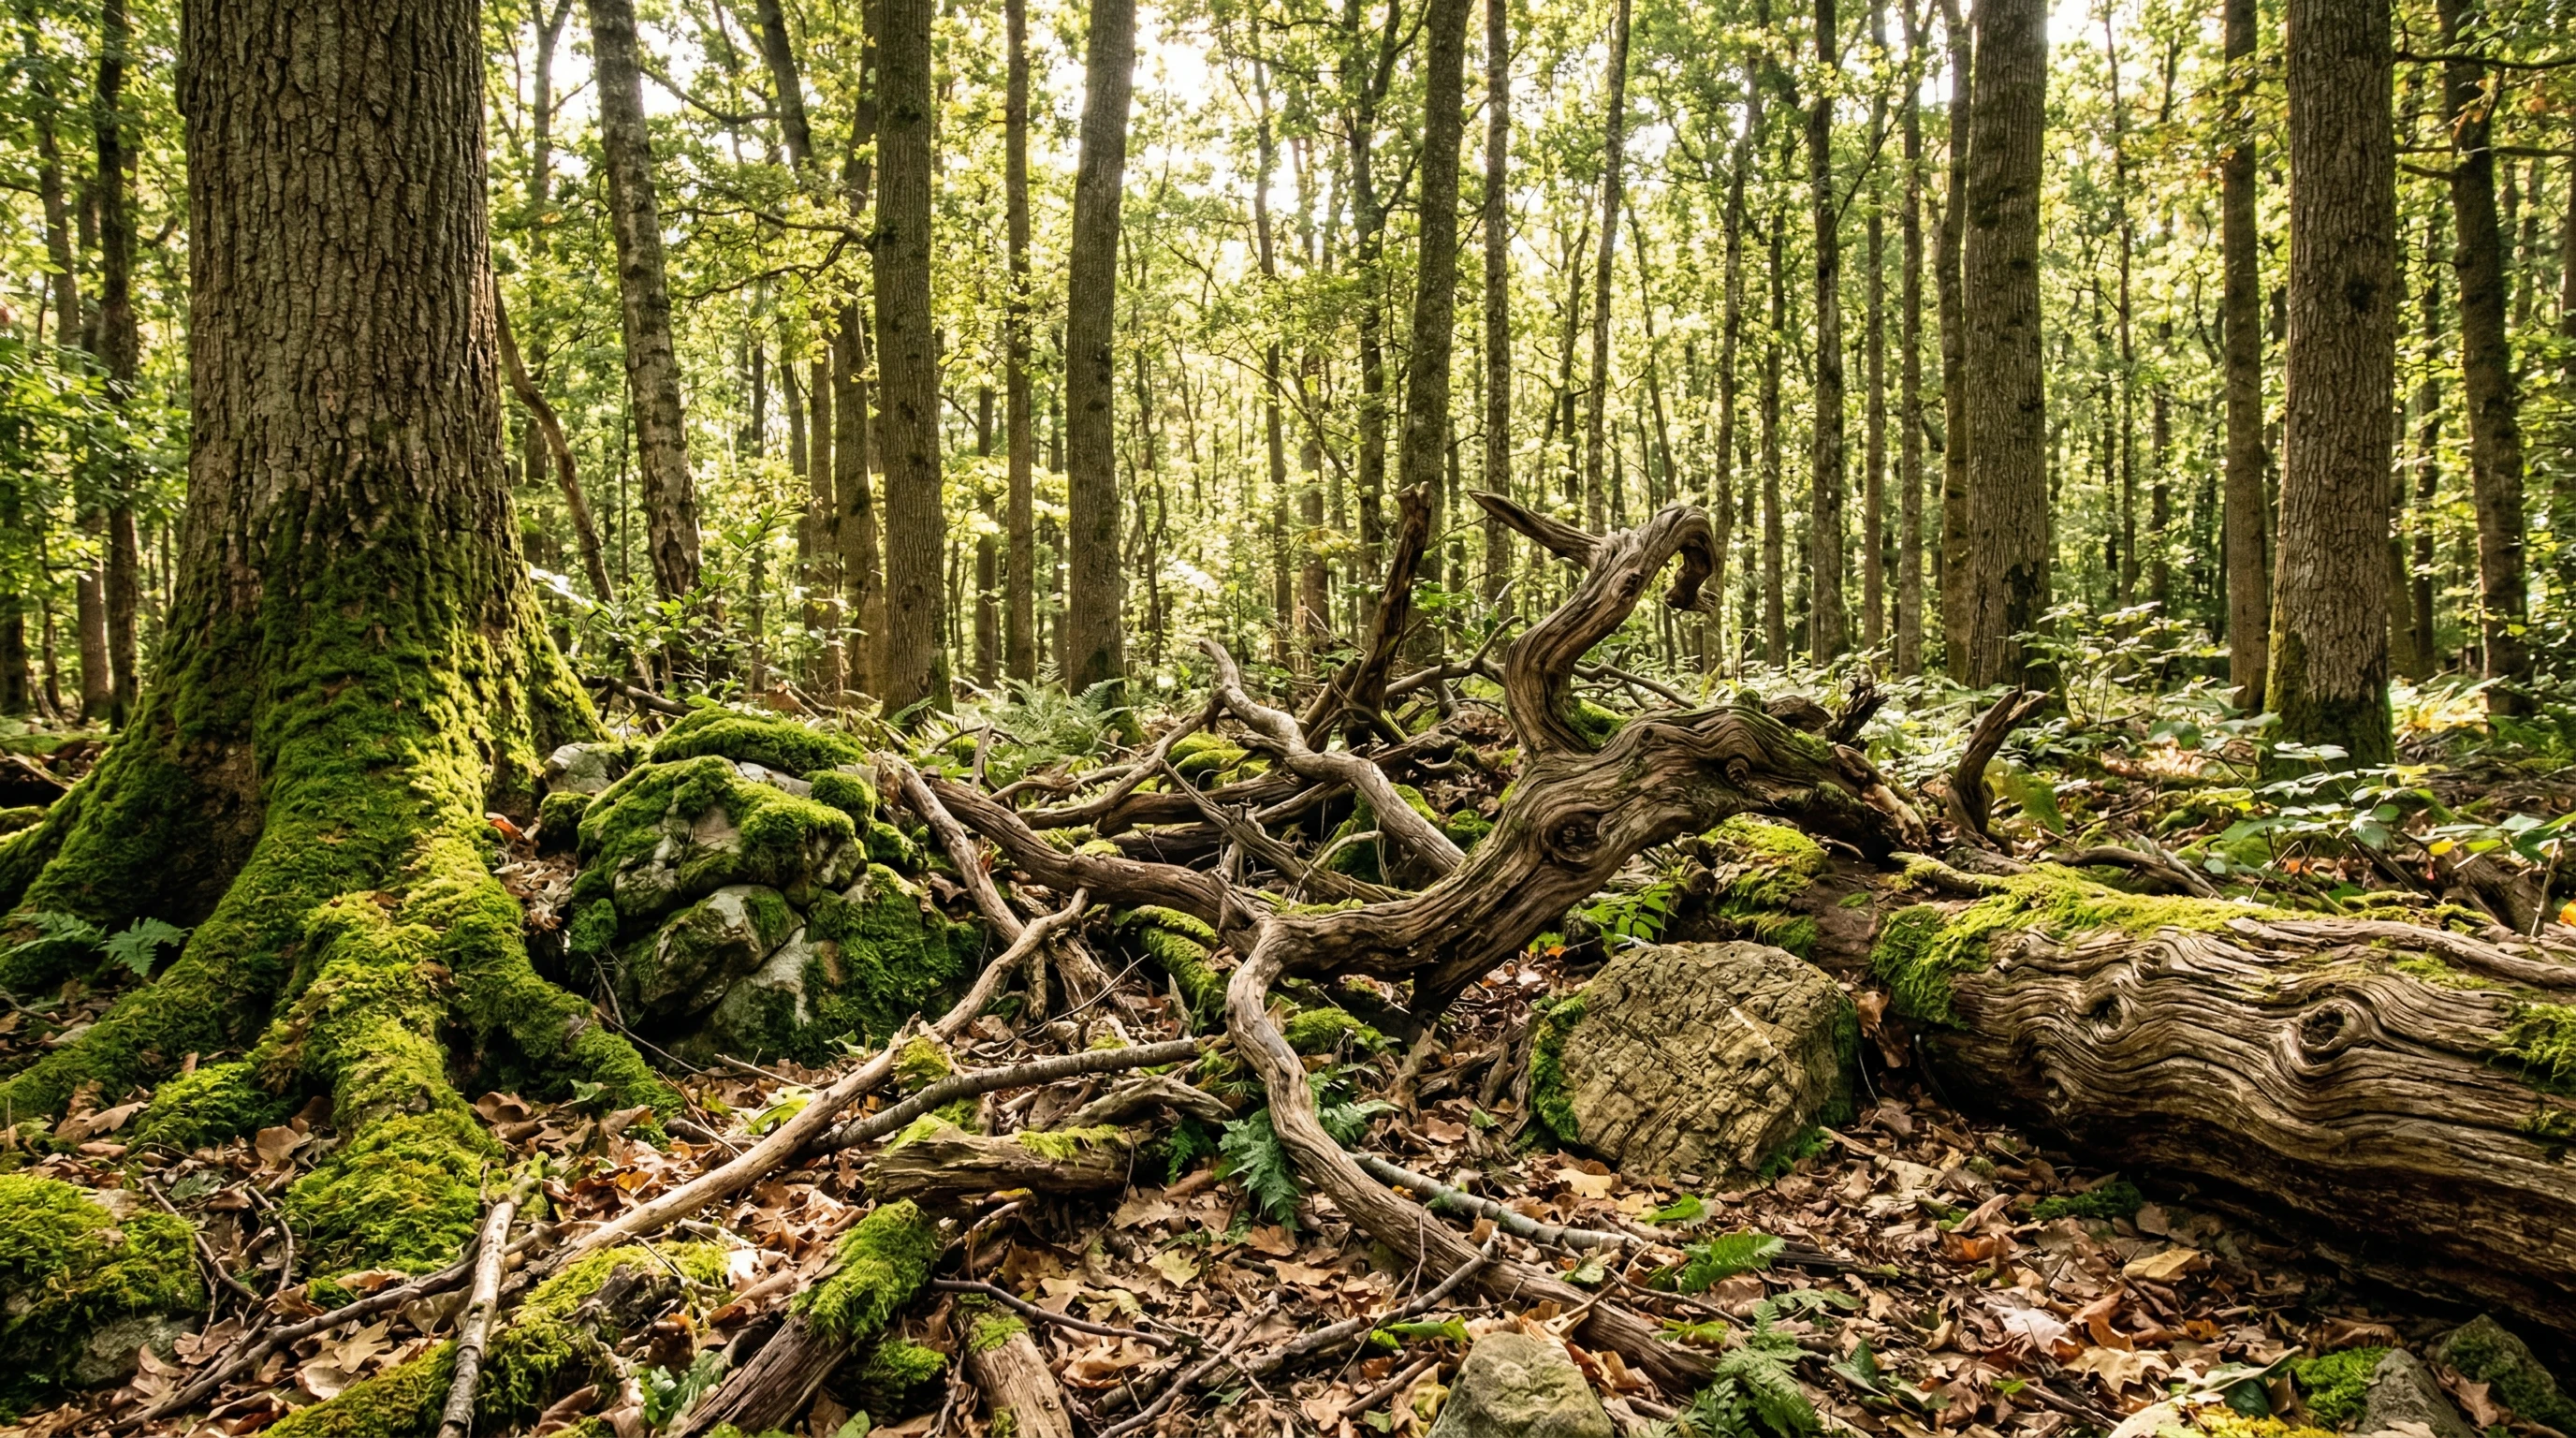
Nature stands out as one of the richest sources for creative fuel. There’s something about its patterns, shapes, and textures that really sparks the imagination. From twisty branches and animal tracks to the swirl of a river pebble, the variety is endless. Much of traditional woodcarving around the world is rooted in these organic sources, with artists interpreting wildlife, leaves, flowers, and even weathered rocks.
It’s not just about copying what you see outside; it’s about noticing the subtle curves in a leaf, the rhythm in tree bark, or the balance in a bird’s wing. Then you transform those elements into your own designs. Paying attention to detail and letting yourself be surprised by what’s out there can really take your carving style up a notch. The interaction between the artist and nature gives every carving a unique connection to the outside world.
How to Find Inspiration: Practical Steps
Walking outdoors with an open mind is a pretty handy first step for gathering inspiration. Here are a few tips to make the most of each trip outside:
- Bring a Sketchbook: Even if you’re not great at drawing, rough sketches help you remember what stood out to you—a curve on a piece of driftwood or the symmetry in a fallen feather.
- Take Photos: Using your phone to snap quick photos of textures, silhouettes, or natural patterns keeps those ideas close when you’re back at your workbench.
- Collect Small Samples (Responsibly): Picking up interesting pine cones, stones, or bark (if it’s allowed) can be a shortcut to sparking design ideas later on.
- Pay Attention to Changing Seasons: Every season brings its own colors, seeds, and forms. For example, winter’s bare branches create entirely different design possibilities than a lush summer canopy.
Sometimes the lines on a mushroom cap show up in the flowing contours of a carved spoon. Inspiration doesn’t have to be literal; sometimes, just a feeling of calm or wildness outdoors can stir up new projects. Even the sound of wind through leaves or the sight of morning dew on grass provides fresh ideas to try back in the workshop.
From Natural Objects to Carving Designs
Turning what you see in nature into a wood carving pattern can be super satisfying. It can go like this: spot something interesting, like a chunk of mossy bark or a snail shell. Once home, study what makes it special. Is it the spiral? The rough texture? The subtle shading?
The key is to simplify what you see. Here’s how to break it down:
- Look for Basic Shapes: Most things in nature break down into circles, triangles, and lines. Focus on those first and sketch them lightly.
- Play With Proportion: Exaggerating some details, like the long neck of a heron, can bring more character to carvings.
- Focus on Patterns: Repeating elements, like the veins on a leaf or scales on a fish, provide instant texture.
- Add Movement: Try to capture how leaves twist in the wind or how a rabbit crouches at rest. Adding a sense of motion turns a static carving into something that almost lives and breathes.
Carvings can be made directly from a photo, but often, they can be a launchpad to experiment and tweak until the design feels uniquely mine. Nature-inspired carving isn’t about perfect replication—it’s about putting your own spin on what catches your eye. Let the natural shapes serve as a jumping-off point and then let your creativity fill in the blanks. Start with an idea and if the wood takes you in a different direction, let it happen. Its art after all, and doesn’t have to perfectly represent what you see in a photo. Feel free to put your own spin on it. Some of my favorite pieces ‘happened’ more from following where the wood led me than the other way around.
Tips for Approaching Nature-Inspired Wood Carving
Finding ideas outdoors is a great start but making them work in wood takes a bit of thought. Not everything looks good carved exactly as it appears in real life. Here are some strategies I’ve picked up that help bridge the gap:
- Match the Wood to the Design: If you’re carving something delicate, like a wildflower or feather, go with woods with a fine grain such as basswood or butternut. For chunky, textured pieces, oak or walnut adds its own rugged character.
- Work With the Grain, Not Against It: Let the natural grain guide the carving lines. Curved patterns on wood fit perfectly with leaves, vines, and animal figures. Working with the wood instead of forcing a shape makes the finished piece look much more in sync with nature.
- Start Simple and Add Detail: Block out the large shapes first and slowly carve in finer details, checking how light and shadow bring out the pattern. Sometimes, less is more—a few well-placed lines or a simple raised texture can say a lot.
- Embrace Imperfection: A knot in the wood, a sudden change in grain, or a chipped edge sometimes becomes part of the design. Work them into the story the carving tells, like a gnarled tree sharing its history of storms.
If you find yourself stuck on a detail, try stepping back and looking at the whole piece. Maybe even let it sit for a day or two. A fresh perspective often shows you ways to use the unique qualities of that particular wood or inspiration.
Challenges When Using Nature as Inspiration (and Easy Ways to Work Through Them)
Tapping into nature’s ideas comes with its own set of hurdles. I’ve experienced a few, and here’s how I typically work past them:
- Too Much Detail: Nature can be overwhelmingly detailed. Try picking just one or two features to focus on, such as the shape of a feather or the way a fern unfurls, and leave the rest to the imagination.
- Finding Your Own Voice: It might be tempting to copy another artist’s wildlife carvings or classic patterns. While that’s ok for practice, try to interpret what you see in a way no one else has. Sometimes, just changing the scale or combining two elements—a bird and a leaf—makes the design feel personal.
- Dealing With Complex Shapes: Some natural objects are tricky to translate into wood, especially things like intricate animal heads or flowing plants. Start with a simple silhouette, carve away the basics, then slowly add complexity as the wood and the idea allow.
Adapting Techniques for Different Natural Inspirations
Depending on what you are carving, switch up techniques to best match the subject and the wood. For example, you can use chip carving on flat surfaces for geometric leaf patterns or go with relief carving when working with deeper textures like tree bark. Using tools such as gouges, Vtools, and even a wood burner, which can create really cool effects, can help make the details pop and create more life in your work. If you like, bring in color by adding a wash of watercolor or natural oils. These finishing touches mimic the vibrance you find outdoors and help your carving shine. Occasionally I will combine a simple stain with one or two splashes of colored paint to create a dramatic highlight to a particular portion of the carving. For example, maybe you are carving a small, mostly leafless winter tree but you paint green the one leaf that still clings to a branch, and stain the rest. This makes for a dramatic effect. You can even use colored pencils, pastel chalks or stains to highlight because nature is never just one flat color.
Real-World Examples and Creative Ideas to Try
Both beginners and experienced carvers can build on what catches their eye. Here are a few projects worth checking out if you want to start carving nature-inspired art:
- Leaf Spoons: Use the natural arch of a big maple or oak leaf for the spoon bowl and carve veins for added detail.
- Animal Portraits: Focus on expressive features of creatures, like the bushy tail of a fox or the floppy ears of a rabbit.
- Mushroom Totems: Carve a variety of fungi on a walking stick or as standalone desk ornaments. Play up the textures and spots.
- Woodland Scenes: Try a simple relief carving with overlapping trees, distant hills, and birds in flight.
- Nature Ornament Sets: Make a series of hanging ornaments shaped like acorns, pine cones, or feathers as gifts or keepsakes.
There are lots of communities and social media groups where woodcarvers share incredible nature-based inspiration. Swapping photos or finished pieces can help jumpstart your creative flow if you hit a rut. You can also check out books like “The Encyclopedia of Woodworking Techniques” or online tutorials for nature-themed projects. Engaging with others is an easy way to find fresh perspective and support, especially if you’re learning a new technique.
Final Thoughts
Nature offers an endless supply of shapes, patterns, and feelings to bring into your next wood carving. As you get outside, collect ideas as you go, and let each walk, stone, or sunset guide your creativity back at the bench. Every piece you create is a chance to tell a story that starts outdoors and ends in your hands. The connection between your artistry and the world outside is what makes wood carving such a fulfilling adventure.