Wood carving is one of those crafts that really draw you in, whether you love working with your hands or just want a relaxing hobby you can do at the kitchen table. Starting out with wood carving might feel a bit intimidating, but even total beginners can make some awesome projects by following the right steps. It gets a lot easier (and way more fun) when you can watch video tutorials along the way. In this article, I’ll share a some beginner wood carving projects, along with practical advice on what you’ll need, tips for success, and trusted places to find the best free or affordable carving video guides. If you’re looking to get started or hoping to pick up a new weekend activity, keep reading for helpful advice and beginner-friendly ideas for every skill level.
Why Try Beginner Wood Carving Projects?
Wood carving isn’t just a timeless craft; it’s a fantastic way to unwind, develop patience, and end up with something you can hold in your hand and say, “I made this.” For beginners, simple carving projects keep things stress-free. You don’t need a huge garage workshop or expensive gear to get started, and you can pick projects that match your available time and skill level. This makes wood carving one of the most approachable crafts for people who want quick wins and satisfying results.
With the rise of YouTube and hobbyist sites, it’s really easy to find video instructions that explain every step visually. This is especially helpful when you want to understand the finer points of using your knife correctly or how to safely carve tricky shapes. In fact, many carvers say these video tutorials are what helped them stick with the hobby and move beyond basic whittling.
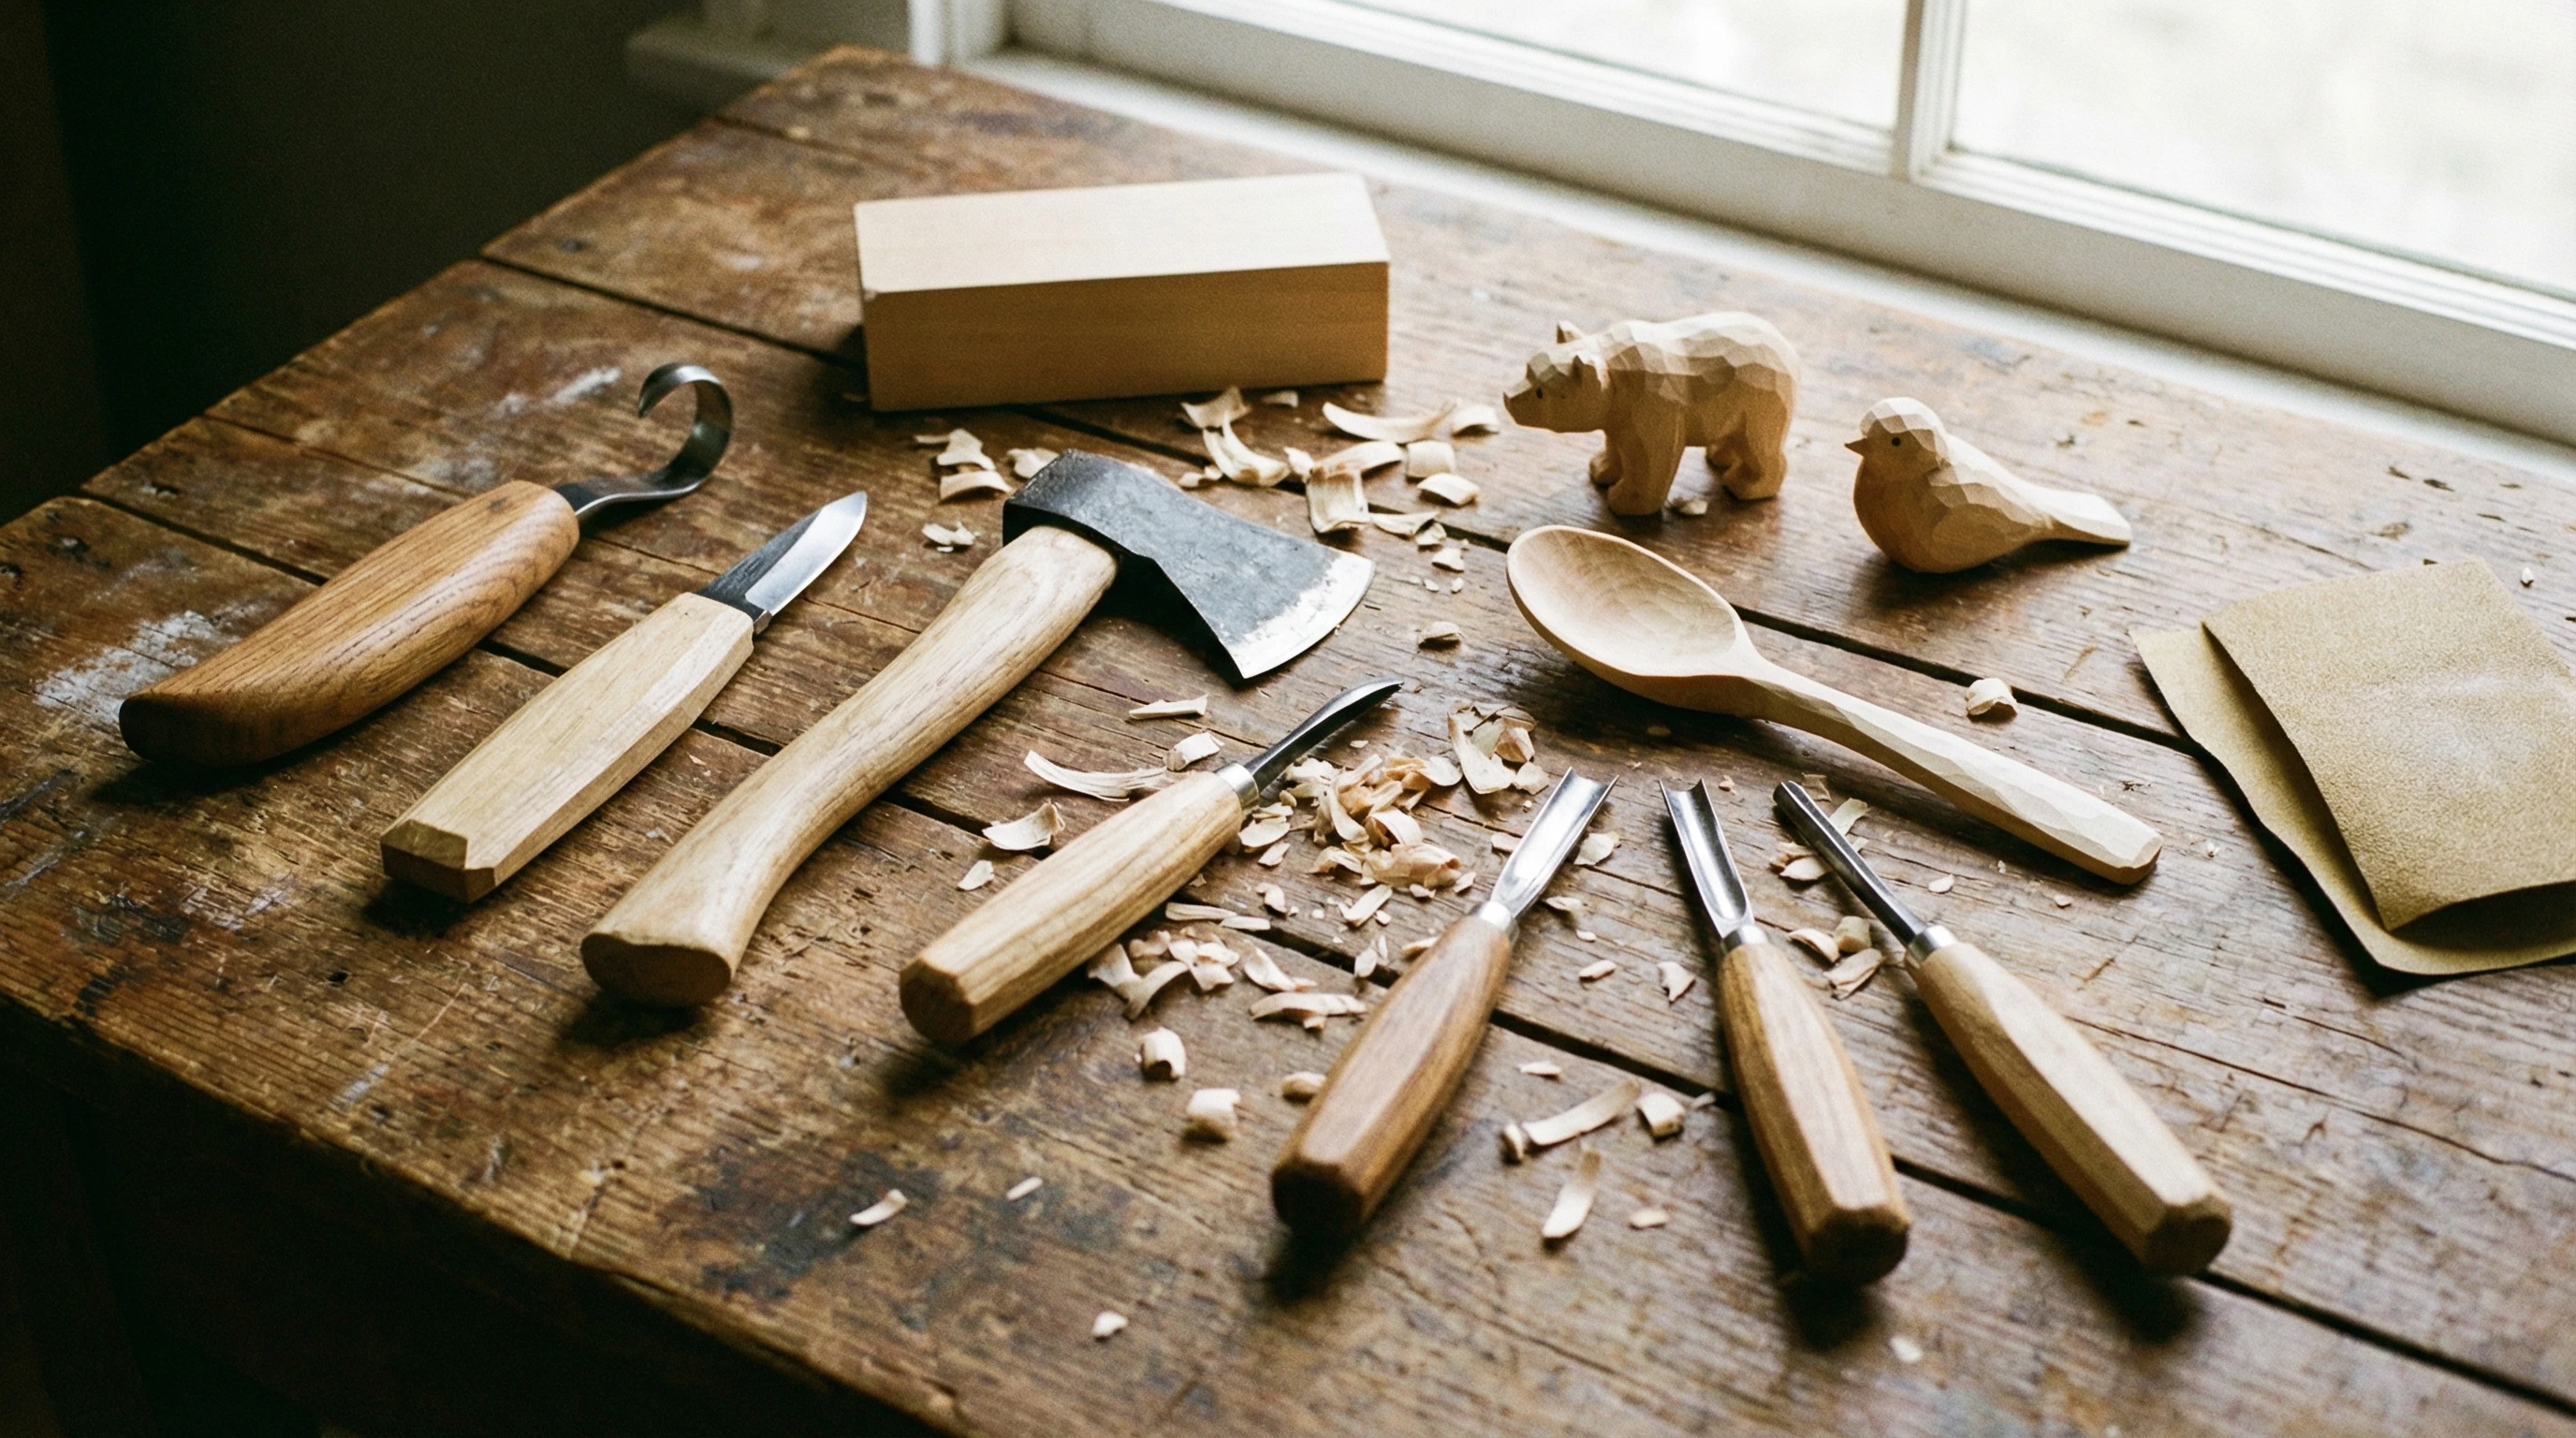
Basic Tools and Materials Needed for Beginner Projects
Before you jump into your first carving project, you’ll want to set yourself up with a few basic tools:
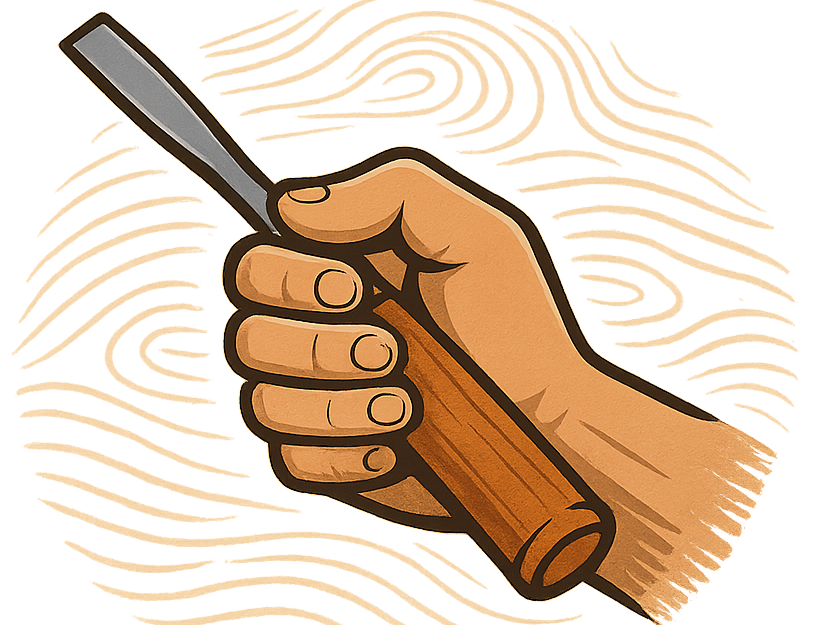
- Carving Knife: A small, sharp knife designed for carving will make most projects much easier.
- Cut Resistant Glove: This adds a layer of safety—worth grabbing when you’re just learning.
- Soft Wood: Basswood or pine are both great for beginners. They’re easy to cut and not too expensive. Basswood is my personal favorite and pretty available. If you have access to a Menards, they usually carry a good variety of basswood pieces for carving.
- Pencil: For sketching out your design on paper or making guidelines on the wood.
- Graphite or carbon paper and tracing paper: For transferring your design to the wood.
- Sandpaper: Smoothing the rough edges makes even a simple carving look polished. I have attended classes with carvers who consider sanding a blasphemy but I like the smoothness it provides. The reason some say not to do it is due to the fact that the wood residue left after will dull your blades quicker if you have more carving to do. Remember to try and have your actual carving complete and save sanding for the finish.
If you’re looking for starter kits, check out local craft stores or online shops. They often bundle together a few small blocks of basswood along with basic detailing knives. For keeping things budget friendly, start small. You can always grab more specialized tools as you get more into the craft. Woodcarving Illustrated is a handy resource for gear reviews and tips for new carvers.
Other items you might want as you continue: small gouges for adding details, a strop for keeping your knife razor sharp, and mineral oil or a spray on or brush on polyurethane for finishing your carvings. Having a comfortable, clutter free workspace where you can focus on your craft will also help keep you motivated and safe.
Top Beginner Wood Carving Projects With Helpful Video Tutorials
Simple projects help build confidence and technique without overwhelming you. Here are some projects that have great step by step videos available online, making them great starting points:
- Wooden Spoon: This classic is a go to for new carvers. Not only is a carved spoon functional, but making one teaches you basic shaping and smoothing techniques. Check out this video tutorial that walks through the entire process.
- Whittled Animal (like a bear, fox, or owl): Animal shapes are super popular because they let you practice both simple cuts and a bit of creativity. For an easy animal, watch this beginner bear carving vid.
- Simple Wood Spirit: Faces or “wood spirits” on a branch or walking stick help you learn about detail work. This wood spirit video is super beginner friendly and easy to follow. I have made these out of small rectangular blanks and they make great gifts!
- Mushroom Figurine: Carving a little mushroom is one of the fastest and most forgiving intro projects. Here’s a mushroom carving tutorial that covers everything in under ten minutes.
- Wooden Heart or Leaf: Basic shapes like hearts and leaves are perfect for practicing smooth curves and finishing. I found this heart carving video that keeps things simple but still looks awesome.
These video tutorials are free, easy to follow, and most don’t require anything more than a good knife and a block of wood you can grab at any hobby shop. If you want even more, some hobby shops or libraries offer carving classes and workshops that can be a great hands on supplement to online videos.
Step By Step Guide: Making Your First Carving
Even if you pick a really simple project, following a steady, repeatable process helps you stay safe, avoid mistakes, and end up with a finished piece you’ll be proud of.
- Sketch Your Design: Lightly outline your project shape on the wood using a pencil. Or for a relief carving especially, draw it on paper first to get it the way you want and transfer to your wood using tracing paper and graphite paper. Simple lines keep things easier as a beginner.
- Secure the Wood: If it’s a small piece, you can usually just hold it in your hand (with glove). For something bigger, clamp or prop it safely.
- Rough Out the Shape: Use your knife to carve away big chunks first. Don’t try for detail on the first pass.
- Add Details: Once you have the basic outline, focus on shaping features, like curves on a spoon or eyes on an animal.
- Sand and Finish: Smooth all the edges with fine grit sandpaper. You can add a little oil or non toxic finish if you want more polish.
- Watch and Pause the Video: One of the biggest helps is playing the video as you go, pausing it during each step so you never feel rushed or lost.
And remember: patience is your friend with wood carving. If it’s not perfect the first time, that’s where practice comes in. If you take your time and have fun, you’ll be amazed at how quick your skills will grow. Carve for a bit and if you get tired or a bit frustrated, just put it down and come back to it later.
Common Challenges For Beginners (and How To Handle Them)
- Knife Slips or Cuts: Always cut away from your body and fingers and use a cut resistant glove until carving feels natural.
- Frustration With Details: Tiny details are tough at first. It helps to start with projects with big, simple features (like mushrooms or hearts) and work your way up to faces or animals.
- Splintering or Chipped Wood: Softer woods are less likely to chip, so choose basswood or pine to keep things frustration free.
- Tools Dulling Quickly: Regularly sharpen your knife; even a cheap sharpener can make a huge difference.
- Finding Quality Video Tutorials: Stick with well reviewed channels like “Doug Linker” or “Carving is Fun” for reliable, easy to follow videos every time. Beginner focused playlists usually start with the basics and build up complexity gradually.
Don’t worry if your first project turns out a bit lopsided or rough. Every carver I know still keeps their first piece as a reminder of how much they’ve improved. If you run into an unexpected problem or challenge, online forums and woodcarving groups are full of folks willing to offer advice.
Cool Ideas to Take Your Skills Up a Notch as You Build Confidence
Once you get the hang of entry level projects, try new ones that introduce different skills. Here are a few ideas I’ve found fun as you develop your basics:
- Keychains or Small Pendants: These test your ability to work on smaller, more detailed pieces.
- Decorative Spoons with Patterns: After mastering a straight spoon, add carved patterns or simple animal heads at the end. These extra touches make your projects more unique and personal.
- Small Relief Carvings: These are flat panels with a design raised out from the surface—think flowers, animals, or even family names. Relief carving helps you understand depth and layering.
- Miniature Gnome or Wizard Figures: If you like fantasy, these are fun, and there are plenty of video walkthroughs for tiny wizards or gnomes especially popular around the holidays.
For inspiration, check out the r/woodcarving community on Reddit. They’re super welcoming, and people share a lot of progress pics and project breakdowns. Pinterest can also spark ideas for color finishes or creative patterns to add to your pieces.
Getting the Most Out of Your Wood Carving Hobby
Wood carving is really about enjoying the process, learning new techniques, and creating something you’re proud to show off. Picking video-based tutorials means you always have a teacher “on hand,” whenever you need a little help or encouragement. If you get stuck, online communities and forums are full of people happy to answer questions or share tips for tricky steps.
Your first creations might have some bumps or quirky bits, but that’s part of the charm. Keep trying new projects, and you’ll see progress with every carve. Grab a block of wood, find a fun video guide, and get carving. I think you’ll be surprised at what you can do!