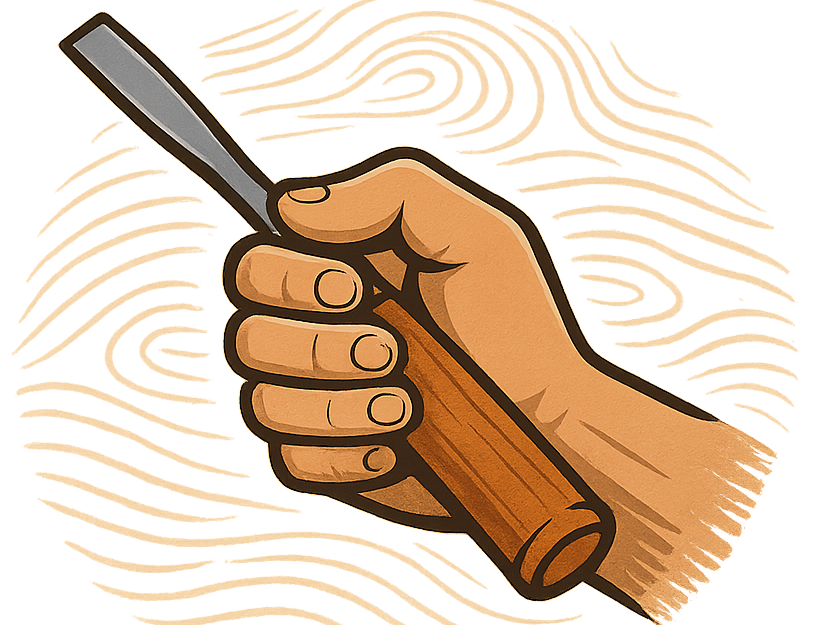
Wood carving is a super satisfying, relaxing hobby that blends creativity with hands-on skills. Whether you’re shaping your first spoon or eyeing those intricate wildlife scenes, a few simple mistakes can make your project much harder and more frustrating than it needs to be. In this article we’ll discuss some of those and how you can avoid them, so you’ll have a much smoother adventure in carving, while also keeping your fingers (and your projects) safe and looking good.
Getting the Basics Down Before Your First Cut
Jumping into wood carving without learning the basics is a pitfall a lot of beginners fall into. I get it; grabbing a chunk of wood and just going for it seems like part of the fun. But understanding the simple stuff first cuts frustration big time. Wood carving has its own lingo and set of best practices, most of which boil down to knowing your tools and your wood.
When I first started, terms like “grain direction,” “relief carving,” and “whittling” all sounded confusing and sort of interchangeable. They’re actually all different techniques with their own strengths. Knowing these basics helps you pick the right approach for the project. Here are the key things I wish I’d known before making my first cut:
- Wood Grain Direction: Carving with the grain makes cutting smoother and helps stop tear-out (a chunk of wood coming out that you didn’t intend to remove, can happen with dull tools as well).
- Knife vs. Gouge: Different tools serve different purposes; using the right one saves you effort and gives better-looking results.
- Sharpening: Dull blades are tricky and unsafe; a sharp tool makes carving way safer and more fun.
7 Mistakes To Watch Out For in Wood Carving
Even folks who’ve done a bunch of carvings can stumble over some common issues. Keeping these slips in mind can make your work easier, cleaner, and more enjoyable.
- Ignoring Tool Maintenance
Keeping your knives and chisels sharp is super important. A dull blade forces you to use more pressure, which makes you more likely to slip or damage your project. Keep a strop or sharpening stone nearby and give your tools a few swipes after every use. There are lots of helpful videos showing proper sharpening, which is worth checking out. - Using the Wrong Kind of Wood
Some woods are tough, unpredictable, or splintery. These are horrible for learning. Basswood and butternut are beginner favorites because they’re soft and carve predictably. Harder woods like oak or walnut are better left for after you’ve learned some good control. Trying to carve something detailed into a knotty pine board is just asking for frustration. - Cutting Against the Grain
Wood grain changes directions in even the most perfect looking block. Cutting against the grain causes rough edges and tear-outs, leaving your project looking ragged. When in doubt, take shallow test cuts in different directions so you can really feel which way the grain is going. - Skipping the Design Phase
Jumping in without sketching or planning leads to uneven proportions and awkward details. You can sketch directly on the wood with a pencil or use carbon paper to transfer more detailed designs. This helps avoid classic issues like making one ear a different size than the other or ending up with a misshaped handle on a spoon. - Neglecting Safety
Not using carving gloves, thumb guards, or keeping your workpiece secure turns a relaxing hobby into a risky one. Even a small slip can mean a trip to the ER. Use a cut-resistant glove on the hand holding the work and a nonslip mat to keep things steady. Protecting your workspace with scrap wood or a thick mat also helps catch runaway blades. - Trying to Rush
Patience is your best friend in wood carving. Forcing a big cut or hurrying a tricky detail often leads to mistakes or even broken projects. Taking it slow lets you respond to how the wood behaves and helps keep your hands safe. - Using Too Much Force
If you’re white-knuckling your tools or leaning into your cuts, something’s wrong. Either your blades are dull, the wood is too hard, or you’re not working with the grain. Relax your grip and let the tool do the work. This simple change results in smoother progress and less hand fatigue at the end of a session.
Getting Started With the Right Tools and Materials
Picking the best wood and having a basic set of sharp, comfortable tools makes a big difference. You really don’t need a massive toolkit to get good results. Start with a basic carving knife and a small gouge to keep things simple but effective. If you’re just beginning, here’s what I recommend for a solid starter kit:
- Carving Knife: Look for one with a sturdy handle and a quality steel blade. Mora and Flexcut make some reliable entrylevel knives.
- Small Gouge: Super useful for scooping and adding curves, especially in relief carving or spoon making.
- Cut Resistant Glove: Keeps your guiding hand protected from accidental slips.
- Softwood Blocks: Basswood or butternut are easy to find at craft stores and online.
- Sharpening Strop or Stone: Keeps your tools in good condition over time.
Additionally, organizing your tools in a secure box or canvas roll and labeling each tool for fast access makes the carving process much more enjoyable. If you’re working in a communal space, such as at a local wood carving class, having your own labeled gear helps keep things from getting mixed up or lost. It’s a good habit that adds to your overall carving experience.
Troubleshooting Common Carving Roadblocks
Even with a good setup, you might run into some common problems. Here are a few and how you can deal with them:
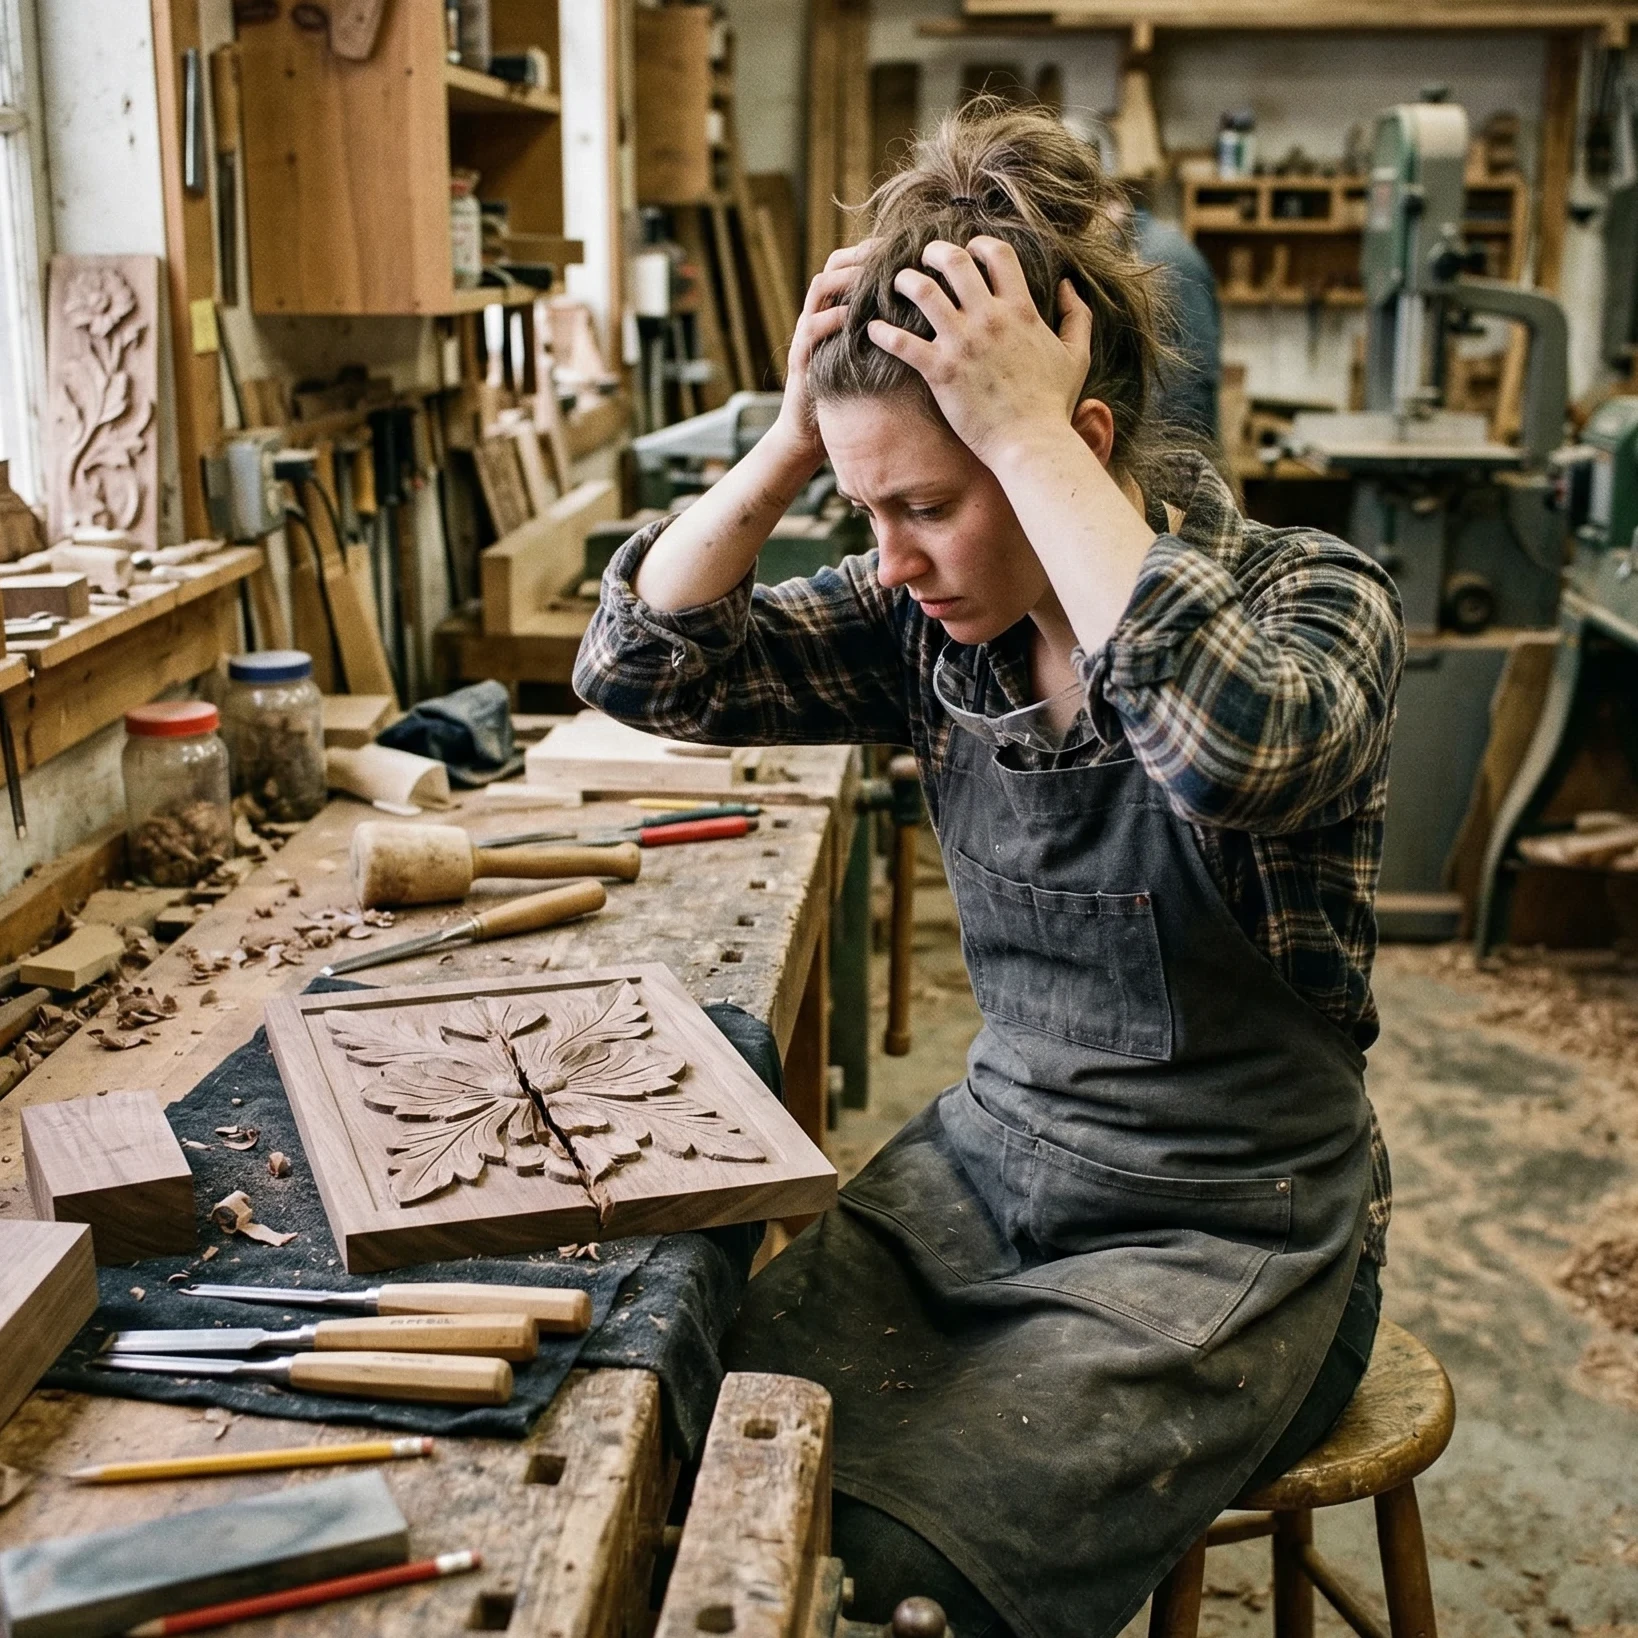
Splitting Wood Unintentionally
This usually happens when working too aggressively or when carving against the grain. Lighten your touch, check your grain direction, and keep blades sharp. If a split does happen, sometimes a bit of wood glue and a clamp can salvage things before finishing up your piece. Take care to work slowly, especially around knots or where the grain changes rapidly.
Uneven Carving or Lopsided Shapes
Often comes down to poor planning or rushing through steps. Taking a little more time to measure, mark, and sketch lines directly on your wood can help keep things balanced. Practicing on scrap wood is a good way to iron out tricky techniques without the pressure of “messing up” your main project. Don’t be afraid to pause and review your progress partway through carving.
Dull Finishes
If the finished piece looks dull or has lots of tool marks, try sanding with progressively finer grits (starting around 120 and ending at 400 or higher). For a final touch, a simple beeswax and mineral oil blend gives your carving a gentle shine and smooth feel. Proper sanding removes tiny scratches and helps your finishes really pop. For a light touch with the sanding, if the wood doesn’t need too much, an expert tip handed down to me by an instructor is to crumple a paper lunch or grocery bag and rub that on the wood. It works surprisingly well to smooth out a piece that just needs a little help.
Cool Features and Advanced Carving Techniques
Once you’ve got the basics under control, there are some eye-catching things you can add to your carving routine for better results:
Texturing Tools: A wood burner adds details and texture, which looks great on animal fur or leafy backgrounds. Vtools help create grooves and lines for feathers or scales. Using different texturing tools can make certain elements of your carving stand out.
Finishes: Playing around with wood stains, waxes, or paints opens up lots of creative options. Just be sure your carving is free of dust and tool marks before finishing. Sometimes layering multiple finishes can result in unique effects and colors, adding new depth to your work.
Layered Relief: Working in stages, from background to foreground, helps create a sense of depth. It’s typically best to start with the deepest background cuts, then gradually build up the higher details. This method is particularly useful for landscape scenes or wildlife panels.
Frequently Asked Questions About Wood Carving
Some questions keep popping up for carvers just starting out, so here are answers from my own experience:
Question: What’s the easiest wood for carving?
Answer: Basswood is my top pick. It’s soft, has a predictable grain, and is widely available. Butternut is also a solid choice if you want a light, blonde look.
Question: How do I know if my tools are sharp enough?
Answer: A sharp tool should easily shave thin curls of wood. If you have to press hard or the blade feels like it’s tearing rather than cutting, it’s time to sharpen.
Question: Do I really need a glove or thumb guard?
Answer: It’s a good idea, especially when you’re starting out. Even pros wear protection for tricky cuts. One slip can ruin your project and your day.
Question: Should I finish my carving with oil, wax, or stain?
Answer: For items that get handled a lot, like spoons or toys, Stick with foodsafe oils or waxes. Decorative pieces can handle stains or colored finishes, depending on the look you want.
Takeaway Tips for Safe and Enjoyable Wood Carving
Wood carving isn’t just about the result; it’s about enjoying the process and getting better with each project. Every slipup along the way is just another learning moment. Taking care with tool maintenance, planning, and safety makes every project more satisfying and helps you get closer to whatever creative goals you have. Remember, wood carving is a hobby that rewards patience and attention to detail, so give yourself permission to make mistakes and learn from them along the way.