 There’s something really satisfying about transforming a simple chunk of wood into a beautiful, handmade spoon. Whether you want to add a bit of rustic charm to your kitchen, craft personalized gifts, or just enjoy a hands-on hobby, carving a wooden spoon is a very approachable project—even if you’re a complete beginner.
Starting your first spoon might feel a little daunting, but with the right approach and tools, you’ll be surprised by how simple (and relaxing) it can be. In this article we’ll go through everything you need to know, step by step, so you can carve your own unique wooden spoon. No fancy woodworking shop needed.
Gathering Tools and Choosing Wood
The first thing you need is a handful of basic tools and the right type of wood. It’s really important to get this part right, especially when you’re just starting out. Having the proper setup makes the whole adventure a lot smoother and safer.
Essential Tools for Spoon Carving
- Carving Knife: A general purpose carving knife is handy for most of the work.
- Hook Knife: Helps you hollow out the bowl of the spoon but a U- shaped gouge will also work
- Small Saw: Great for rough shaping or cutting your wood to size.
- Pencil: For sketching your spoon shape onto your wood blank.
- Sandpaper: Multiple grits (start at 120 and move up to 400 or 600) to get everything smooth at the end.
Picking the Right Wood
Go for hardwoods with a tight grain. Basswood, birch, cherry, maple, or walnut are all worth checking out. Fresh (“green”) wood is easier to carve than seasoned dry wood, but either will work. Stay away from wood with resin (like pine) or any boards that are pressure treated; these aren’t food safe. For your first spoon, it’s a smart move to go with wood that’s plain, free of knots and straight grained. That way, carving will go a lot easier from start to finish.
Designing Your Spoon
Before you start carving, it helps to have a clear vision of what your spoon will look like. It doesn’t have to be fancy; in fact, starting with a simple design is the best way to learn without getting frustrated. Sometimes it’s exciting to picture a next level cool shape, but for your first time, a basic and practical form is the way to go. If you want, check out some images of traditional spoons online and get inspired by their variety.
Sketching the Spoon Shape
- Draw a side profile and a top view of the spoon on your wood blank using a pencil.
- Start with a shallow bowl and a smooth, slightly curved handle for comfort.
- Keep the handle a little thicker than you think you need; it’s easy to thin it out later if it feels too chunky.
Double check your lines before you cut and try holding your drawn design to see if it feels right in your grip. This step is where your creative ideas start to take shape.
Roughing Out the Spoon Blank
This step sets the basic shape of your spoon, making the detailed carving much easier. Don’t rush, as removing too much wood too quickly can mess up your project. Taking your time here will save you trouble down the road.
Steps for Rough Shaping
- Use your saw (one you are comfortable working with safely) to cut out the rough shape of the spoon from your piece of wood. If you don’t feel safe using a saw, or want to keep it simple and easy for your first spoon, I recommend buying a blank. Beavercraft is a company that makes blank spoons for carving. You can find these on sites like Amazon, Ebay and Faire.
- Start with the outline, then gradually carve away bulk from the handle and the outside of the bowl with your carving knife.
- Take your time and check your progress against your sketched lines often. It’s better to leave a little extra wood than to cut off too much.
Soon you’ll have a shape that actually looks like the beginnings of a spoon. It’s pretty rewarding to see it come together step by step.
Carving the Spoon Bowl
This is where things start to look like an actual spoon. Your hook knife or U gouge will be your go-to tool for this part. It feels satisfying to see the wood curl away with each stroke as you carefully scoop out the bowl.
Tips for Hollowing Out the Bowl
- Carve slowly with the hook knife, scooping out thin curls of wood. Keep the bowl wall a bit thick at first and thin it out as you refine everything.
- Work from both sides toward the center to keep things balanced and avoid splitting the wood.
- Frequently feel the thickness of the bowl with your fingers. You want it sturdy, not too thin, especially for eating spoons.
Take your time during this step and resist the urge to rush. A nicely carved bowl is both functional and pleasing to the eye.
Shaping the Handle and Refining Details
After the bowl is finished, you can move on to making the handle feel good in your hand. This is where your spoon really starts to take on a custom personality. Each little tweak or curve adds a touch of uniqueness to your project.
How to Shape a Smooth, Comfortable Handle
- Use your carving knife to round off sharp edges and shape the handle to fit your grip.
- Test the feel in your hand as you work. Adjust thickness, length, or curves to make it right for you.
- If you want to add decorations (like notches, simple lines, or burnedin designs), do that now with your knife tip or a woodburning tool.
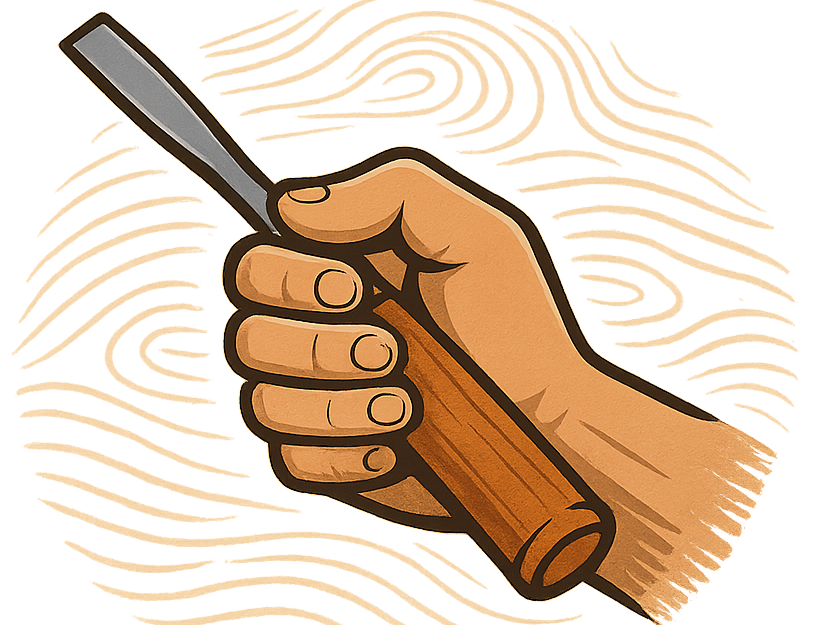
- I like to keep some carving marks as opposed to trying for a perfectly rounded handle. It gives the spoon a more rustic feel and stays true to the fact it is hand carved. I think it gives it more character. These should still be sanded as seen in the picture above to smooth out the rough edges. I like the feel of the grip with this technique as well. The picture above illustrates what I mean nicely.
Personalizing your spoon can be one of the most enjoyable parts of the process. Try simple burned patterns or subtle carvings for that extra eye-catching effect.
Sanding and Finishing the Spoon
The sanding process is what takes your spoon from “rustic project” to “wow, I actually want to use this!” It smooths everything out and gets rid of tool marks, making the spoon pleasant and comfortable to hold. Sanding may seem tedious, but it’s a key step in giving your wooden spoon a professional look.
Sanding Tips
- Start with coarser sandpaper (around 120 grit) to smooth rough areas. Move up to 220, 400, or higher grits for a silky finish.
- Wrap the sandpaper around the handle and work with the grain of the wood to avoid scratches.
- Don’t forget to sand inside the bowl. Rolling or folding sandpaper works great for this part.
Finishing with Oil
- Wipe away dust with a dry, clean cloth.
- Rub on food-safe oil (like mineral oil or walnut oil, just check to make sure it is food-safe). Let it soak in for a few hours, then wipe away excess and apply again if needed.
- For a shinier finish, buff with a soft cloth until the wood gleams. Repeating the oil process a few times can give your spoon extra protection and shine.
Safety Basics and Maintenance
Carving can be super relaxing, but safety always matters. Keeping your tools sharp, working with the grain, and minding your fingers all make your adventure enjoyable as well as safe.
Carving Safer
- Always carve away from your body and fingers. Keep a firm grip and pay attention to where your knife will slip if it leaves the wood suddenly.
- Sharp tools are safer than dull ones. Dull blades can easily slip and cause injuries.
- If your hand feels tired, take a break. Tired hands are more likely to slip or make mistakes.
Spoon Care
- Hand wash your spoon. Dishwashers can dry out or crack the wood.
- Re-oil it every month or whenever the wood looks dry. Regular oiling extends the life and beauty of your spoon.
Common Questions & Quick Fixes
My spoon keeps splitting. What am I doing wrong?
- Try using wood with a straight, tight grain. Avoid knots which split more easily.
- Work slowly, especially when hollowing the bowl or thinning the handle. Patience goes a long way.
How do I keep my carving knife sharp?
- A simple leather strop with polishing compound usually keeps your blade ready.
- If your knife gets dull, sharpening stones or a sharpener will bring back the edge. There are lots of guides online worth checking out if you want step by step visuals.
What’s the best wood for a first ever spoon?
Basswood and birch are forgiving for beginners. They cut smoothly and don’t dull blades quickly. Try to get a block or a branch with minimal knots for an easier experience. Walnut and cherry are also popular for their color and grain once you feel more comfortable.
What Comes Next?
Making your first spoon is just the start. Every spoon you carve is a chance to learn something new. Maybe you want to try a different style of bowl, a longer handle, or explore new wood types. My favorite part of carving is seeing how every project turns out a little bit different, even when I follow the same steps. You might stumble upon new techniques or finishes as you experiment.
Your First Spoon carving Checklist:
- Choose your wood and gather your tools.
- Draw your design right on the wood.
- Rough out the shape (or buy a roughed out blank), then hollow the bowl.
- Carve the handle until it feels good in your hand.
- Sand all surfaces smooth, inside and out.
- Finish with food-safe oil and try using your spoon!
If you try your hand at a spoon, I’d love to hear how it went or see a photo. Getting started is the hardest part, but once you finish your first spoon, you’ll want to make another. Happy carving and enjoy the satisfaction of making something both beautiful and useful with your own hands!